Introduction
It is the sandwich that defined a generation of lunchboxes. But when you deconstruct the humble PB&J, you realize it is actually a perfect culinary flavor profile: the rich, salty fat of the peanuts balances perfectly with the sharp, acidic sweetness of the fruit.
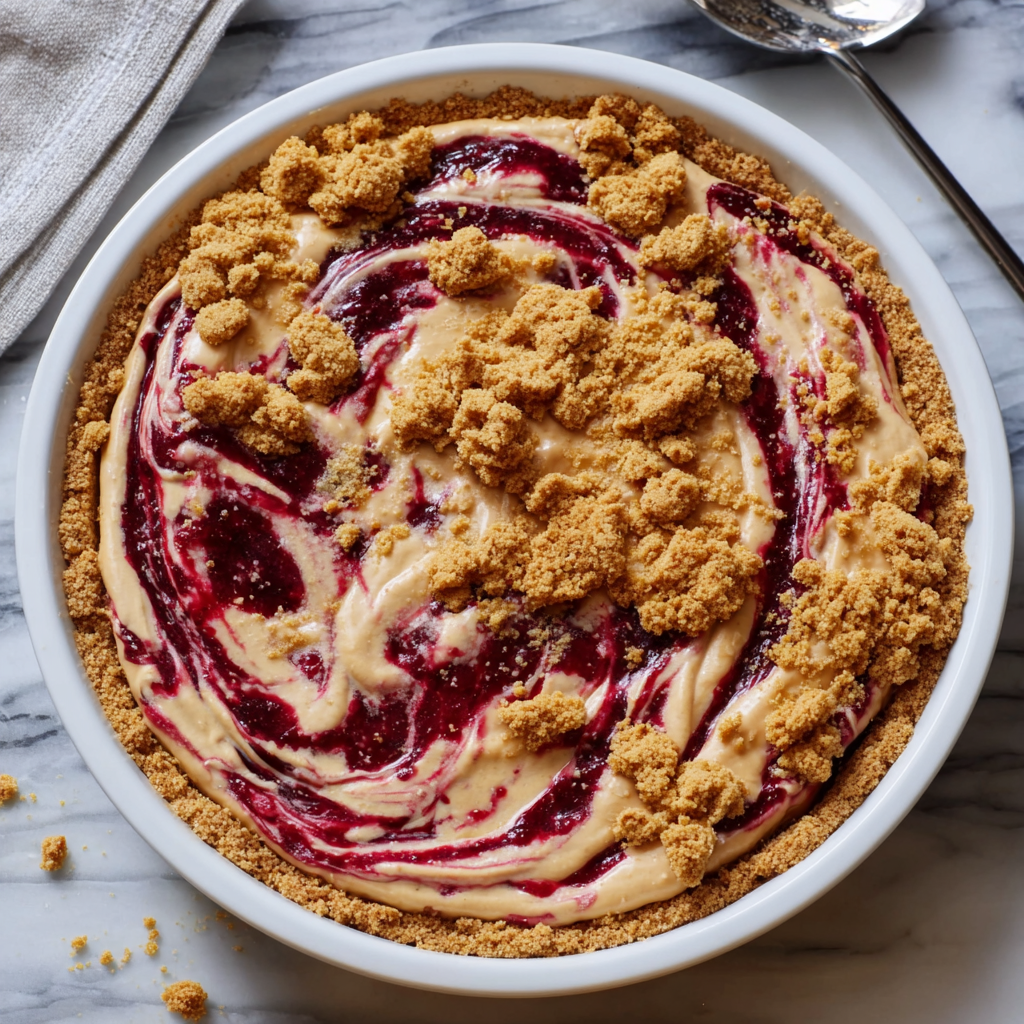
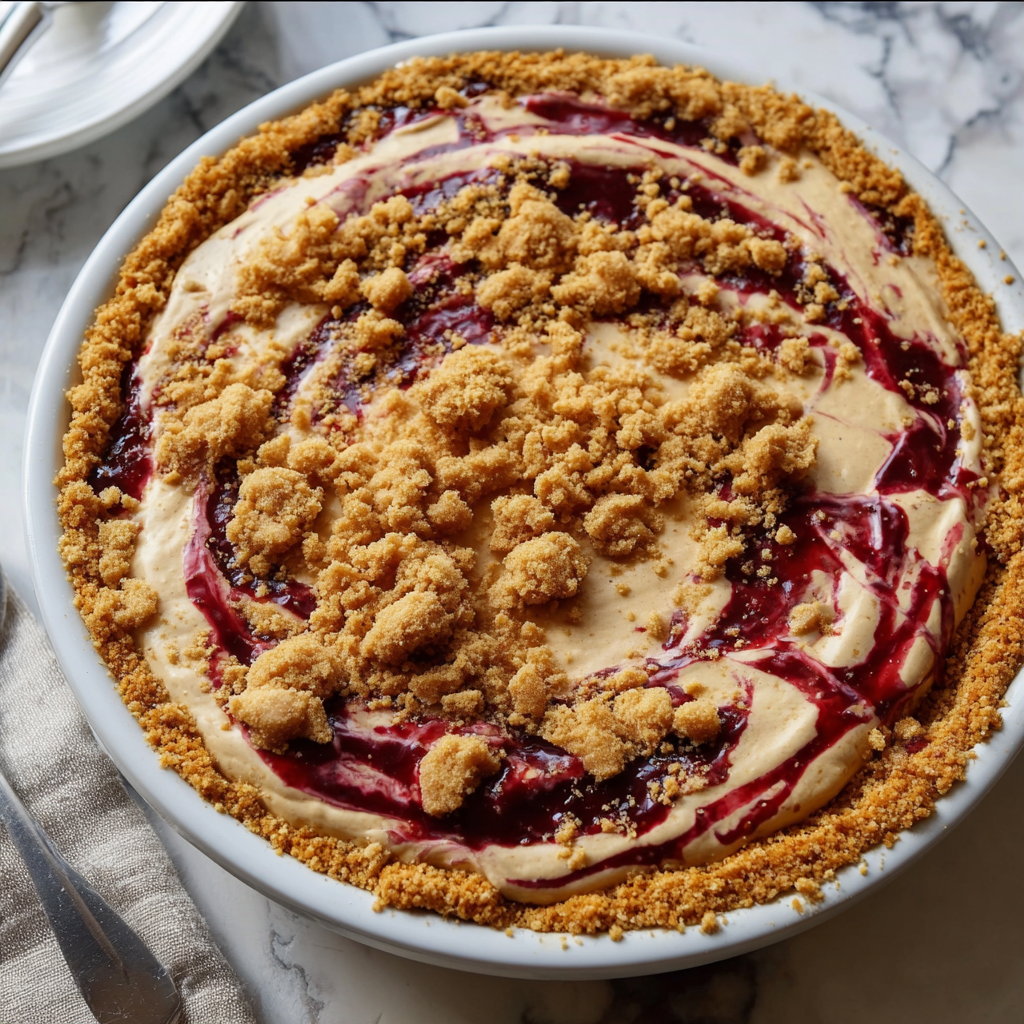
Peanut Butter and Jelly Pie takes this childhood staple and transforms it into a sophisticated, mousse-like dessert. We ditch the soggy white bread for a crunchy peanut butter cookie crust. We swap the sticky layer of peanut butter for a light-as-air cheesecake mousse. And finally, we crown it with a glossy fruit glaze.
Best of all? This is a No-Bake recipe. It requires zero oven time, making it the perfect dessert for hot summer days or when you need a show-stopping treat without the stress of pastry dough.
Ingredients List
To achieve the perfect “mousse” texture, the type of peanut butter you use matters significantly.
The Cookie Crust
- 24 Nutter Butter Cookies: (Or any peanut butter sandwich cookie).
- Why? Using peanut butter cookies instead of graham crackers doubles down on the nutty flavor profile.
- 5 tbsp Unsalted Butter: Melted.
The Peanut Butter Mousse Filling
- 8 oz (1 block) Cream Cheese: Full fat, softened to room temperature.
- 1 cup Creamy Peanut Butter: Commercial brand (like Jif or Skippy).
- Crucial Data Point: Do not use “Natural” peanut butter (the kind you have to stir). Natural PB lacks the stabilizers (hydrogenated oils) needed to keep the pie structure firm. It will result in a grainy, oily, or runny pie.
- 1 cup Powdered Sugar: Sifted.
- 1 tsp Vanilla Extract.
- 1 cup Heavy Whipping Cream: Cold. (Or an 8oz tub of Cool Whip if you want a shortcut).
The Jelly Topping
- ¾ cup Strawberry Jam or Grape Jelly: Seedless is best for texture.
- Strawberry vs. Grape: Strawberry provides a better acidity to cut the rich fat, but Grape offers that classic “lunchbox” flavor.
Sensory Note: The texture is a study in density contrast: the crust is crunchy and sandy, the filling is fluffy and velvety, and the topping is sticky and smooth.
Timing
This recipe requires patience for setting, but active work is minimal.
- Prep Time: 20 minutes
- Chill Time: 4–6 hours (or overnight)
- Total Time: ~4.5 hours
- Serves: 8–10 Slices
Data Insight: The “set” of this pie relies on the fat crystals in the butter and cream cheese resolidifying in the fridge. Cutting it before the 4-hour mark will result in a “pudding” rather than a sliceable pie.
Step-by-Step Instructions
Step 1: The Double-Peanut Crust
- Place the Nutter Butter cookies (cream filling and all) into a food processor. Pulse until you have fine crumbs.
- Pour in the melted butter and pulse just until the crumbs look like wet sand.
- Press: Dump the mixture into a 9-inch pie dish. Use the bottom of a measuring cup to press the crumbs firmly into the bottom and up the sides.
- Chill: Place the crust in the freezer for 10 minutes while you make the filling. This sets the butter quickly.
Step 2: The Peanut Butter Base
- In a large mixing bowl (or stand mixer), beat the softened cream cheese and powdered sugar until smooth and no lumps remain (approx. 2 minutes).
- Add the peanut butter and vanilla. Beat on medium speed until combined and creamy.
- Note: The mixture will be very thick and heavy at this stage.
Step 3: Aeration (The Mousse)
- If using real cream: In a separate cold bowl, whip the heavy whipping cream until stiff peaks form.
- The Fold: Gently fold 1/3 of the whipped cream into the peanut butter mixture to loosen it up. Then, gently fold in the remaining whipped cream.
- Technique: Go slow. You want to keep the air bubbles in the cream. Mix just until no white streaks remain.
Step 4: Fill and Chill
- Spread the fluffy peanut butter filling into the chilled crust. Smooth the top with an offset spatula.
- Cover loosely with plastic wrap and refrigerate for at least 4 hours (or overnight is best).
Step 5: The Jelly Glaze
- Just before serving, place the jam/jelly in a microwave-safe bowl.
- Microwave for 20–30 seconds. Stir vigorously until it loosens into a pourable sauce.
- Pour: Drizzle or spread the jam over the top of the chilled pie.
- Alternative: You can swirl the jam into the filling before chilling, but a layer on top looks cleaner and tastes fresher.
Nutritional Information
A rich, energy-dense treat. Below is the estimated breakdown per slice (based on 10 slices).
| Nutrient | Amount per Serving | % Daily Value* |
| Calories | 480 kcal | 24% |
| Total Fat | 32g | 49% |
| Saturated Fat | 14g | 70% |
| Carbohydrates | 42g | 14% |
| Sugars | 28g | – |
| Protein | 8g | 16% |
Variations for the Recipe
- The “Elvis” Pie: Layer sliced bananas on the crust before adding the peanut butter filling. Top with chopped bacon if you are feeling adventurous.
- Pretzel Crust: Swap the cookies for 2 cups of crushed pretzels + 3 tbsp sugar + 3/4 cup butter. This emphasizes the “salty-sweet” profile.
- Chocolate Ganache: Add a thin layer of chocolate ganache between the crust and the filling for a “Reese’s Cup” vibe.
- Crunchy Texture: Fold ½ cup of chopped roasted peanuts into the filling for added texture.
Serving Suggestions
- The Garnish: Top with chopped peanuts or crushed Nutter Butter cookies for a visual cue of what’s inside.
- The Drink: Serve with a tall glass of Cold Milk. It is essential for cutting through the peanut butter sticking to the roof of your mouth!
Common Mistakes to Avoid
- Using Natural Peanut Butter:
- The Issue: The oil separates.
- The Result: A pie that “weeps” oil and never fully sets.
- The Fix: Stick to Skippy, Jif, or store-brand processed PB.
- Cold Cream Cheese:
- The Issue: Beating cold cream cheese.
- The Result: Tiny white lumps in your filling that will never smooth out.
- The Fix: Leave the block on the counter for 1 hour before starting.
- Over-folding:
- The Issue: Stirring the whipped cream too vigorously.
- The Result: You knock the air out, resulting in a dense, heavy cheesecake rather than a light mousse.
Storing Tips for the Recipe
- Refrigeration: Store covered in the fridge for up to 5 days.
- Freezing: This pie freezes beautifully! You can serve it frozen (like an ice cream pie) or thaw it in the fridge. It keeps frozen for 2 months.
Conclusion
Peanut Butter and Jelly Pie is pure happiness on a plate. It strikes a balance between being sophisticated enough for a dinner party (that mousse texture!) and fun enough for a kid’s birthday. It proves that some flavor combinations—like PB & J—are classics for a reason.
Ready to whip? Grab that jar of Jif! If you try this recipe, please leave a star rating below and let us know: are you Team Grape or Team Strawberry? Don’t forget to subscribe to our newsletter for more no-bake wonders.
FAQs
Q: Can I use low-fat cream cheese?
A: Technically yes, but the pie will be softer and less stable. Full-fat provides the best structure for slicing.
Q: Can I use almond butter?
A: Yes, provided it is a “no-stir” almond butter (processed with palm oil/stabilizers). Pure almond butter will have the same separation issues as natural peanut butter.
Q: My jelly is too lumpy to spread. What do I do?
A: Whisk the jelly vigorously with a fork before microwaving it, or push it through a fine-mesh sieve to remove the fruit chunks if you want a perfectly clear glaze.
Leave a Reply