
Introduction
If you are a fan of “Speculoos”—that deep, caramelized, cinnamon-spiced cookie flavor—this is about to become your dangerous new obsession.
Biscoff Fridge Cake is the ultimate low-effort, high-reward dessert. It requires zero baking, uses only four ingredients, and comes together in about 10 minutes of active work. It sits somewhere between a Tiffin, a Rocky Road, and a truffle.
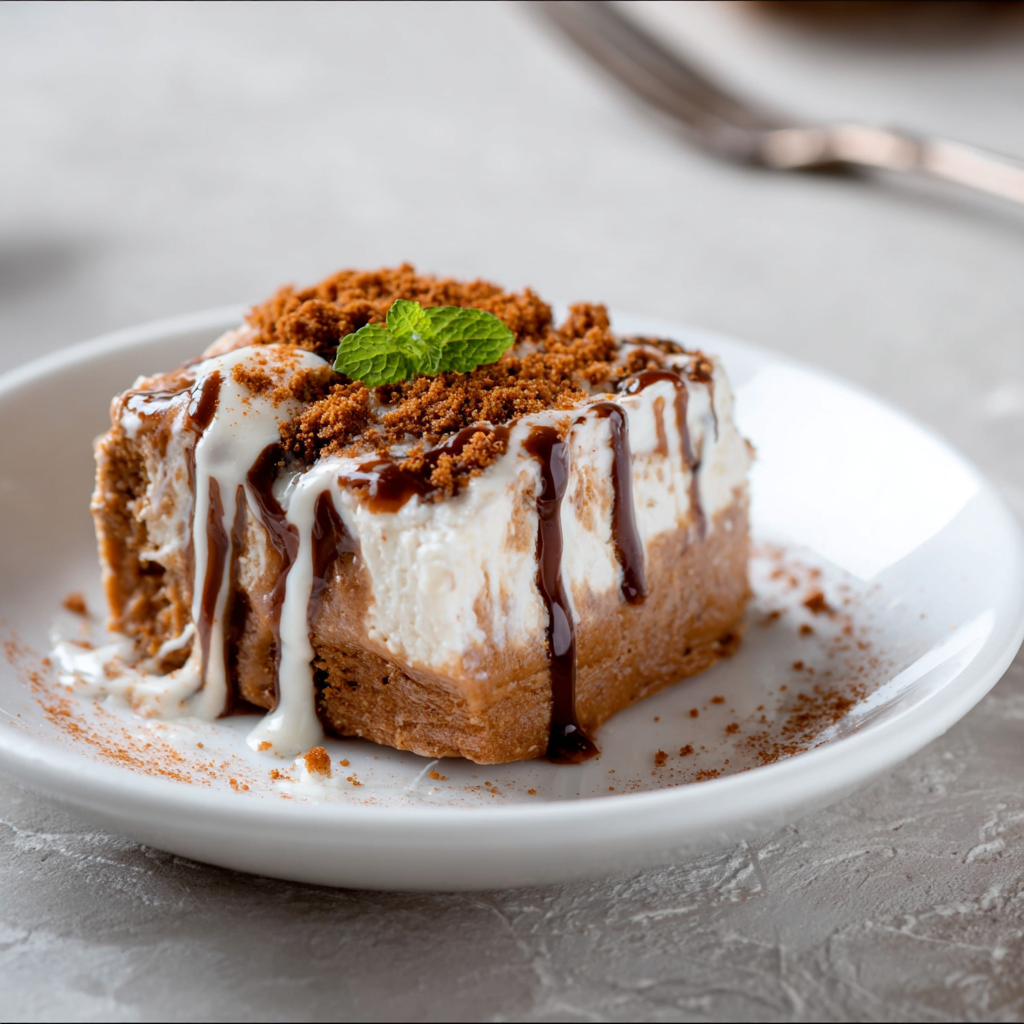
The magic lies in the texture contrast. We take the crunch of broken Lotus biscuits and suspend them in a rich, fudgy matrix of melted white chocolate and Biscoff spread. When chilled, it sets into a sliceable bar that melts in your mouth, releasing that iconic toasted brown sugar flavor. It is dangerously easy to make and impossible to stop eating.
Ingredients List

We are relying on high-quality store-bought ingredients to do the heavy lifting here.
The Base
- 500g White Chocolate: Chopped (or chips).
- Why White? Biscoff is spicy and dark; milk or dark chocolate overpowers it. White chocolate provides a creamy, sweet canvas that lets the cinnamon shine.
- 250g Lotus Biscoff Spread (Smooth):
- The Glue: This acts like peanut butter in a buckeye recipe. It softens the chocolate so the bar isn’t rock hard when bitten.
- 50g Unsalted Butter:
- The Texture: A little butter ensures the mixture sets into a “fudge” consistency rather than snapping like a chocolate bar.
The Crunch
- 300g Lotus Biscoff Biscuits: (Approx. 1 standard pack).
- Prep: You will crush some into dust and leave some in large chunks for textural variety.
Sensory Note: This dessert is sweet. The caramelized biscuit spread combined with white chocolate is intense. Small squares are recommended!
Timing
The hardest part is the waiting game while it chills.
- Prep Time: 15 minutes
- Chill Time: 4 hours (or overnight)
- Total Time: ~4 hours 15 minutes
- Yields: 16 Squares (8×8 inch pan)
Data Insight: White chocolate has a lower melting point ($111^\circ F$) than dark chocolate because it contains no cocoa solids, only cocoa butter. It burns easily, so microwave it gently!
Step-by-Step Instructions
Step 1: Prep the Pan
- Line an 8×8 inch (20cm) square baking tin with parchment paper. Leave an overhang on the sides so you can lift the cake out easily later.
Step 2: The Biscuit Bash
- Place the Biscoff biscuits in a large mixing bowl.
- Crush: Use the end of a rolling pin to bash them.
- The Goal: You want a mix of textures—some fine crumbs (to thicken the mixture) and some large, coin-sized chunks (for crunch). Do not turn it all into dust.
Step 3: The Melt
- In a large heat-proof bowl, combine the white chocolate, Biscoff spread, and butter.
- Microwave Method: Heat in 30-second bursts, stirring vigorously between each one.
- Stovetop Method: Place the bowl over a pan of barely simmering water (double boiler).
- Stir until completely smooth, glossy, and uniform. The color will be a lovely golden caramel.
Step 4: The Mix
- Pour about ¾ of the melted mixture over the broken biscuits. (Reserve ¼ of it for the topping!).
- Stir well until every single biscuit crumb is coated in the chocolate “glue.”
- Dump the mixture into the prepared tin. Press it down firmly with a spatula to remove air pockets and create a flat layer.
Step 5: The Topping
- Pour the reserved chocolate/Biscoff mixture over the top of the pressed base.
- Smooth it out to create a glossy, flat surface.
- Optional: Place a whole biscuit or crumb in the center for decoration.
Step 6: Chill
- Refrigerate for at least 4 hours, or until solid.
- Slice: Lift the block out using the paper. Use a sharp knife (dipped in hot water) to slice into 16 squares.
Nutritional Information
A concentrated energy bar. Below is the estimated breakdown per small square.
| Nutrient | Amount per Serving | % Daily Value* |
| Calories | 320 kcal | 16% |
| Total Fat | 18g | 28% |
| Saturated Fat | 9g | 45% |
| Carbohydrates | 36g | 13% |
| Sugars | 28g | – |
| Protein | 3g | 6% |
Variations for the Recipe
- Gold Bar Style: Use “Gold” chocolate (caramelized white chocolate) instead of plain white chocolate for a double-caramel hit.
- Rocky Road Biscoff: Fold in a handful of mini marshmallows and popcorn along with the biscuits for a chewier texture.
- Vegan Version: Lotus Biscoff biscuits and spread are accidentally vegan! Simply swap the dairy butter for vegan block butter and use high-quality vegan white chocolate.
- Crunchy Spread: Use the “Crunchy” version of the Biscoff spread for extra texture in the filling.
Serving Suggestions
- The Drink: This is incredibly rich, so it needs black coffee or an Espresso to cut through the sugar.
- The Garnish: A drizzle of melted dark chocolate over the top adds a nice bitterness to balance the sweet white chocolate.
Common Mistakes to Avoid
- Burning the White Chocolate:
- The Issue: Microwaving for 2 minutes straight.
- The Result: Seized, lumpy, grainy chocolate.
- The Fix: 30-second bursts only. Stir even if it looks solid; residual heat melts it.
- Slicing Too Soon:
- The Issue: Cutting it after 1 hour.
- The Result: It falls apart into a sticky mess.
- The Fix: It needs to be rock solid cold.
- Too Fine Crumbs:
- The Issue: Pulverizing the biscuits in a blender.
- The Result: A dense block with no crunch.
- The Fix: Hand-crush them. You need chunks!
Storing Tips for the Recipe
- Fridge: Store in an airtight container in the fridge for up to 2 weeks. (It tastes best cold).
- Freezing: Wrap squares in foil and freeze for up to 3 months. It can actually be eaten straight from the freezer for a chewy treat.
Conclusion
Biscoff Fridge Cake is the definition of a crowd-pleaser. It takes the internet’s favorite flavor (Cookie Butter) and turns it into a sliceable, giftable confection. It requires no oven, no flour, and no eggs—just a little melting and mixing. Warning: once you make a batch, you will be asked to bring it to every party forever.
Ready to crush? Grab that rolling pin! If you try this recipe, please leave a star rating below and let us know: did you add marshmallows? Don’t forget to subscribe to our newsletter for more no-bake wonders.
FAQs
Q: Can I use milk chocolate?
A: You can, but it will taste less like Biscoff and more like a KitKat. The white chocolate is neutral enough to let the spice flavor dominate.
Q: Can I use a different biscuit?
A: Yes, Ginger Nuts or Graham Crackers work well as substitutes if you can’t find Lotus biscuits.
Q: Is Biscoff spread the same as Cookie Butter?
A: Yes! Trader Joe’s “Speculoos Cookie Butter” is essentially the same product and works perfectly here.
Leave a Reply