
DESSERT
Fruit Punch Cocktail (Easy Party Punch, Spiked or Virgin, 10 Min)
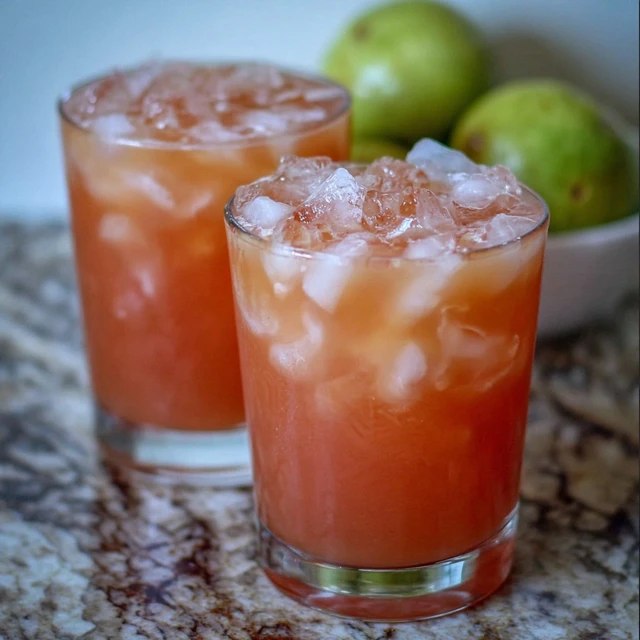
Fruit punch cocktail — an easy, crowd-pleasing party punch made in 10 minutes. Make it spiked or virgin. Perfect for parties and holidays.…
Weeknight dinners, the desserts your friends ask you to bring twice, and the Sunday meals that fill the kitchen with the right smells. No 14-paragraph life story before the ingredients — just the recipe.
Fruit punch cocktail — an easy, crowd-pleasing party punch made in 10 minutes. Make it spiked or virgin. Perfect for parties and holidays.…
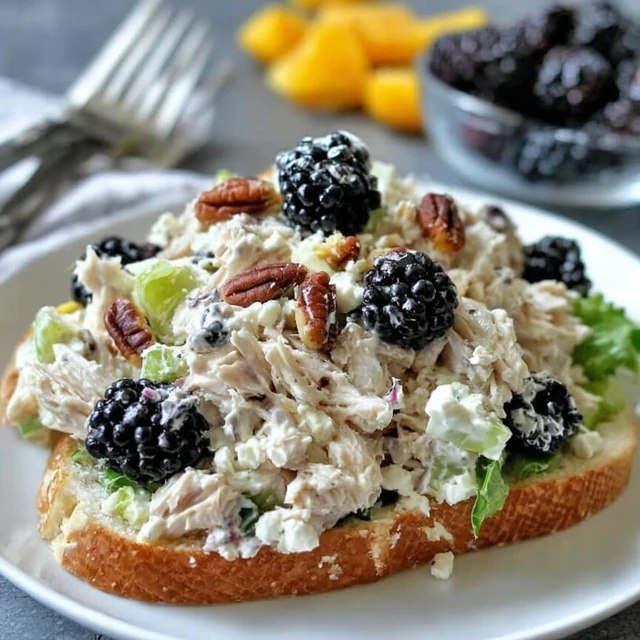
Chicken salad sandwich — creamy deli-style chicken salad with grapes, celery and pecans on a croissant. Perfect for rotisserie chicken. 15 m…
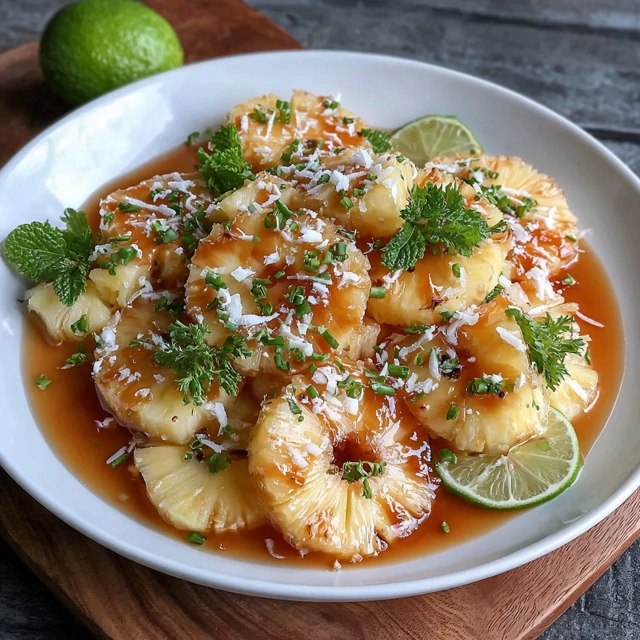
Pineapple salad with coconut dressing — a creamy, refreshing tropical fruit salad ready in 15 minutes. Perfect for summer and potlucks.…
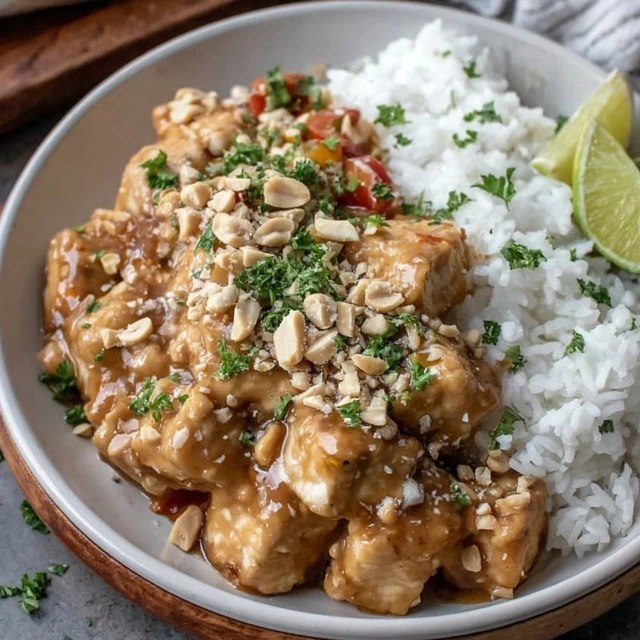
Peanut chicken with rice — better-than-takeout Thai-style skillet with a creamy, savory-sweet peanut sauce. 30 minutes, one pan.…
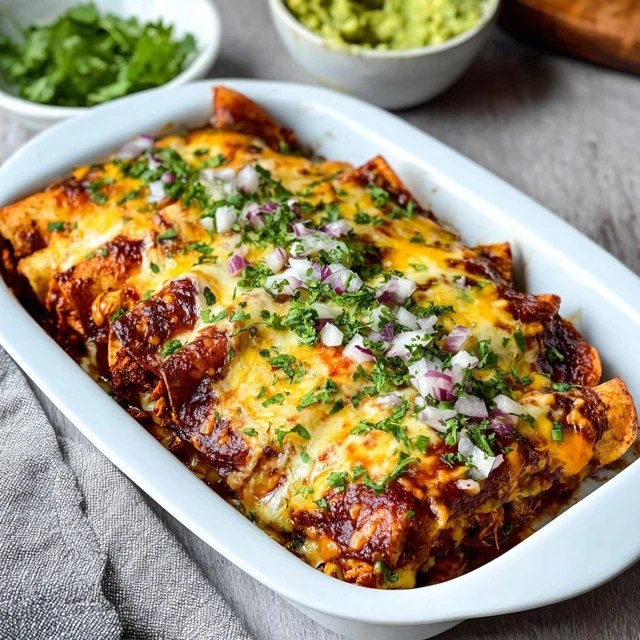
Cheese enchiladas with salsa — Tex-Mex classic with corn tortillas, three cheeses, red enchilada sauce. The comfort dinner. 40 min.…
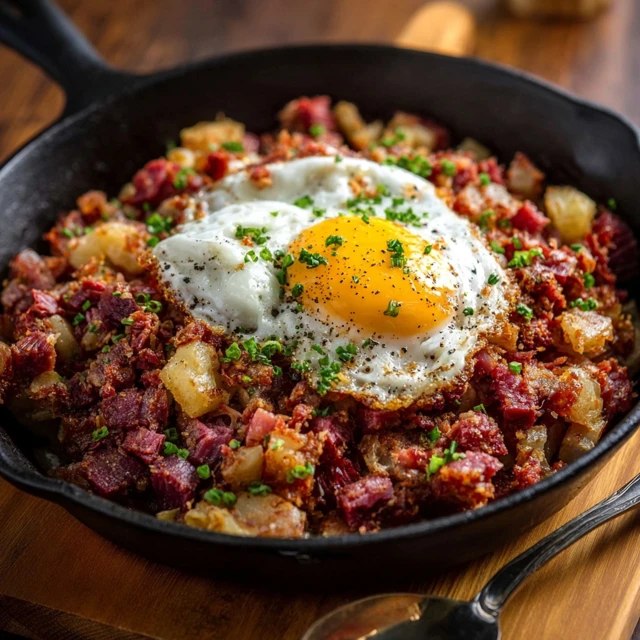
Corned beef hash with egg — crispy diner-style breakfast skillet with golden potatoes, corned beef and runny eggs. Great for leftovers. 30 m…
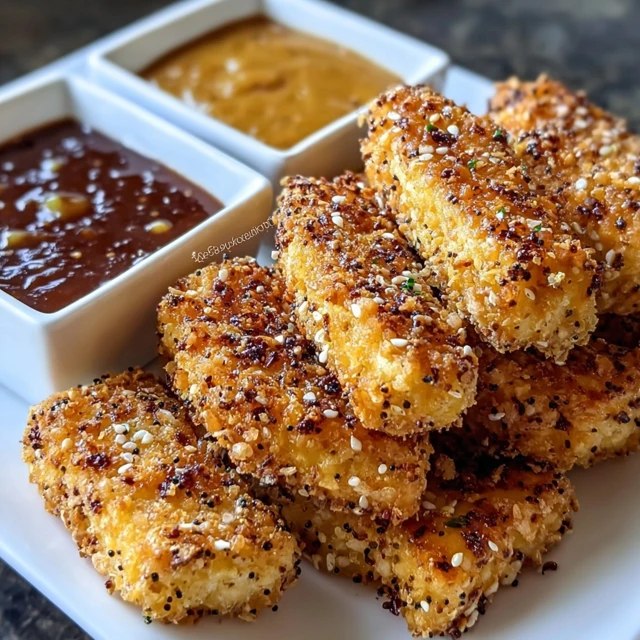
Crispy tofu nuggets — crunchy panko-coated vegetarian nuggets, baked or air-fried, that even meat-eaters love. Kid-friendly. 35 minutes.…
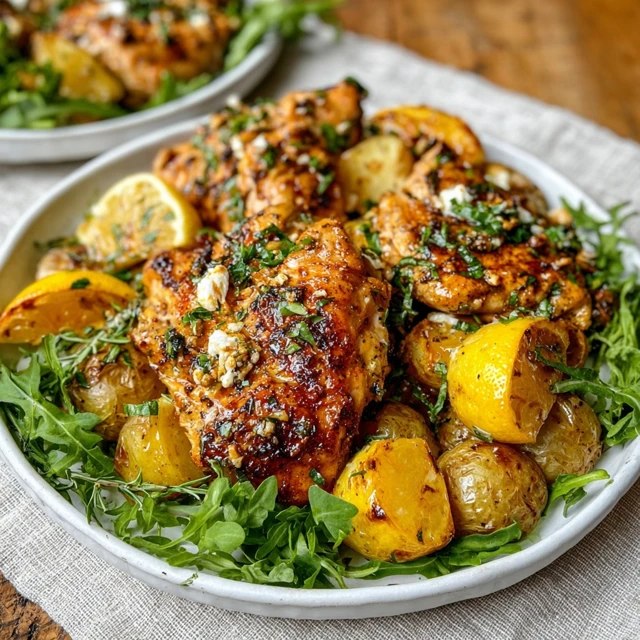
Lemon herb chicken and potatoes — one-pan roasted bone-in chicken thighs with baby potatoes, lemon, garlic, thyme, rosemary. 50 min weeknigh…
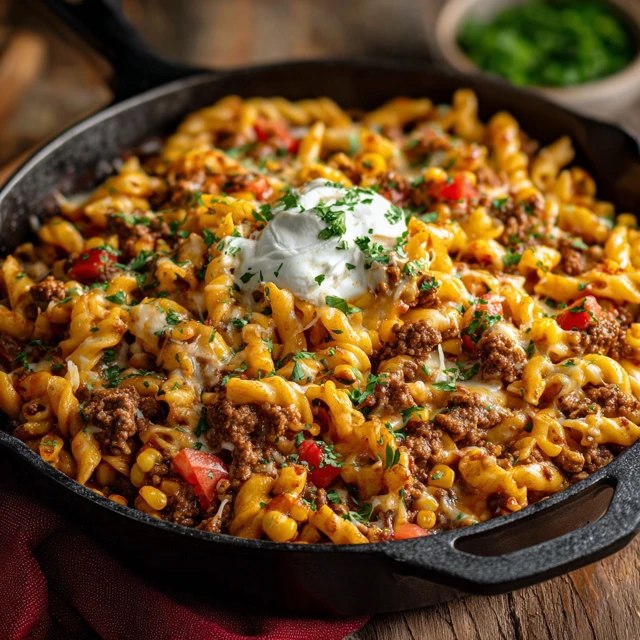
Cheesy beef pasta skillet — one-pan ground beef and pasta in a creamy tomato sauce with melty cheese. Homemade hamburger helper, 30 minutes.…
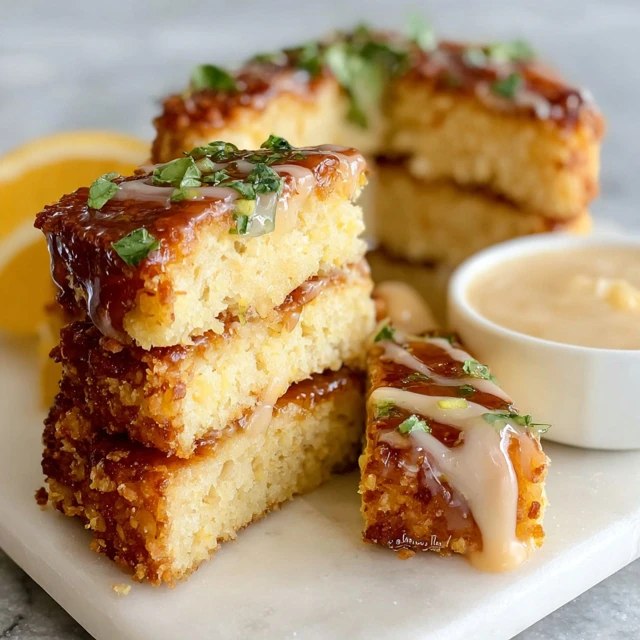
Lemon coconut cake bars — soft, moist tropical bars bursting with lemon and coconut, topped with lemon glaze and toasted coconut. 45 minutes…

Chicken rigatoni pasta — Tuscan-style cream sauce with sun-dried tomatoes, spinach, garlic, parmesan. Restaurant dinner in 40 min.…

Beef Wellington pinwheels — all the flavor of beef Wellington as easy puff pastry appetizers with mushroom duxelles and steak. 45 minutes.…