The Gastronomic Architecture: Gelatinization and Surface Area
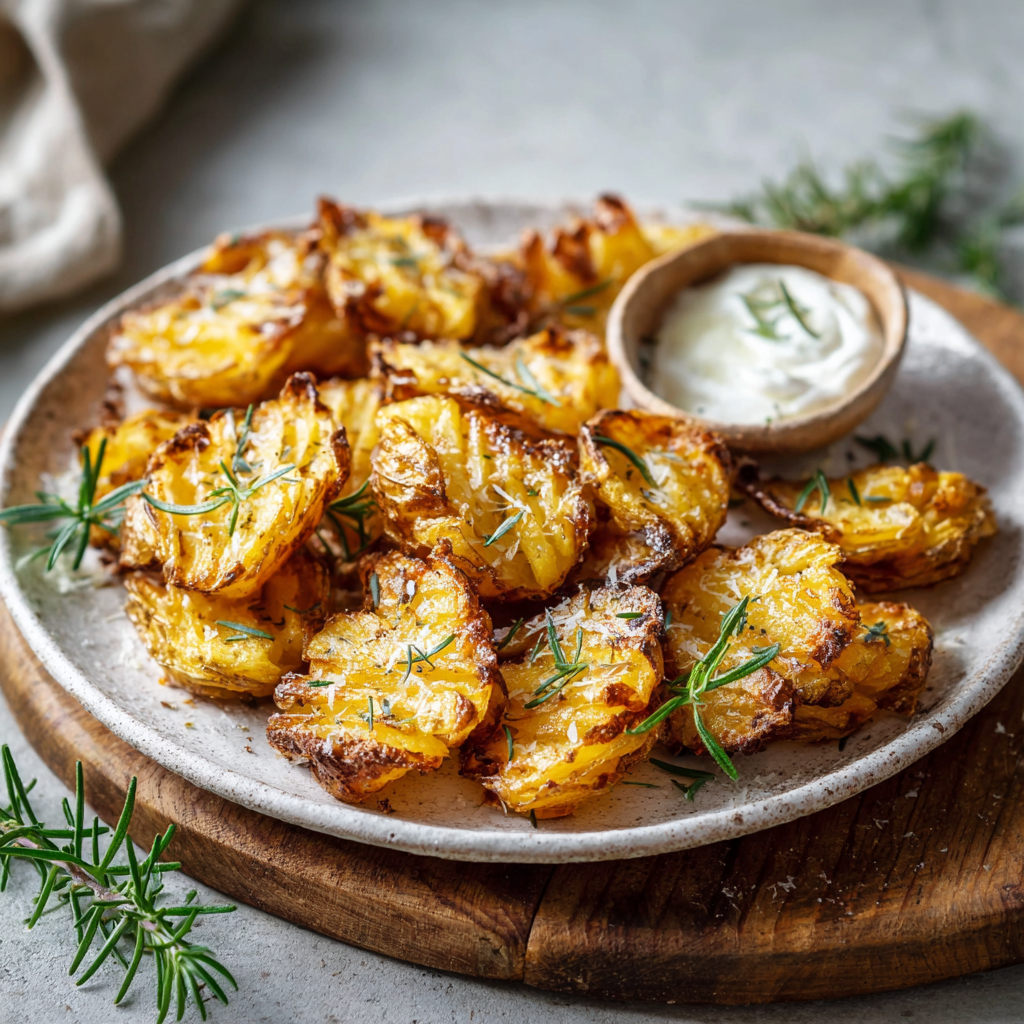
In the hierarchy of side dishes, Smashed Potatoes represent a sophisticated study in Starch Retrogradation and Surface Area Maximization. The technical challenge lies in the “Double-Cook” method: first, a par-boil to gelatinize the interior starches, followed by a high-heat roast to dehydrate the exterior. By “smashing” the potato, you create a topographical landscape of nooks and crannies—mechanical traps for oil and heat—that result in a “shatter-crisp” crust.
Data from food physics suggests that the “irresistibility” factor is the Maillard-Starch Loop: as the surface dehydrates, the potato’s natural sugars caramelize, while the interior remains a fluffy, steamed cloud.
The Essential Mise en Place: Technical Specs
To achieve a restaurant-grade “snap,” the type of potato and the thermal conductivity of your pan are the most critical factors.
The Foundation (The Spud)
- Baby Yukon Gold or Red Potatoes (680g / 1.5 lbs): Technical Requirement: Use waxy or all-purpose varieties. Their high moisture and lower starch content (compared to Russets) allow them to hold their shape during the smashing phase without disintegrating.
- Salted Water: For the initial par-boil. Expert Tip: Add 1/2 tsp of baking soda to the water. This breaks down the potato’s pectin, creating a starchy “slurry” on the surface that crisps up intensely in the oven.
The Lipid Matrix (The Crisp)
- Extra Virgin Olive Oil or Duck Fat (60ml / 1/4 cup): For a high-smoke point and deep flavor.
- Fresh Garlic & Rosemary: To be added during the final 10 minutes to prevent burning.
- Flaky Sea Salt (Maldon): For a clean, crystalline finish.
The Masterclass: Step-by-Step Culinary Execution
Phase 1: The Pectin Breakdown (Par-Boil)
Place the whole, unpeeled potatoes in cold salted water with the baking soda. Bring to a boil and cook for 15–20 minutes until fork-tender but not falling apart. Drain and let them steam-dry for 5 minutes. Surface moisture is the enemy of the crunch; the drier they are before roasting, the crispier they will become.
Phase 2: The Mechanical “Smash”
Place the potatoes on a pre-oiled baking sheet. Use the bottom of a heavy glass or a potato masher to press them down until they are about 1cm thick. Technical Requirement: Don’t smash them too thin, or they will become chips; you want a contrast between the crispy edges and the soft center.
Phase 3: The Lipid Saturation
Drizzle generously with oil, ensuring the “nooks” are filled. Season with salt and pepper. Roast at 220°C (425°F) for 20–25 minutes. Do not disturb them during this phase; the underside needs to form a solid “frico-like” crust.
Phase 4: The Aromatic Fusion (The Flip)
Flip the potatoes. They should be golden and release easily from the pan. Add minced garlic and herbs now. Roast for another 10–15 minutes until the edges are deep brown and audible when tapped with a fork.
Common Technical Pitfalls to Avoid
- The “Soggy” Spud: Caused by not letting the potatoes steam-dry after boiling. Water trapped in the skin will turn to steam in the oven, preventing the oil from “frying” the surface.
- Burnt Garlic: Garlic burns at a lower temperature than potatoes crisp. Always add aromatics in the final stage of roasting.
- Sticking to the Pan: Ensure the baking sheet is well-greased before placing the potatoes down. A hit of high heat (220°C) is necessary to “sear” the potato away from the metal.

Frequently Asked Questions (Q&A)
| Question | Expert Answer |
| Can I use large potatoes? | You can, but baby potatoes have a higher skin-to-flesh ratio, which provides more “crunch” per bite. |
| Are they good for meal prep? | They lose their “snap” as they cool. To revive them, re-crisp in an air fryer or a dry skillet—never use a microwave. |
| Why baking soda? | It raises the pH of the water, which breaks down the potato’s exterior pectin into a starchy paste that fries into an ultra-crisp shell. |
Leave a Reply