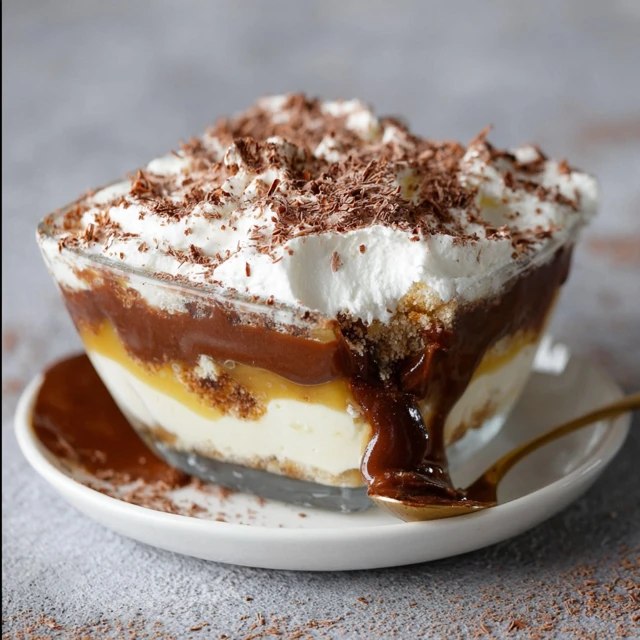
This is the dessert I make in summer when I refuse to turn on the oven but still need to feed twelve people. Chocolate lasagna dessert is the no-bake layered showstopper with a crunchy Oreo cookie crust, sweet cream cheese layer, silky chocolate pudding, fluffy Cool Whip topping, and chocolate shavings on top. 30 minutes hands-on, 4 hours chill, serves 12.
Fun fact: “chocolate lasagna” was invented as a Pinterest-era twist on the 1970s “icebox cake,” combining the Italian word “lasagna” (which simply means “layers” from the Latin “lasanum” or cooking pot) with no-bake American pudding-and-Cool-Whip dessert traditions. It went viral in 2013 on Pinterest where it has been pinned over 4 million times, becoming the most-pinned chocolate dessert in the platform’s history.
Why this recipe works
Use full Oreos, including the filling. The filling melts into the butter creating a richer, sweeter crust than just cookie crumbs. Don’t twist off the cream.
Chill the crust before layering. A warm crust + cool cream cheese = melted soggy layer. 20 minutes in the freezer locks the crust solid.
Use instant pudding, not cook-and-serve. Instant sets cold, perfect for layering. Cook-and-serve needs hours of fridge time and weeps water into the dessert.
Pulse 32 Oreos in a food processor until fine crumbs (reserve 4 for topping). Add melted butter; pulse until uniform sandy texture. Press firmly into the bottom of a 9×13 pan. Freeze 20 minutes.
Step 2: Make the cream cheese layer
Beat softened cream cheese with sugar and milk until smooth. Fold in 1 1/4 cups Cool Whip until completely combined. Spread evenly over chilled crust.
Step 3: Make the pudding layer
Whisk pudding mix with cold milk for 2 full minutes. Let stand 5 minutes — it’ll thicken to spreadable consistency. Spread evenly over the cream cheese layer.
Step 4: Top with Cool Whip
Spread remaining Cool Whip evenly over pudding layer in soft swoops. Don’t press — keep it fluffy.
Step 5: Add toppings
Sprinkle mini chocolate chips, chocolate shavings, and crushed Oreos over the top in any decorative pattern.
Step 6: Chill until set
Cover loosely with plastic wrap (don’t touch the topping). Refrigerate at least 4 hours, ideally overnight, until layers are firmly set. Cut into 12 squares to serve.
Nutrition information
Calories: 420 kcal per serving
Protein: 5 g
Carbohydrates: 48 g
Fat: 24 g
Sugar: 32 g
Calcium: 10% DV
Pro tips for perfect layers
Wipe knife between cuts. Clean knife + warm tap water rinse between slices = picture-perfect squares.
Overnight is better than 4 hours. Flavors meld, layers firm up, and slices hold their shape better. Make a day ahead for parties.
Use a glass dish. Beautiful layers are visible from the side. A glass 9×13 makes it Instagram-worthy.
Add toppings just before serving. Crushed Oreos go soft after a few hours under plastic wrap. Sprinkle right before cutting for max crunch.
Frequently asked questions
Can I make it ahead?
Yes — assemble entirely up to 2 days ahead. Keep covered and refrigerated. Add the crunchy toppings (Oreo crumbs, chocolate chips) within an hour of serving for best texture.
How long does it keep?
Refrigerator up to 4 days well-covered. Texture stays great. Beyond that, the Oreo crust starts softening and the Cool Whip loses its peak fluffiness.
Can I freeze it?
Yes — freeze covered up to 2 months. Thaw in fridge 4 hours before serving. The texture becomes slightly icier but still delicious. Bonus: frozen squares are a fun summer treat.
Can I use Reduced-Fat ingredients?
Yes — fat-free Cool Whip, light cream cheese, and sugar-free pudding all work. Saves ~150 calories per slice. Flavor remains nearly identical.
What if I don’t have Oreos?
Any chocolate sandwich cookie (Hydrox, Newman-O’s, store brand) works perfectly. For different flavors, try chocolate graham crackers or even crushed chocolate chip cookies.
Can I make it in individual cups?
Absolutely — layer in 12 small mason jars or clear plastic cups for instant party-perfect single servings. Reduce crust portion to 2 tbsp per cup and proceed with layers.