Introduction
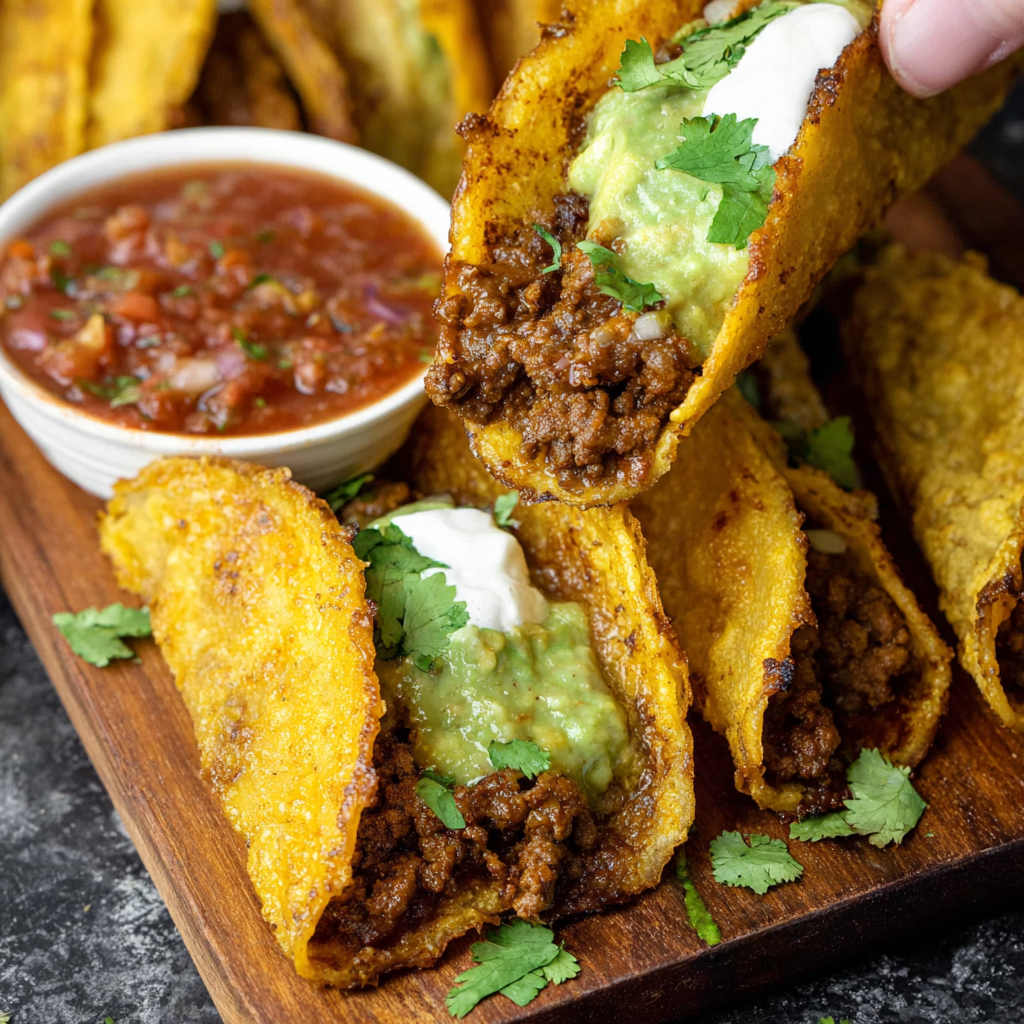
There’s nothing quite like biting into a perfectly Crispy Ground Beef Taco — the golden crunch of the shell, the juicy seasoned beef, and all those fresh toppings bursting with flavor. 😍
These tacos are quick, easy, and totally customizable — ideal for Taco Tuesday, weeknight dinners, or feeding a crowd.
Fun fact: According to global food trends, tacos rank among the top 5 most beloved meals in America, with crispy tacos leading the charge for their texture and nostalgic flavor.
Ingredients List
For 10 Tacos
Beef Filling
- 1 lb (450 g) ground beef (80/20 for best flavor)
- 1 tbsp olive oil
- 1 small onion, finely chopped
- 2 cloves garlic, minced
- 1 tbsp chili powder
- 1 tsp cumin
- 1 tsp paprika
- ½ tsp oregano
- Salt & pepper, to taste
- ½ cup tomato sauce or 2 tbsp tomato paste + ¼ cup water
Taco Shells & Toppings
- 10 crispy taco shells (store-bought or homemade)
- 1 cup shredded lettuce
- 1 cup diced tomatoes
- 1 cup shredded cheddar or Mexican blend cheese
- ½ cup sour cream or Mexican crema
- ¼ cup chopped cilantro
- Lime wedges, for serving
Optional Add-Ins: Avocado slices, pickled jalapeños, diced onions, or salsa.
Timing ⏰
- Prep Time: 10 minutes
- Cook Time: 15 minutes
- Total Time: 25 minutes
➡️ Ready in under 30 minutes — perfect for busy nights or casual gatherings!
Step-by-Step Instructions
Step 1: Cook the Beef
Heat olive oil in a large skillet over medium-high heat.
Add ground beef and cook, breaking it apart with a spatula, until browned — about 6–8 minutes.
Drain excess fat, then add onion and garlic. Cook for 2 minutes, stirring often.
Step 2: Season It Up
Add chili powder, cumin, paprika, oregano, salt, and pepper. Stir to coat the beef in spices.
Pour in tomato sauce (or tomato paste mixture) and simmer for 5 minutes until the beef is juicy and flavorful.
Flavor Tip: Add a splash of lime juice at the end for a zesty finish.
Step 3: Heat the Taco Shells
Preheat oven to 375°F (190°C).
Arrange taco shells on a baking tray and warm them for 5 minutes — this keeps them extra crispy and enhances flavor.
Pro Tip: Brush shells lightly with oil and bake for 2–3 minutes longer for a restaurant-style crunch.
Step 4: Assemble the Tacos
Fill each taco shell with seasoned beef, then top with cheese, lettuce, tomatoes, and sour cream.
Finish with cilantro and a squeeze of lime for freshness. 🌿🍋
Step 5: Serve & Enjoy
Serve immediately while the shells are still crisp.
Pair with Mexican rice, refried beans, or guacamole for a complete meal!
Nutritional Information (Per Taco)
| Nutrient | Amount |
|---|---|
| Calories | 230 kcal |
| Protein | 15 g |
| Fat | 13 g |
| Carbohydrates | 14 g |
| Fiber | 2 g |
| Sodium | 310 mg |
Nutrition Insight: These tacos are rich in protein and easily adaptable — swap in lean beef or turkey for a lighter version.
Healthier & Creative Variations 🥗
- Low-Carb: Use lettuce wraps instead of taco shells.
- High-Protein: Add black beans or quinoa to the filling.
- Spicy Version: Mix in chipotle powder or diced jalapeños.
- Vegetarian: Replace beef with lentils, tofu crumbles, or mushrooms.
Serving Suggestions 🍽️
- Pair with Mexican street corn, guacamole, or pico de gallo.
- Offer toppings buffet-style for a fun DIY taco night.
- Great with frozen margaritas, iced tea, or Mexican soda.
Hosting Tip: Keep beef warm in a slow cooker on “low” during parties — guests can build their tacos anytime!
Common Mistakes to Avoid ❌
- Skipping fat drainage: Makes the filling greasy.
- Overstuffing shells: Leads to cracking — less is more.
- Not heating shells: They’ll taste stale instead of crisp.
- Using bland beef: Season generously for that authentic taco flavor.
Storage & Reheating 🧊
- Beef Filling: Store separately in the fridge up to 4 days.
- Reheat: In a skillet with a splash of water for 3–4 minutes.
- Freeze: Up to 2 months in a freezer-safe bag.
- Taco Shells: Keep in a sealed bag at room temp; re-crisp in oven before serving.
Conclusion
Crispy, flavorful, and endlessly customizable — these Crispy Ground Beef Tacos bring the taste of your favorite taquería right to your kitchen. 🌮🔥
Fast, affordable, and always crowd-pleasing — they’re everything you love about tacos, simplified and perfected.
Leave a Reply