Introduction
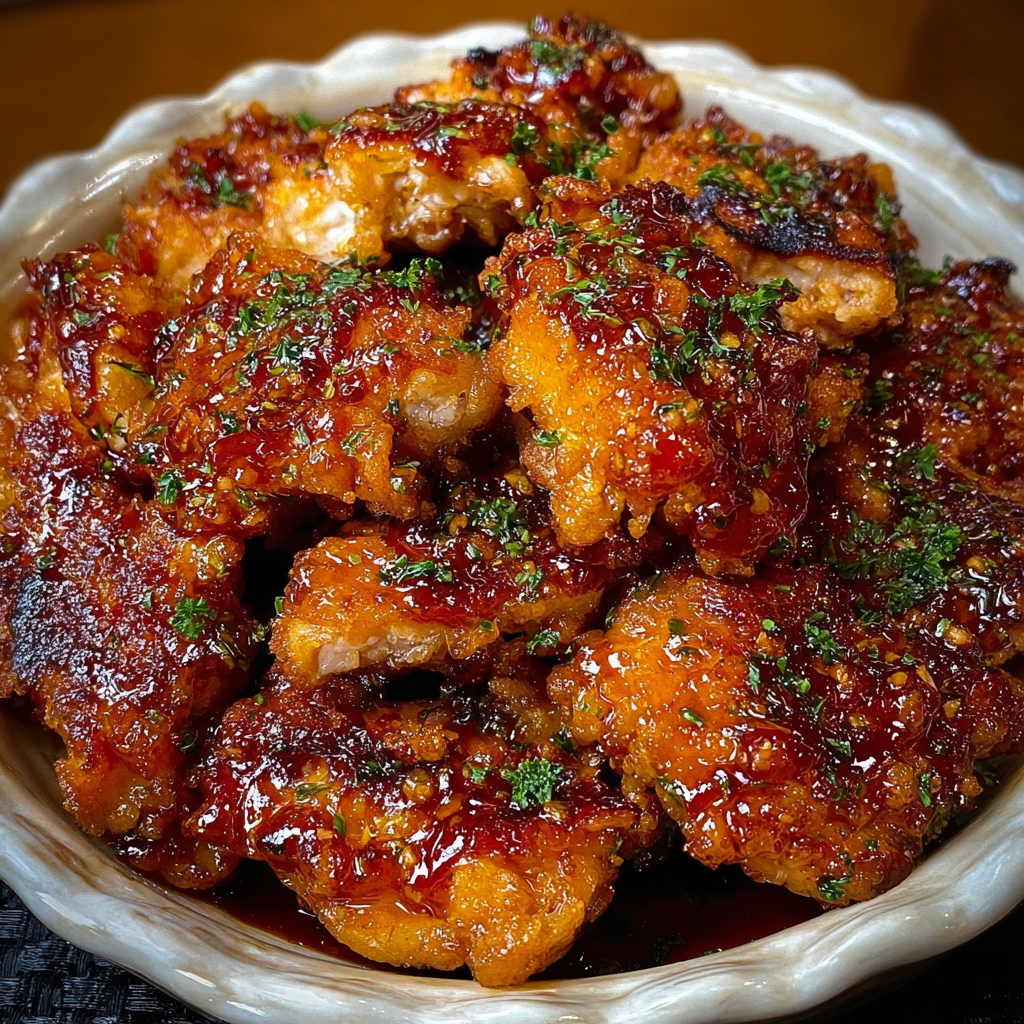
Crispy, golden chicken coated in a glossy honey garlic sauce — sounds irresistible, right? 😍
This Crispy Honey Garlic Chicken delivers restaurant-quality flavor with an addictive crunch and a perfect balance of sweet and savory. The magic lies in the light, crisp coating and that silky, caramelized sauce made with honey, soy sauce, and fresh garlic.
It’s quick to make, budget-friendly, and guaranteed to please everyone at the table. According to food trends, Asian-inspired crispy chicken dishes have become one of the top 10 most recreated recipes globally — and once you try this one, you’ll know why!
Ingredients List
For the Chicken
- 1 lb (450 g) boneless, skinless chicken breasts or thighs, cut into bite-size pieces
- ½ cup all-purpose flour
- ½ cup cornstarch
- 1 tsp salt
- ½ tsp black pepper
- 2 large eggs, beaten
- Oil for frying (vegetable or canola)
For the Honey Garlic Sauce
- ⅓ cup honey
- 3 cloves garlic, minced
- 3 tbsp soy sauce
- 1 tbsp apple cider vinegar (or rice vinegar)
- 1 tbsp water
- 1 tsp cornstarch (mixed with 1 tbsp water, optional for thickening)
Tip: Use chicken thighs for juicier bites, and double the sauce if you love it extra sticky!
Timing ⏰
- Prep Time: 15 minutes
- Cook Time: 20 minutes
- Total Time: 35 minutes
➡️ A fast and flavorful dinner that tastes better than takeout!
Step-by-Step Instructions
Step 1: Prep the Chicken
In a bowl, combine flour, cornstarch, salt, and pepper.
Dip chicken pieces into beaten eggs, then dredge in the flour mixture until evenly coated.
Pro Tip: Press the coating gently onto the chicken to make it extra crispy.
Step 2: Fry Until Golden
Heat about 1 inch of oil in a skillet over medium-high heat (350°F / 175°C).
Fry chicken in batches for 4–5 minutes per side until golden and crispy.
Drain on paper towels.
Crisp Tip: Don’t overcrowd the pan — it keeps the temperature stable and the coating crunchy.
Step 3: Make the Honey Garlic Sauce
In a separate saucepan, add honey, soy sauce, garlic, and vinegar.
Bring to a simmer for 2–3 minutes, stirring constantly.
If you prefer a thicker sauce, add the cornstarch slurry and simmer another minute until glossy.
Step 4: Toss & Coat
Add fried chicken to the pan with the sauce.
Toss gently until each piece is evenly coated in that sticky, golden glaze.
Step 5: Serve & Enjoy
Serve hot over steamed jasmine rice or noodles, topped with sesame seeds and chopped green onions. 🌿
Nutritional Information (Per Serving)
| Nutrient | Amount |
|---|---|
| Calories | 420 kcal |
| Protein | 28 g |
| Fat | 15 g |
| Carbohydrates | 38 g |
| Sugar | 15 g |
| Sodium | 780 mg |
Nutrition Insight: This meal offers a balanced mix of lean protein and energy-rich carbs — satisfying and full of flavor without deep-fryer guilt.
Healthier & Creative Variations 🥗
- Air Fryer Method: Cook chicken at 400°F (200°C) for 10–12 minutes, flipping halfway.
- Baked Version: Bake coated chicken on a wire rack at 425°F (220°C) for 20–25 minutes until crisp.
- Spicy Kick: Add chili flakes or sriracha to the sauce.
- Gluten-Free: Use cornstarch only and gluten-free soy sauce.
- Vegetarian Option: Substitute chicken with crispy tofu or cauliflower.
Serving Suggestions 🍽️
- Pair with fried rice, steamed broccoli, or Asian slaw.
- Serve with lime wedges for brightness.
- Great for meal prep — the sauce reheats beautifully!
Hosting Tip: Keep the chicken and sauce separate until serving to maintain crispiness.
Common Mistakes to Avoid ❌
- Overcrowding the pan: Causes soggy coating.
- Skipping the cornstarch: It’s key to ultra-crispy texture.
- Overcooking garlic: Makes the sauce bitter — sauté gently.
- Tossing too early: Wait until the sauce thickens before coating the chicken.

Leave a Reply