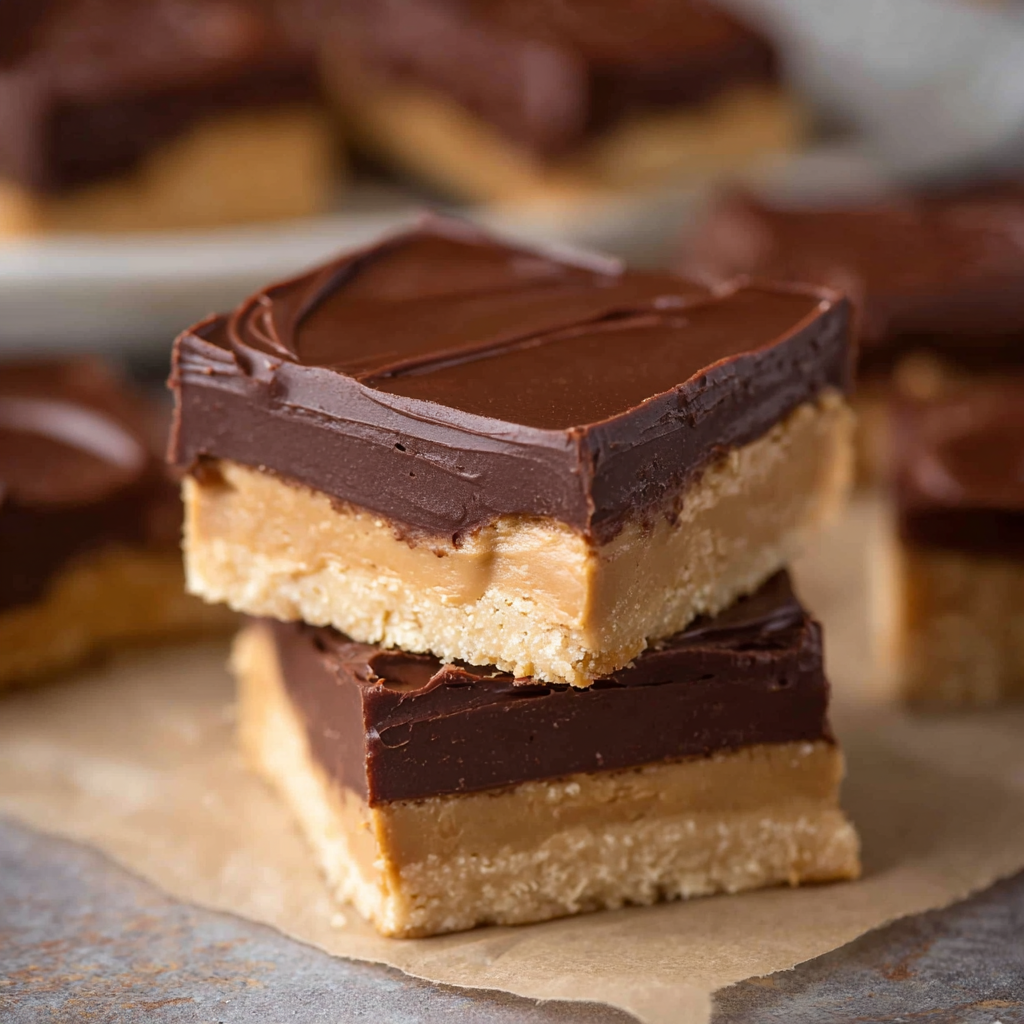
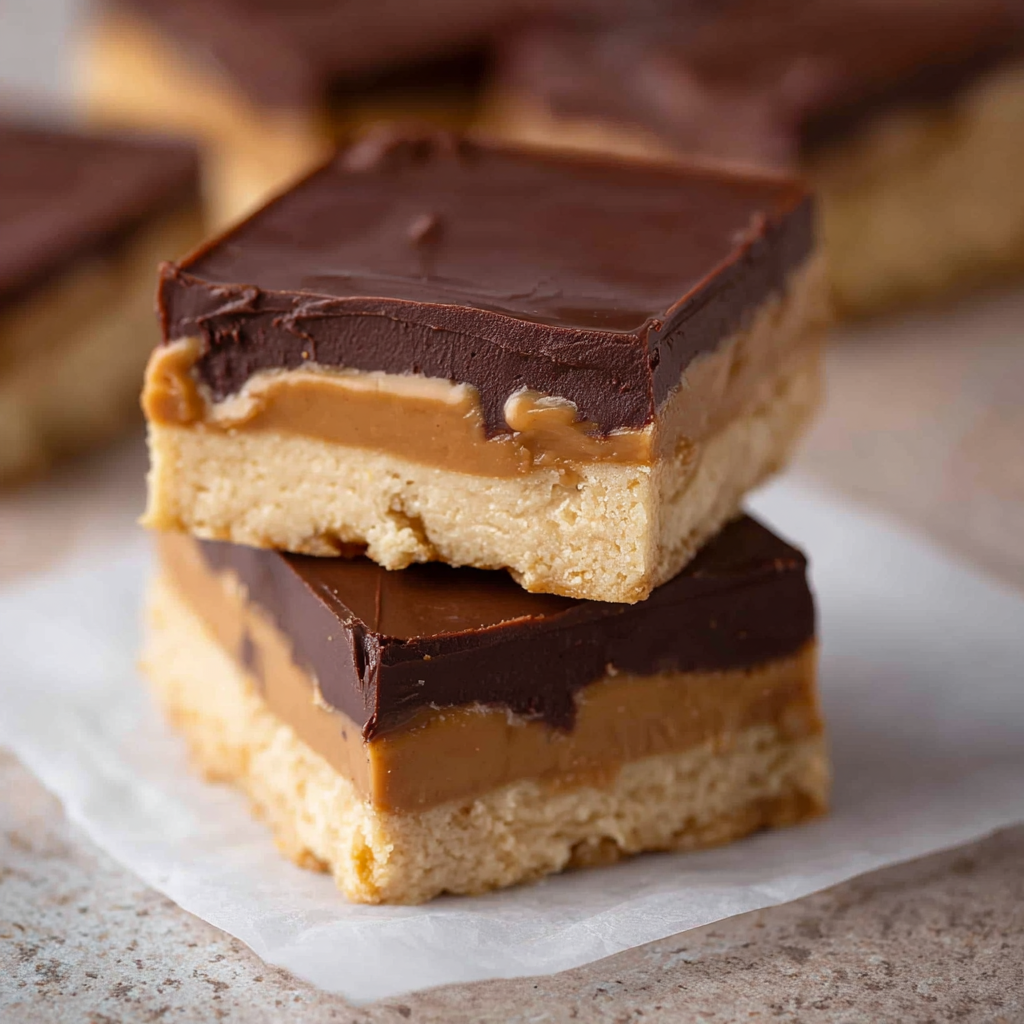
Buckeye Bars—named after the famous Ohio candy that resembles the nut of the Buckeye tree—are a legendary no-bake treat.1 They combine a thick, salty-sweet peanut butter fudge base with a smooth, snappy layer of dark chocolate, delivering maximum flavor and indulgence with minimal effort.2
This recipe is designed to create the perfect texture: a firm, rich peanut butter layer that holds its shape, topped with a chocolate coating that snaps when you bite into it.
📝 Ingredients List
Accuracy in measurements is key for the perfect fudge-like texture of the peanut butter layer.
For the Peanut Butter Base:
- Unsalted Butter (Softened): $1/2$ cup (1 stick). Must be truly softened, not melted.
- Creamy Peanut Butter: $1 \frac{1}{2}$ cups (about 15 ounces). Use regular creamy peanut butter, not natural style.
- Powdered Sugar (Confectioners’ Sugar): 3 cups.
- Vanilla Extract: 1 teaspoon.
- Salt: $1/4$ teaspoon (to enhance the peanut butter flavor).
For the Chocolate Topping:
- Semi-Sweet Chocolate Chips: 2 cups (high quality is recommended).
- Vegetable Shortening or Coconut Oil: 2 tablespoons. Crucial for the snappy, smooth texture.
🕒 Timing: Fast Prep, Patience Required
The majority of the time is dedicated to chilling, which is essential for the bars to set and slice cleanly.
| Phase | Time Estimate | Notes |
| Active Prep | 15 minutes | Mixing the peanut butter fudge. |
| Chocolate Prep | 5 minutes | Melting the topping. |
| Setting Time (Refrigerator) | 3 hours (Minimum) | Required for the base to firm up. |
| Total Time | Approx. 3 hours 20 minutes | Mostly passive chilling time. |
🛠️ Step-by-Step Instructions
1. Prep the Pan
Line a 3$9 \times 13$-inch baking pan with parchment paper, leaving an overhang on the two long sides.4 This makes lifting the finished bars out incredibly easy.
2. Create the Peanut Butter Fudge Base
In a large bowl or the bowl of a stand mixer, beat the softened butter and creamy peanut butter together on medium speed until smooth (about 2 minutes).
Add the powdered sugar, vanilla extract, and salt. Beat on low speed until the mixture comes together into a stiff, crumbly dough. Increase speed to medium and continue beating until the mixture forms a thick, smooth dough that pulls away from the sides of the bowl.
3. Press and Chill
Press the peanut butter mixture evenly into the bottom of the prepared $9 \times 13$-inch pan. Use a flat spatula or the bottom of a glass to ensure it is tightly packed and smooth.
- Crucial Step: Place the pan in the refrigerator and chill for at least 2 hours. The base must be completely firm before adding the topping.
4. Prepare the Chocolate Topping
In a microwave-safe bowl, combine the semi-sweet chocolate chips and the shortening or coconut oil. Microwave in 30-second intervals, stirring between each, until the chocolate is completely smooth and melted. The shortening or oil adds gloss and prevents the chocolate from cracking when cut.5
5. Top and Finish
Remove the chilled peanut butter base from the refrigerator. Pour the melted chocolate mixture evenly over the top of the peanut butter layer. Quickly smooth the chocolate with an offset spatula to cover the entire surface.
6. Final Chill
Return the pan to the refrigerator and chill for at least 1 hour more, or until the chocolate topping is completely set and hard to the touch.
7. Slice and Serve
Use the parchment paper overhang to lift the entire slab out of the pan and onto a cutting board. Use a large, sharp knife to cut the bars into desired shapes (usually 36 small squares). Store the bars in an airtight container.
💡 Expert Tips
- The Oil is Key: Do not skip the shortening or coconut oil in the chocolate topping. It reduces the chocolate’s viscosity, resulting in a thin, smooth, and easily sliceable coating that won’t shatter when you cut the bars.
- Non-Natural Peanut Butter: Use standard creamy peanut butter (like Jif or Skippy). Natural peanut butter, which separates oil, does not combine correctly and will make the fudge base greasy.
- Room Temperature Butter: Softened butter incorporates smoothly with the peanut butter and powdered sugar, preventing a gritty texture in the fudge base.
❓ FAQs
Q: Why is my peanut butter base too crumbly?
A: If your base is too crumbly and won’t hold together, it’s usually due to slightly less butter or oil content in your peanut butter, or using too much powdered sugar. Try adding 1 tablespoon of melted butter or 1 teaspoon of milk to the mixture and beat again until the dough comes together.
Q: Can I freeze Buckeye Bars?
A: Yes! Buckeye Bars freeze beautifully. Once the bars are cut, arrange them in a single layer in an airtight container, separating layers with wax paper. Freeze for up to 3 months. Thaw them in the refrigerator for a few hours before serving.
Q: How do I get clean slices?
A: The trick is temperature.
- Ensure the bars are fully chilled.
- Use a large, sharp knife.
- For super clean cuts, dip the knife in hot water and wipe it dry before each slice. The hot blade melts the chocolate just enough to make a clean cut.
Leave a Reply