Introduction
Did you know that the tradition of leaving cookies for Santa started during the Great Depression as a way for parents to teach children gratitude during difficult times? Today, it is the most anticipated baking event of the year. However, the number one complaint home bakers have with cut-out cookies is spreading. There is nothing sadder than putting a crisp Santa shape into the oven and pulling out an unrecognizable blob.
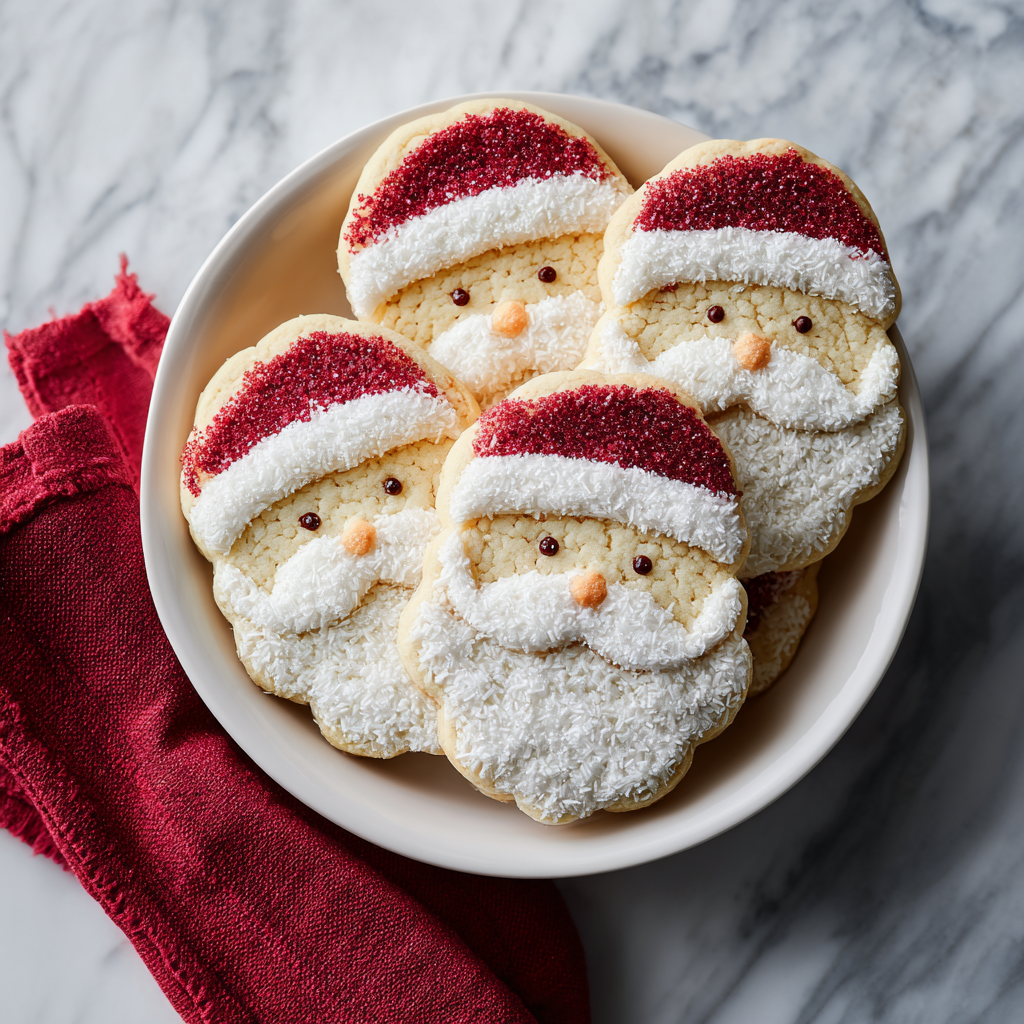
This recipe for Festive Santa Sugar Cookies relies on a bakery-style “No-Spread” dough. By using a higher ratio of flour to fat and eliminating chemical leaveners (like baking soda) that cause puffing, we ensure your cookies come out with sharp, defined edges exactly like the cutter. Topped with a simple Royal Icing design that turns a basic round circle into Jolly Old Saint Nick, these cookies are sturdy, stackable, and perfect for shipping or leaving by the chimney.
Ingredients List
To ensure sharp edges and a smooth icing finish, the consistency of the butter and the type of sugar are the critical variables. Here is your curated shopping list.
The No-Spread Cookie Base:

- 1 Cup (2 sticks) Unsalted Butter: Slightly softened.
- Critical Spec: It should be cool to the touch, not greasy or melting. If your finger leaves a dent but doesn’t slide through, it’s perfect.
- 1 Cup Granulated Sugar.
- 1 Large Egg: Cold.
- 1 Teaspoon Vanilla Extract.
- ½ Teaspoon Almond Extract: This is the “secret bakery flavor.”
- 3 Cups All-Purpose Flour: Spooned and leveled.
- ½ Teaspoon Salt.
- Note: We are intentionally omitting Baking Powder/Soda to prevent spreading.
The Easy Royal Icing:
- 4 Cups Confectioners’ Sugar (Powdered Sugar): Sifted.
- 3 Tablespoons Meringue Powder:
- Why? This replaces raw egg whites. It stabilizes the icing so it dries hard and shiny, allowing you to stack the cookies without smudging.
- 5-6 Tablespoons Warm Water: Plus more for thinning.
- Gel Food Coloring: Red, Flesh/Peach (or tiny drop of brown/pink), and Black.
Tools:
- 3-inch Round Cookie Cutter: (Or a Santa shape if you have one).
- Piping Bags or Ziploc bags.
Timing
This dough requires chilling to hold its shape.
- Preparation Time: 20 minutes.
- Chilling Time: 1 hour (or freeze for 15 mins).
- Baking Time: 10–12 minutes.
- Decorating Time: 45 minutes.
- Total Time: Approx. 2.5 hours.
Data Insight: Rolling the dough between parchment paper before chilling it is 50% faster than chilling a ball of dough and trying to roll it out hard. This “Roll-Then-Chill” method ensures even thickness and clean cuts.
Step-by-Step Instructions
Step 1: The Creaming (Briefly)
In a stand mixer, beat the butter and sugar just until combined (about 1–2 minutes).
- Important: Do not beat until “light and fluffy.” Incorporating too much air will cause the cookies to collapse and spread in the oven. You want a dense dough.
Step 2: The Binding
Add the egg, vanilla, and almond extract. Beat until incorporated.
- Dry: Add the flour and salt. Mix on low speed just until the dough pulls away from the sides of the bowl. It will be stiff.
Step 3: Roll and Chill (The Pro Method)
Divide dough in half. Place one half between two sheets of parchment paper.
- Roll: Roll to ¼-inch thickness. Repeat with the second half.
- Chill: Stack the rolled sheets (paper and all) on a baking sheet and refrigerate for 1 hour (or freeze for 20 minutes).
Step 4: Cut and Bake
Preheat oven to 350°F (175°C).
- Cut: Peel the top parchment off the cold dough. Use your round cutter to stamp out circles.
- Transfer: Place circles on a parchment-lined baking sheet.
- Bake: Bake for 10–12 minutes.
- Visual Cue: They are done when the surface is matte (no longer shiny). They should not brown at the edges. You want them pale. Cool completely.
Step 5: The Santa Design (Decorating)
Mix the Royal Icing ingredients on high speed for 5 minutes until stiff peaks form. Divide into bowls and color: Red (Hat), White (Beard/Brim), Peach (Face). Thin with drops of water until it is the consistency of honey (“Flood consistency”).
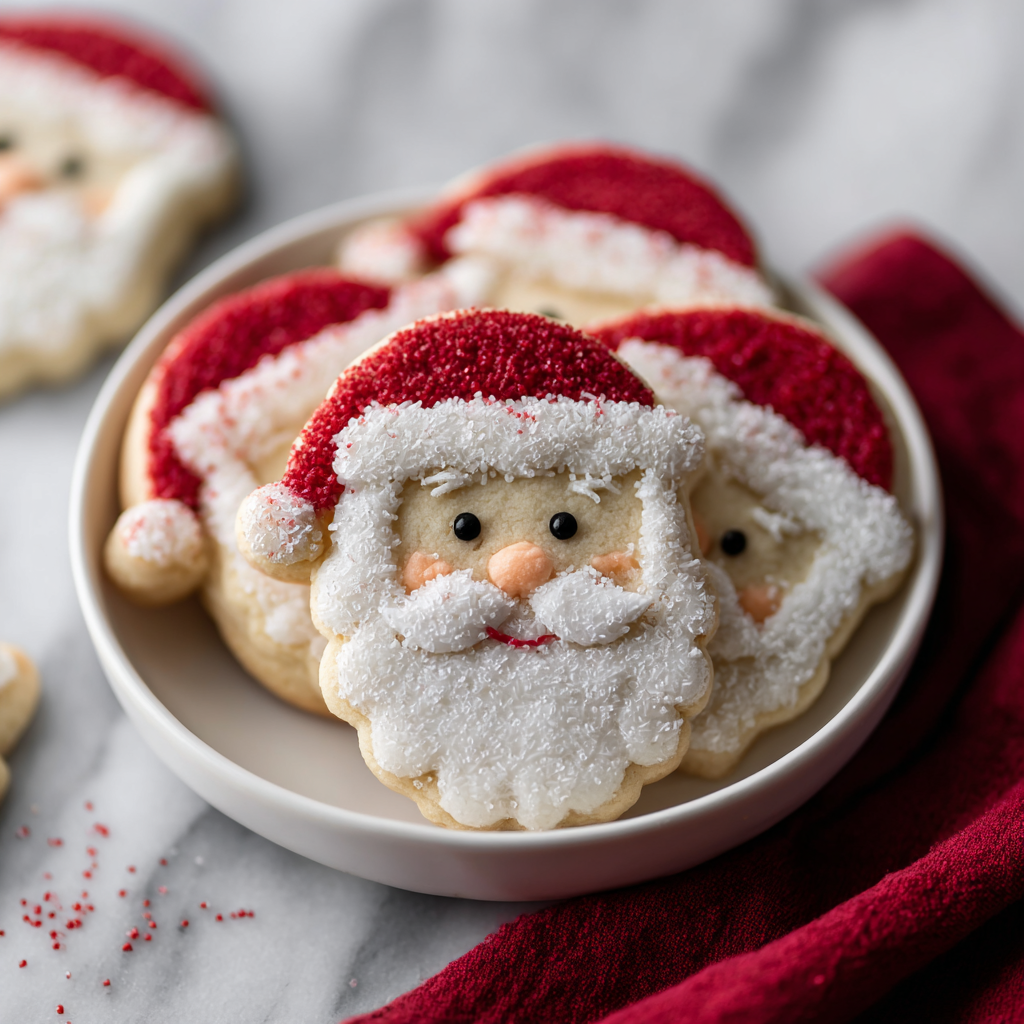
How to Pipe Santa on a Round Cookie:
- The Face: Pipe a peach circle in the center of the cookie (this is his nose/face area). Let dry 10 mins.
- The Beard: Pipe white swirls covering the bottom half of the cookie, curving up the sides to meet the face.
- The Hat: Pipe a red semi-circle on the top third of the cookie.
- The Brim: Pipe a line of white dots or a fluffy line between the red hat and the peach face. Add a white dot (pom-pom) on the side of the hat.
- The Eyes: Add two tiny black dots (icing or sprinkles) on the peach face.
Nutritional Information
A standard holiday indulgence. Estimated breakdown per decorated cookie:
| Nutrient | Amount | % Daily Value |
| Calories | 180 kcal | – |
| Total Fat | 8g | 12% |
| Saturated Fat | 5g | 25% |
| Carbohydrates | 26g | 9% |
| Sugars | 18g | – |
Data Insight: Royal icing dries to a hard, matte finish due to the Meringue Powder. This allows you to package cookies in cellophane bags without the design smearing, unlike buttercream frosting.
Healthier Alternatives for the Recipe
Customize your Santa Cookies for dietary needs:
- Gluten-Free:
- Use a 1:1 Gluten-Free Flour Blend. This dough adapts very well because it doesn’t rely on gluten for rise.
- Dye-Free:
- Red: Use beetroot powder or freeze-dried strawberry powder.
- Beard: Keep it plain white sugar.
- Face: Use a tiny drop of pure vanilla (brown) to tint the white icing to a cream color.
Serving Suggestions
- The Plate: Arrange on a platter with a glass of milk and a carrot (for the reindeer).
- The Tree: Use a straw to poke a hole in the top of the unbaked cookies. Once baked and decorated, string a ribbon through to hang them on the tree.
- Gift Box: Stack 4-5 cookies in a clear box with a red bow.
Common Mistakes to Avoid
The dough is simple, but technique matters.
- Warm Dough:
- The Error: Cutting shapes when the dough is soft.
- The Result: Distorted circles that aren’t perfectly round.
- The Fix: If the dough gets soft, put it back in the freezer for 5 minutes.
- Overbaking:
- The Error: Waiting for them to turn golden brown.
- The Result: Dry, hard crackers.
- The Fix: Pull them out while they still look white and soft. They firm up as they cool.
- Runny Icing:
- The Error: Adding too much water to the icing.
- The Result: The red hat bleeds into the white beard.
- The Fix: Add water 1/2 teaspoon at a time. It should be thick like toothpaste for outlining, and like honey for filling.
Storing Tips for the Recipe
These cookies have an excellent shelf life.
- Room Temperature: Store in an airtight container for up to 2 weeks.
- Freezing:
- Dough: Freeze the rolled sheets for up to 3 months.
- Baked (Undecorated): Freeze for up to 3 months.
- Decorated: Can be frozen carefully between layers of wax paper. Thaw on the counter.
Conclusion
Festive Santa Sugar Cookies are the ultimate holiday project. They combine a foolproof, buttery base that actually keeps its shape with a decoration style that is simple enough for kids but impressive enough for a party. One bite of the vanilla-almond cookie with the sweet crunch of icing, and you’ll understand why Santa never leaves crumbs behind.
Summary: A no-spread vanilla-almond sugar cookie cut into circles and decorated with royal icing to look like Santa Claus.
Ready to bake?
Chill that dough! Rate this recipe 5 stars if your Santas kept their shape, and leave a comment below: do you leave carrots for the reindeer too? Subscribe for more holiday baking guides!
FAQs
Do I have to use Meringue Powder?
Yes, for Royal Icing. If you don’t have it, you can make a simple “Glaze” (Powdered Sugar + Milk + Corn Syrup), but it won’t dry as hard or detailed as Royal Icing.
Can I use store-bought frosting?
You can use canned frosting, but the cookies will not stack. The frosting will remain soft and sticky. This is fine for eating immediately, but bad for gifting.
Why did my red icing bleed into the white?
This happens if the white icing wasn’t dry enough before you piped the red next to it. Let the white “crust over” (dry for 20 minutes) before piping a dark color next to it.
Leave a Reply