Introduction
Did you know that “nature-inspired baking” is one of the top trending search categories for winter parties? We crave desserts that bring the beauty of the outdoors inside—without the dirt, of course.
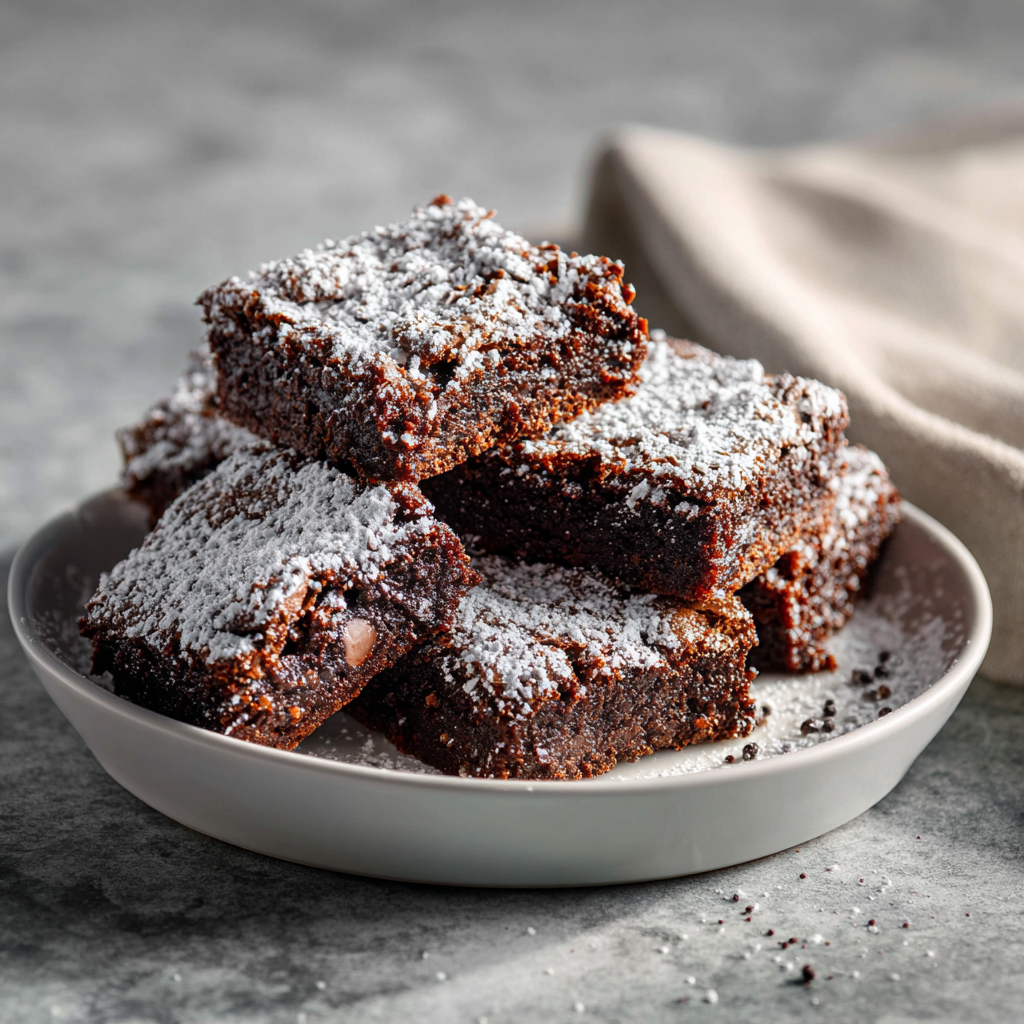
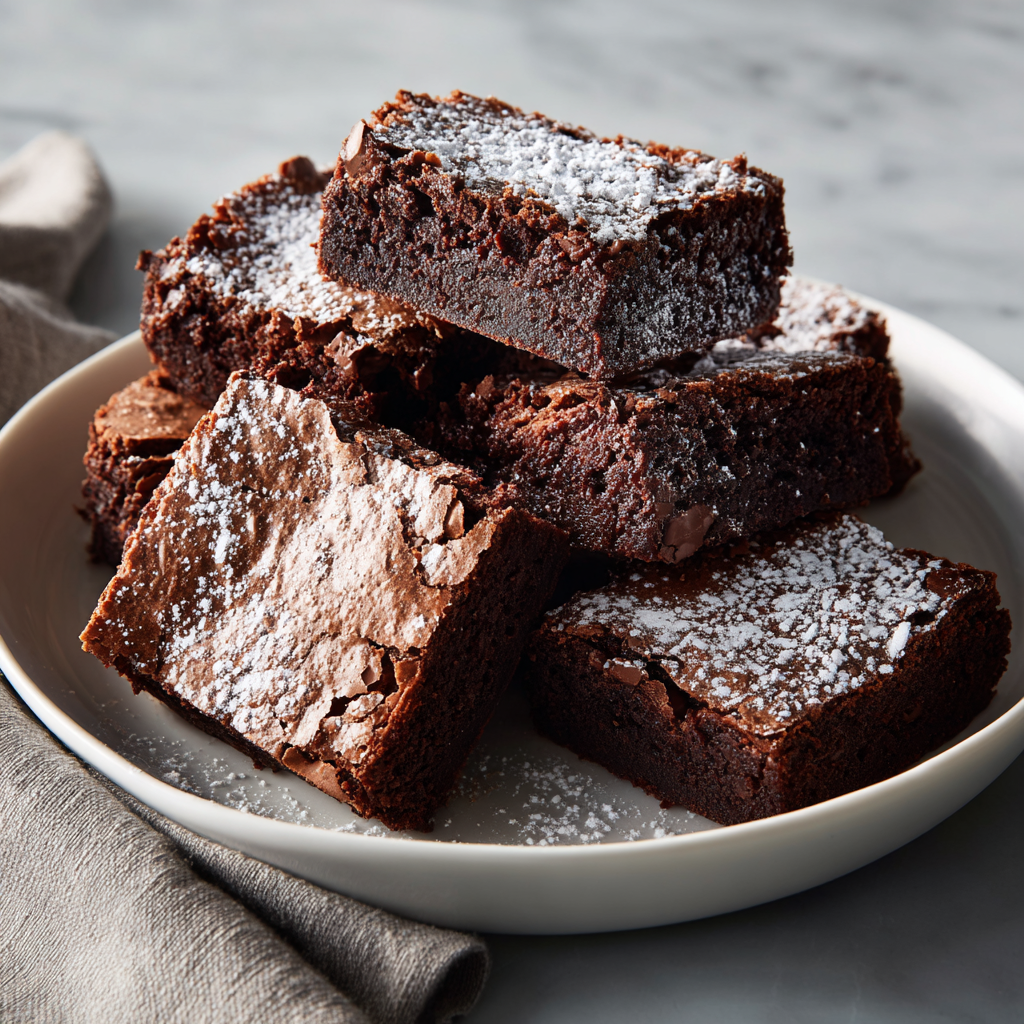
Easy Pine Cone Brownies are the perfect optical illusion. At first glance, they look like foraged pine cones dusted with fresh snow. But one bite reveals the truth: a dense, fudgy, truffle-like brownie center coated in crunchy chocolate “scales.” Unlike complicated fondant cakes, these require zero professional decorating skills. If you can stick a piece of cereal into a ball of dough, you can master this recipe. They are the ultimate showstopper for holiday platters, winter weddings, or just a cozy night in by the fire.
Ingredients List
To create a realistic pine cone texture, the shape of your “scales” is the most critical element.
The Fudgy Core
- 1 box (18 oz) Brownie Mix: Plus the ingredients on the box (eggs, oil, water).
- Tip: You can use homemade brownies, but for stability, a chewy box mix often holds its shape better than a delicate scratch recipe.
- 1/3 to ½ cup Chocolate Frosting: Store-bought or homemade. This acts as the “glue” to turn the baked brownies into a moldable dough (similar to making cake pops).
The “Scales”
- 3-4 cups Chocolate Chex Cereal or Fiber One Cereal:
- Selection: Chocolate Chex provides a sweet, crunchy scale. Fiber One cereal looks more realistic (matte brown) but is less sweet. Sliced almonds are a gluten-free alternative that looks elegant but tastes nuttier.
The “Snow”
- ¼ cup Powdered Sugar: For dusting.
Sensory Note: The texture is a delightful contrast. The exterior is shatteringly crisp and light, while the interior is dense, moist, and intensely chocolatey—like a brownie batter truffle.

Timing
While “easy,” this recipe requires patience during the assembly phase.
- Baking/Cooling: 45 minutes (can be done day before)
- Assembly Time: 30 minutes
- Total Time: ~1 hour 15 minutes
Data Insight: The “Cake Pop Method” (mixing cake crumbs with frosting) increases the density of the dessert by 200%, turning a fluffy brownie into a rich, fudge-like confection that holds detailed shapes without collapsing.
Step-by-Step Instructions
Step 1: Bake and Cool
Bake the brownies according to the package instructions in a 9×13 pan.
- Crucial: Let them cool completely. If they are warm, they will melt the frosting and your pine cones will turn into puddles.
Step 2: The Mash
Cut the hard edges off the brownies (snack on them!). Crumble the soft center of the brownies into a large bowl.
- Add 1/3 cup of chocolate frosting.
- Mix: Use your hands or a stand mixer to mash the crumbs and frosting together until it forms a thick, pliable dough (like Play-Doh). If it’s too crumbly, add a tablespoon more frosting.
Step 3: Shape the Cones
Line a baking sheet with parchment paper.
- Scoop about ¼ cup of the brownie mixture.
- Roll it into a ball, then gently taper one end to create a cone/teardrop shape.
- Stand it upright on the baking sheet (flat side down, pointy side up). Repeat to make 10-12 cones.
Step 4: The Shingling (Assembly)
This is where the magic happens.
- Bottom Up: Start at the very base of the cone. Insert pieces of cereal into the dough slightly angled upward.
- Layering: Work your way up the cone in a spiral or staggered pattern. Overlap the pieces slightly, just like real shingles on a roof.
- The Tip: Break a piece of cereal into a small triangle to cap off the very top point.
Step 5: The First Snow
Place the finished pine cones in the fridge for 15 minutes to firm up.
- Once set, place the powdered sugar in a fine-mesh sieve.
- Gently tap the sieve over the pine cones to create a “fresh snowfall” effect.
Nutritional Information
These are dense, high-energy treats. Below is the estimated breakdown per pine cone.
| Nutrient | Amount per Serving | % Daily Value* |
| Calories | 320 kcal | 16% |
| Total Fat | 12g | 18% |
| Saturated Fat | 4g | 20% |
| Carbohydrates | 54g | 19% |
| Sugars | 38g | – |
| Protein | 3g | 6% |
Note: Using Fiber One cereal instead of Chex can add about 4g of dietary fiber per serving, slightly lowering the glycemic impact.
Variations for the Recipe
- Peanut Butter Lovers: Instead of brownie mix, use a mixture of crushed Oreos (36 cookies) and 8oz cream cheese (Oreo truffle base). Or, use a peanut butter cup filling for the center.
- The “Snowy Forest”: Use Sliced Almonds for the scales instead of cereal. The pale nut looks beautiful and rustic.
- Pretzel Stick Handle: Insert a pretzel stick into the bottom of the cone before adding scales. This creates a “stem” and makes it a handheld pop.
- Green Cones: Use white chocolate frosting dyed green, and use green-dyed almond slices for a whimsical Christmas tree look.
Serving Suggestions
Presentation is everything with optical illusion desserts.
- The Platter: Spread a layer of coconut flakes or extra powdered sugar on a wooden board. Arrange the pine cones in a cluster.
- Garnish: Tuck sprigs of fresh rosemary or mint between the pine cones to mimic evergreen branches.
- The Pairing: Serve with Hot Chocolate or a Peppermint Mocha. The rich chocolate pairs perfectly with warm milky drinks.
Common Mistakes to Avoid
- Warm Brownies:
- The Issue: Trying to mash warm brownies.
- The Result: A greasy, oily mess that won’t hold a shape.
- The Fix: Brownies must be room temperature or chilled.
- Too Much Frosting:
- The Issue: Adding too much binder.
- The Result: The cones slump and look like melted blobs.
- The Fix: Add frosting slowly. You want just enough to hold it together.
- Breaking the Scales:
- The Issue: Pushing the cereal too hard.
- The Result: Crushed cereal crumbs all over the brownie.
- The Fix: Use a gentle touch. If the dough is too hard, let it sit at room temp for 5 minutes.
- Staleness:
- The Issue: Leaving them uncovered.
- The Result: The cereal goes stale and chewy quickly.
- The Fix: Serve the same day or store in an airtight container.
Storing Tips for the Recipe
- Room Temperature: Store in an airtight container for 2 days. The cereal will stay crispest this way.
- Refrigeration: Up to 5 days. The brownie center gets fudgier, but the cereal may soften slightly due to the humidity.
- Freezing: You can freeze the brownie cones (without cereal) for 3 months. Thaw and add the cereal scales fresh before serving.
Conclusion
Easy Pine Cone Brownies are a delightful craft-meets-kitchen project. They take the humble brownie—already a crowd favorite—and elevate it into a centerpiece that sparks conversation. Whether you are baking with kids or looking for a sophisticated addition to a dessert table, these edible pine cones deliver on both aesthetics and taste.
Ready to forage? Grab that box mix! If you try this recipe, please leave a star rating below and let us know: did you use Chex or Almonds? Don’t forget to subscribe to our newsletter for more seasonal baking hacks.
FAQs
Q: Can I use store-bought brownie bites?
A: Yes! Buy a tub of brownie bites from the bakery, mash them up (they usually are moist enough to not need much frosting), and shape them. This is the ultimate shortcut.
Q: Is there a vegan option?
A: Yes. Use a vegan brownie recipe (or mix with oil/flax egg) and use vegan ganache (coconut milk + chocolate) as the binder. Check that your cereal is vegan.
Q: How do I transport them without crushing the scales?
A: Place them in a deep container (like a cake carrier) and ensure they aren’t touching. Do not stack them!
Leave a Reply