Introduction
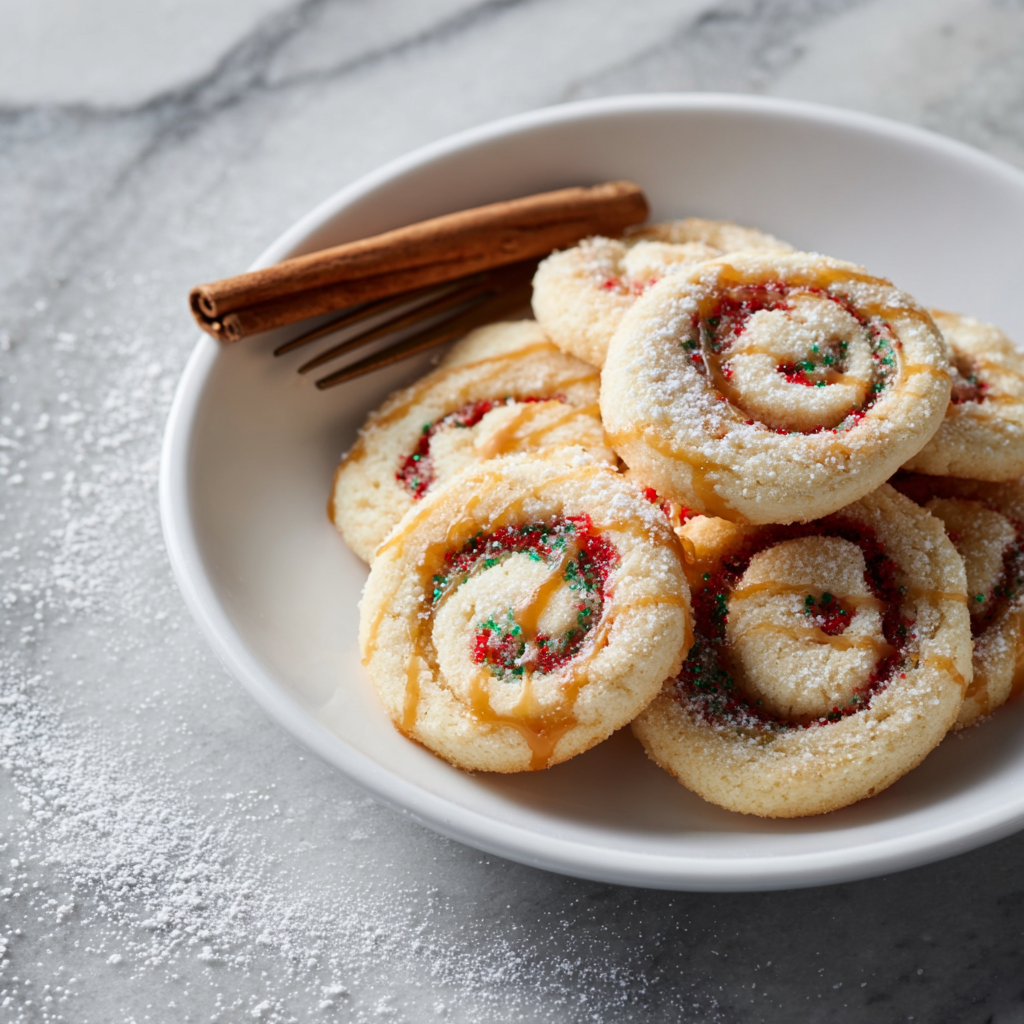
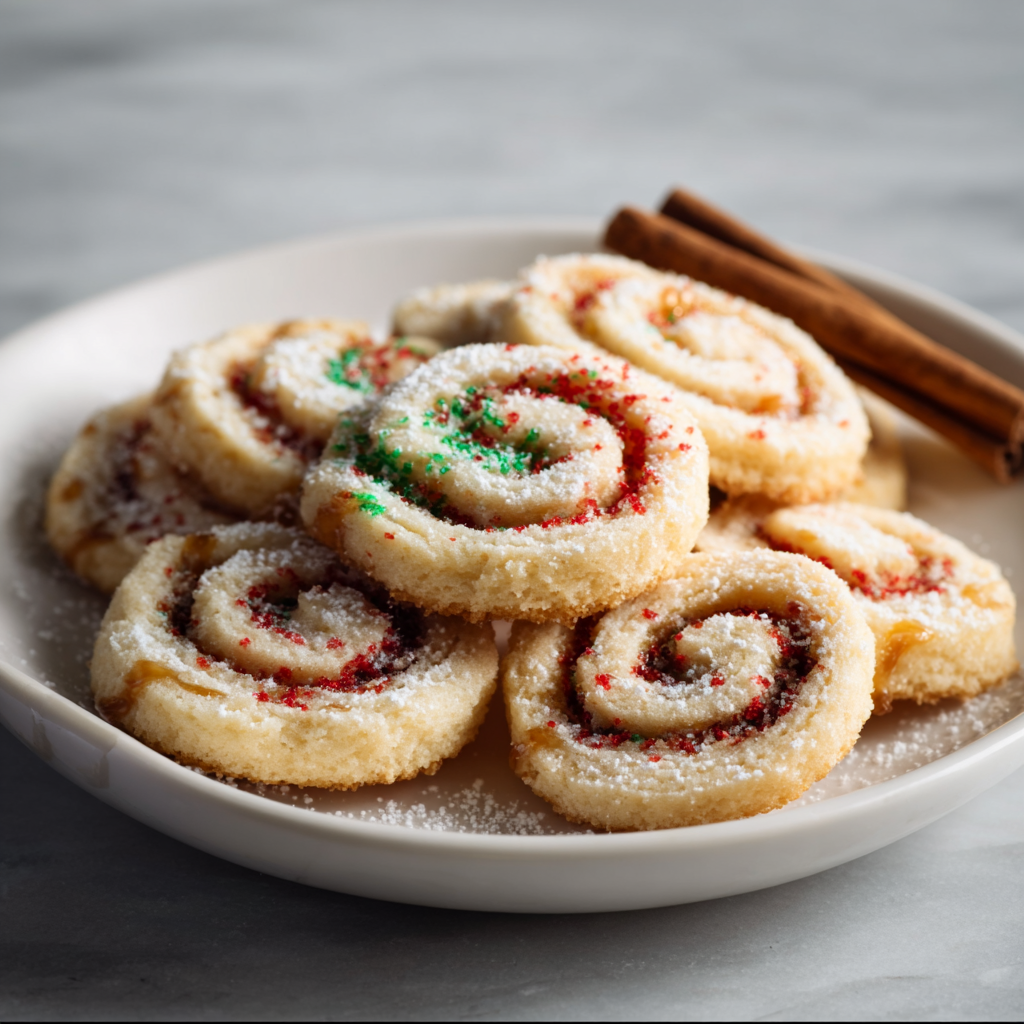
There is no cookie quite as hypnotic as the Holiday Swirl.
Also known as Pinwheel Cookies, these slice-and-bake treats are the heavy lifters of the Christmas cookie box. They look incredibly technically difficult—like something that requires a degree in pastry arts—but they are deceptively simple to make.
The secret isn’t magic; it’s temperature control. By stacking layers of colored sugar cookie dough and rolling them while pliable, then chilling them until solid, you create razor-sharp spirals of red, white, and green. They are buttery, tender, and provide that “wow” factor on a holiday platter that plain sugar cookies just can’t match. Plus, because they are “icebox cookies,” you can make the dough logs weeks in advance and just bake them fresh when guests arrive.1
Ingredients List
We need a dough that is sturdy enough to roll but tender enough to melt in your mouth.
The Sugar Cookie Base
- 3 cups All-Purpose Flour: Spooned and leveled.
- ½ tsp Baking Powder: Just enough for a little lift, but not so much that the swirls distort.
- ½ tsp Salt.
- 1 cup (2 sticks) Unsalted Butter: Softened to room temperature.
- 1 ½ cups Granulated Sugar.
- 2 Large Eggs: Room temperature.
- 2 tsp Vanilla Extract: High quality.
The Festive Transformation

- Gel Food Coloring: Red and Green.
- Crucial Tip: Do not use liquid food coloring (the teardrop bottles from the grocery store aisle). Liquid dye adds water, which makes the dough sticky and causes the colors to bleed. Use Gel Paste (like Wilton or AmeriColor) for vibrant colors that won’t ruin the dough’s texture.2
- Nonpareil Sprinkles (Optional): To roll the outside of the log for an extra crunchy, festive crust.3
Sensory Note: These are classic vanilla sugar cookies—crisp edges, soft centers, and a buttery, neutral flavor that appeals to everyone (even Santa).
Timing
This recipe is a “hurry up and wait” situation. The chilling is mandatory.
- Prep Time: 45 minutes
- Chill Time: 2 to 4 hours (or overnight)
- Bake Time: 10–12 minutes
- Total Time: ~4 hours
- Yields: 24–30 Cookies
Data Insight: Chilling the dough log solidifies the butter fats.4 If you try to slice the log while it is soft (above $60^\circ F$), the pressure of the knife will squash the circle into an oval, ruining the perfect spiral effect.
Step-by-Step Instructions
Step 1: The Master Dough
- In a medium bowl, whisk together the flour, baking powder, and salt.
- In a stand mixer (or large bowl), cream the butter and sugar until light and fluffy (3 minutes).5
- Beat in the eggs one at a time, followed by the vanilla.
- Gradually add the flour mixture on low speed until a soft dough forms.
Step 2: The Color Divide
- Divide the dough into 3 equal portions.
- White: Leave one portion plain. Wrap in plastic.
- Red: Add red gel coloring to the second portion. Mix (by hand or mixer) until uniform.
- Green: Add green gel coloring to the third portion. Mix until uniform.
- Chill Phase 1: Wrap all three disks in plastic and refrigerate for 30 minutes to make them easier to roll.6
Step 3: The Roll Out
- Roll each color of dough separately between two sheets of parchment paper.
- Aim for rectangles that are roughly 9×12 inches and about ¼-inch thick.
- Tip: Keep the thickness consistent so your spiral looks even.
Step 4: The Stack & Spiral
- Remove the top parchment from all rectangles.
- Stack: Carefully flip the Red dough onto the White dough. Peel off the parchment. Then flip the Green dough onto the Red dough. Peel off the parchment.
- Trim: Use a knife to trim the edges so you have a neat, straight rectangle stack.
- Roll: Starting from the long edge, roll the dough up tightly into a log (like a jelly roll or cinnamon roll). Use the bottom parchment paper to help lift and tuck the dough as you roll to prevent air gaps.
Step 5: The Long Chill (Crucial)
- Roll the finished log in sprinkles (if using) to coat the outside.
- Wrap the log tightly in plastic wrap.
- Refrigerate: Place in the fridge for at least 2 hours (or freeze for 1 hour). The log must be rock hard.
- Pro Tip: To keep the bottom of the log from getting flat while it chills, place the wrapped log inside an empty paper towel cardboard tube cut lengthwise.
Step 6: Slice and Bake
- Preheat oven to 350°F (175°C). Line baking sheets with parchment.
- Unwrap the cold log. Using a sharp chef’s knife, slice into ¼-inch thick rounds.
- Technique: Rotate the log slightly after every cut to ensure you don’t keep pressing down on the same spot, keeping it round.
- Place on baking sheets (they don’t spread much, so 1 inch apart is fine).
- Bake for 10 to 12 minutes.
- Doneness Test: They should be set and pale. Do not let them brown, or the colors will look muddy.
Nutritional Information
A holiday staple. Below is the estimated breakdown per cookie.
| Nutrient | Amount per Serving | % Daily Value* |
| Calories | 140 kcal | 7% |
| Total Fat | 7g | 11% |
| Saturated Fat | 4g | 20% |
| Carbohydrates | 18g | 6% |
| Sugars | 9g | – |
| Protein | 2g | 4% |
Variations for the Recipe
- Peppermint Twist: Swap the vanilla extract for Peppermint Extract in the red dough layer for a “Candy Cane” flavor.
- Chocolate Swirl: Instead of green dye, substitute ¼ cup of the flour in one portion with cocoa powder for a chocolate-vanilla pinwheel.
- The Grinch: Use neon green dye for the dough and press a small red heart sprinkle into the center of each cookie before baking.
- Shortcut Version: Don’t want 3 layers? Just do 2 (Red and White) for a classic look.
Serving Suggestions
- The Gift: These are the most durable cookies for shipping. Stack them in clear cellophane bags tied with red ribbon.
- The Drink: Dunking these in Hot Chocolate or a Peppermint Mocha is mandatory.
Common Mistakes to Avoid
- The “Oval” Cookie:
- The Issue: Slicing the log while it’s too soft.
- The Fix: If the dough squishes when you cut, put it back in the freezer for 20 minutes.
- Gaps in the Spiral:
- The Issue: Rolling the log too loosely.
- The Fix: When rolling the log, pinch and tuck tightly at the very beginning of the roll. Use the parchment paper to tighten the roll as you go.
- Bleeding Colors:
- The Issue: Using liquid dye or stacking warm dough.
- The Fix: Use gel paste and ensure the rolled-out sheets are slightly cool before stacking.
Storing Tips for the Recipe
- Dough Logs (Unbaked): This is the best way to store them. Wrap the logs tightly and freeze for up to 3 months. Slice and bake from frozen (add 2 minutes to bake time).
- Baked Cookies: Store in an airtight container at room temperature for 1 week.
- Freezing Baked Cookies: They freeze well, but the sprinkles might bleed slightly upon thawing.
Conclusion
Holiday Swirl Cookies are the definition of “high reward, low effort.” Once you master the simple technique of rolling the log, you have a bakery-quality treat that looks spectacular on any dessert table. They are buttery, festive, and guaranteed to be the first cookie to disappear at the office party.
Ready to roll? Get your gel colors ready! If you try this recipe, please leave a star rating below and let us know: did you go with Peppermint or Vanilla? Don’t forget to subscribe to our newsletter for more holiday baking countdowns.
FAQs
Q: Can I use store-bought cookie dough?
A: Technically yes (the refrigerated logs). However, that dough is often softer and spreads more, so your spirals might turn into blobs. Homemade is much safer for structure.
Q: My dough is cracking when I unroll it. What do I do?
A: It’s too cold. Let it sit on the counter for 5–10 minutes until it becomes pliable again.
Q: Can I make these gluten-free?
A: Yes, substitute the All-Purpose flour with a high-quality 1:1 Gluten-Free Baking Flour (like King Arthur or Bob’s Red Mill).7
Leave a Reply