
Introduction
Angel Food Cake is the cloud of the dessert world: fat-free, impossibly light, and driven entirely by the power of egg whites. But often, it can be a bit… vanilla.
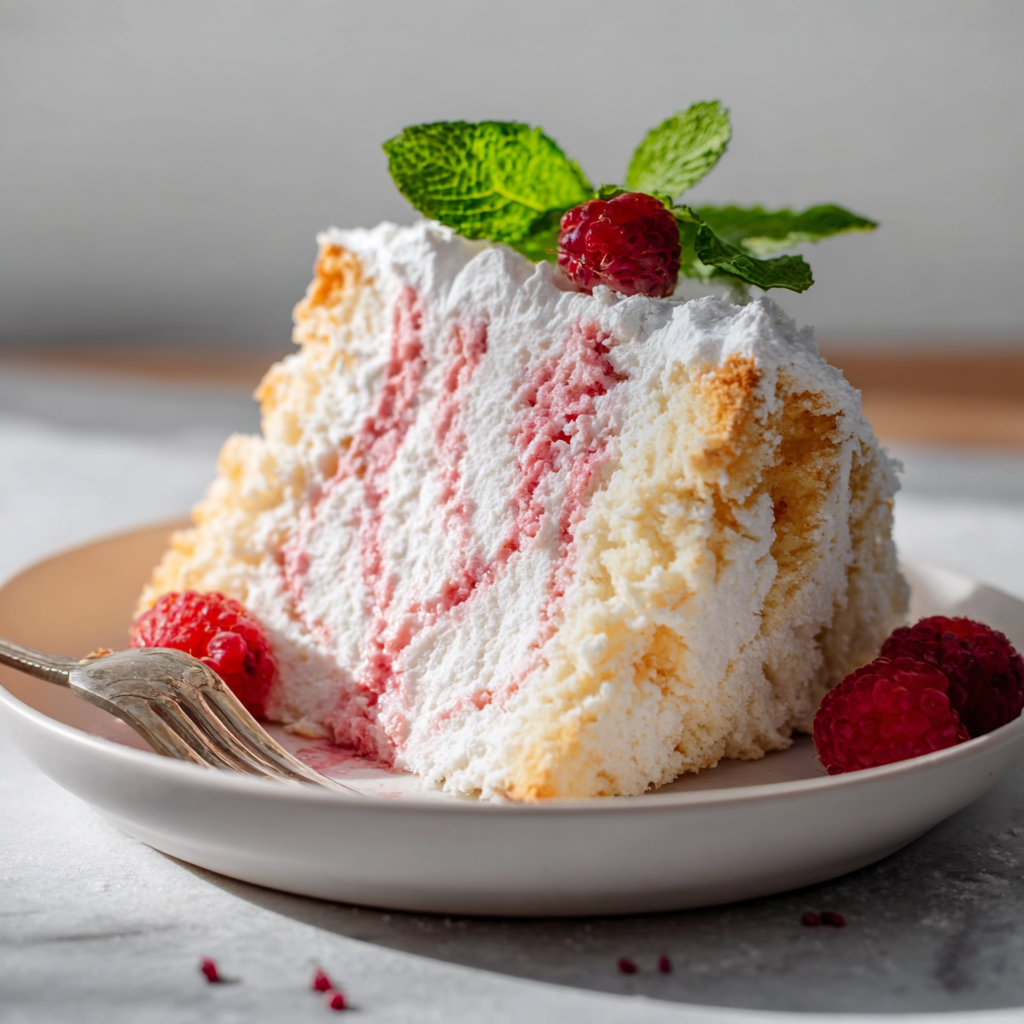
Raspberry Angel Food Cake changes the conversation. By folding freeze-dried raspberry powder directly into the batter, we infuse the entire cake with a vibrant pink hue and a tart berry flavor without weighing down the delicate foam.
Unlike fresh fruit (which is too heavy and wet) or artificial extracts (which often taste chemical), freeze-dried fruit provides intense flavor with zero moisture. Served with a simple glaze and fresh berries, this cake is a showstopper for Valentine’s Day, Mother’s Day, or any afternoon tea. It is sweet, tangy, and melts on the tongue like cotton candy.
Ingredients List
Precision is key here. Angel Food Cake relies on chemical structure, not yeast or butter.
The Dry Base
- 1 cup Cake Flour: Sifted.
- Why Cake Flour? It has lower protein (gluten) than All-Purpose flour, ensuring a tender, melt-in-your-mouth crumb.
- 1 ½ cups Superfine Sugar (Caster Sugar): Divided.
- DIY Tip: If you only have granulated sugar, pulse it in a food processor for 30 seconds to make it finer. This helps it dissolve into the egg whites instantly.
- 1 cup Freeze-Dried Raspberries: Pulverized into a fine powder (yields approx. ¼ cup powder).
- Crucial: Do not use fresh or frozen berries inside the batter. They will collapse the cake.
The Foam (The Structure)
- 1 ½ cups Egg Whites: (From about 10–12 large eggs). Room temperature.
- Safety: Make sure there is zero yolk in the whites. Fat destroys the meringue foam.
- 1 ½ tsp Cream of Tartar: The acid that stabilizes the egg whites so they don’t deflate.
- ¼ tsp Salt.
- 1 tsp Vanilla Extract & ½ tsp Almond Extract.
The Glaze (Optional)
- 1 cup Powdered Sugar.
- 2 tbsp Milk or Lemon Juice.
- Drop of pink food coloring (optional).
Sensory Note: The cake smells like toasted sugar and warm berries while baking. The texture is spongy and springy—if you press it gently, it bounces back.
Timing
This cake requires a specific cooling method (upside down!).
- Prep Time: 20 minutes
- Bake Time: 35–45 minutes
- Cooling Time: 2 hours (Passive)
- Total Time: ~3 hours
- Serves: 10–12 Slices
Data Insight: Egg white foam is 90% air. If you grease the pan, the batter cannot “climb” the sides of the pan as it expands. You must use a dry, ungreased tube pan to achieve maximum height.
Step-by-Step Instructions
Step 1: The Raspberry Dust
- Place the freeze-dried raspberries in a food processor or spice grinder.
- Pulse until it becomes a fine powder.
- Sift: Sift the powder through a fine-mesh sieve to remove the crunchy seeds. You want only the fine pink dust.
Step 2: The Flour Mix
- Sift the cake flour, ¾ cup of the sugar, and the raspberry powder together into a medium bowl.
- Triple Sift: For the lightest cake, sift this mixture three times. It aerates the flour.
Step 3: The Meringue
- Preheat oven to 350°F (175°C). Get your ungreased tube pan ready.
- In a large, impeccably clean bowl (glass or metal), beat the egg whites, cream of tartar, salt, vanilla, and almond extract on medium speed.
- Beat until soft peaks form.
- The Sugar Rain: With the mixer running, slowly sprinkle in the remaining ¾ cup sugar, one tablespoon at a time.
- Beat on high until stiff, glossy peaks form. (The mixture should hold its shape firmly when you lift the beater).
Step 4: The Fold
- Sprinkle ¼ of the flour/raspberry mixture over the egg whites.
- Fold: Use a large rubber spatula to gently fold the flour in. Cut down through the center, scrape the bottom, and lift up.
- Repeat in 3 more batches.
- Gentle! Do not overmix, or you will deflate the air bubbles you worked so hard to create.
Step 5: Bake
- Spoon the pink batter into the tube pan. Smooth the top.
- Run a knife through the batter once to break any large air pockets.
- Bake for 35 to 45 minutes.
- Doneness Test: The top should be dry and cracked, and the cake should spring back when touched.
Step 6: The Inversion
- Immediately upon removing from the oven, flip the pan upside down.
- Why? If cooled right-side up, gravity will cause the hot, delicate cake to collapse on itself. Inverting it lets gravity stretch the cake while it sets.
- Let cool upside down for 2 hours until completely cold.
Step 7: Release and Glaze
- Run a thin knife around the edges and center tube to release the cake.
- Whisk the glaze ingredients and drizzle over the top.
- Fill the center hole with fresh raspberries for presentation.
Nutritional Information
Naturally fat-free and lower calorie than butter cakes. Below is the estimated breakdown per slice.
| Nutrient | Amount per Serving | % Daily Value* |
| Calories | 160 kcal | 8% |
| Total Fat | 0g | 0% |
| Carbohydrates | 36g | 13% |
| Sugars | 24g | – |
| Protein | 4g | 8% |
Variations for the Recipe
- Lemon-Raspberry: Add 1 tsp lemon zest to the flour mixture for a citrus brightness.
- Chocolate Swirl: Fold in ¼ cup finely grated dark chocolate at the very end.
- Whipped Cream Topping: Skip the glaze and frost the cake with Pink Raspberry Whipped Cream (heavy cream whipped with a spoonful of raspberry jam).
Serving Suggestions
- The Drink: Serve with Rosé Wine or hot Earl Grey Tea.
- The Side: A dollop of Lemon Curd on the plate creates a perfect tart contrast to the sweet cake.
Common Mistakes to Avoid
- Greasing the Pan:
- The Issue: Spraying the pan with Pam or butter.
- The Result: The cake slides down the sides while baking and becomes a flat, dense pancake.
- The Fix: Keep the pan dry!
- Yolk Contamination:
- The Issue: Getting a speck of yolk in the whites.
- The Result: The whites will never whip to stiff peaks.
- The Fix: Separate eggs one by one in a small bowl before adding them to the main bowl.
- Using Fresh Fruit:
- The Issue: Adding fresh raspberries to the batter.
- The Result: The fruit sinks and the batter turns into soggy pudding.
- The Fix: Use freeze-dried powder inside, and serve fresh fruit on top.
Storing Tips for the Recipe
- Room Temp: Store in a cake keeper or loosely covered with foil for 2–3 days. Air is actually good for the crust, but too much dries it out.
- Freezing: Angel food cake freezes surprisingly well. Wrap slices individually in plastic wrap and freeze for 1 month. Thaw on the counter for 15 minutes.
Conclusion
Raspberry Angel Food Cake is a feat of baking engineering. It feels substantial yet vanishes in your mouth, leaving behind the sweet perfume of summer berries. It’s elegant, visually stunning, and naturally light enough to justify a second slice.
Ready to whip? Separate those eggs! If you try this recipe, please leave a star rating below and let us know: did you sift the flour three times? Don’t forget to subscribe to our newsletter for more airy baking secrets.
FAQs
Q: Where do I find freeze-dried raspberries?A: They are usually in the snack aisle (near raisins/nuts) at stores like Trader Joe’s, Target, or Whole Foods.
Q: Can I use carton egg whites?A: Generally, no. Carton whites are pasteurized in a way that often prevents them from whipping to stiff peaks. Use fresh eggs for the best volume.
Q: What do I do with the 12 egg yolks?A: Make Lemon Curd, Crème Brûlée, or Homemade Ice Cream!
Leave a Reply