Introduction
Did you know that search interest for “red velvet recipes” spikes by over 350% every December? While the classic cake is a staple, the modern holiday baker is increasingly turning to the cookie format for its portability and portion control. But here is the culinary challenge: how do you capture the distinct tang and velvet texture of the cake in a cookie without it becoming dry or cakey?
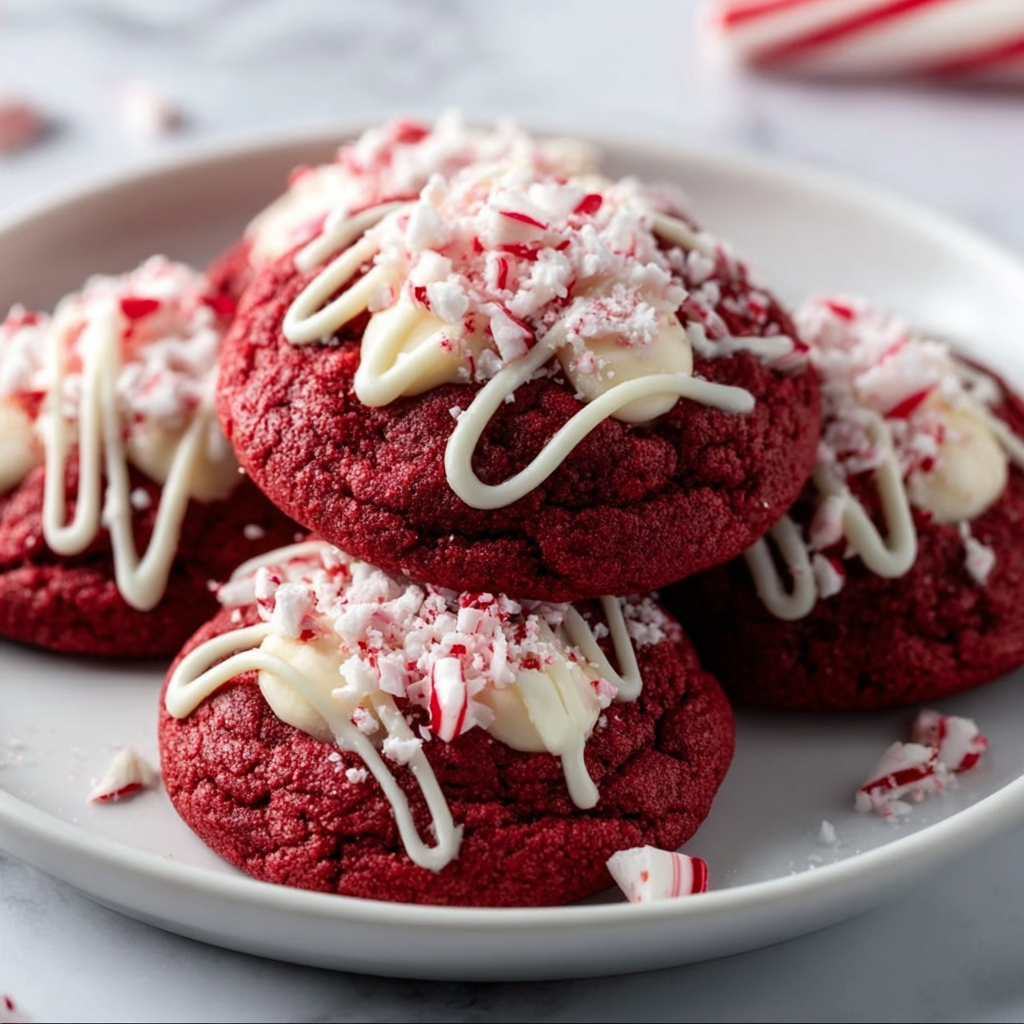
This recipe for Christmas Peppermint Red Velvet Cookies is the answer. It challenges the belief that you need a box mix to get that vibrant red hue and soft crumb. By balancing the acidity of cocoa powder with the richness of white chocolate and the cooling bite of peppermint, we create a flavor profile that is scientifically balanced for the holiday palate. Whether you are building a festive cookie box for neighbors or looking for a standout treat for Santa that breaks the gingerbread monotony, these cookies deliver a chewy, fudgy, and visually stunning experience. Let’s master the art of the perfect crinkle.
Ingredients List
To achieve that signature ruby color and fudgy texture, the interaction between cocoa and acid is critical. Here is your curated shopping list for Christmas Peppermint Red Velvet Cookies.
The Red Velvet Base:
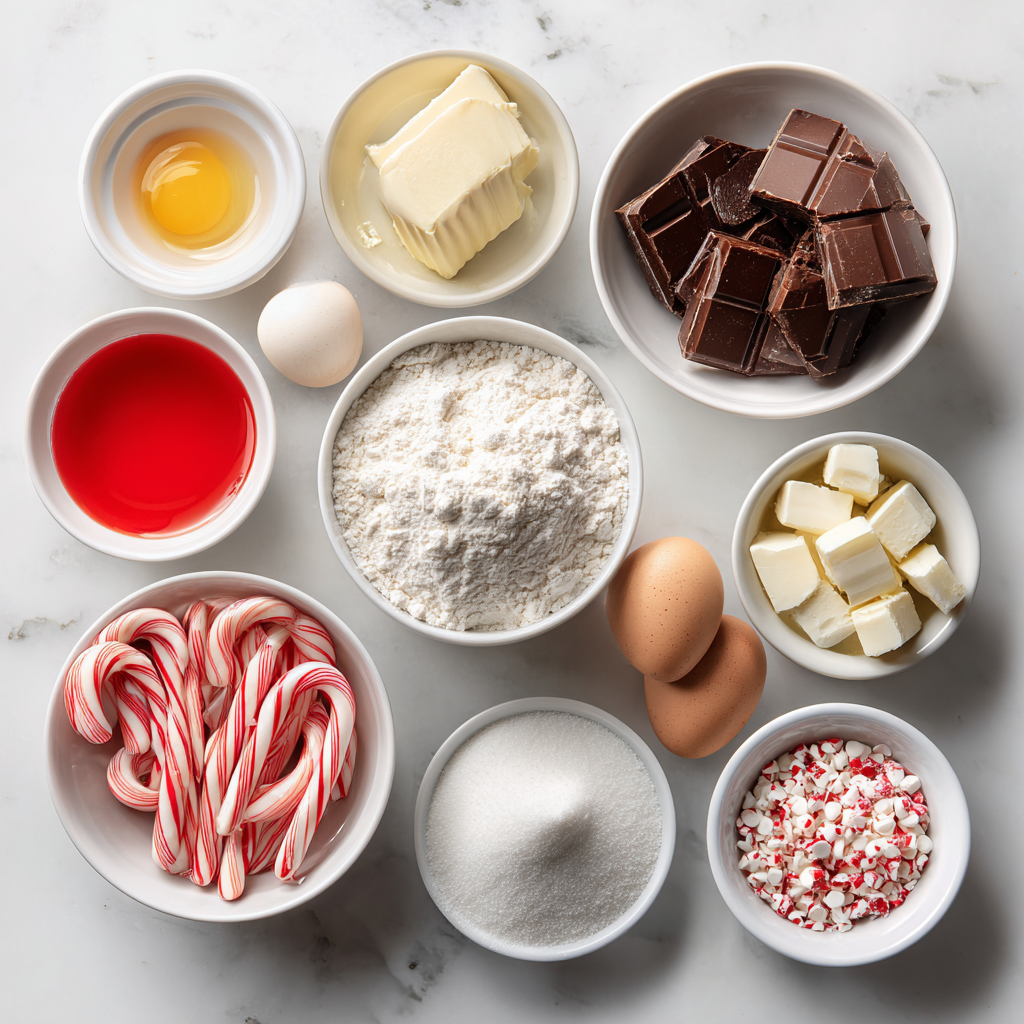
- 1 ½ Cups All-Purpose Flour: Spooned and leveled to prevent dryness.
- ¼ Cup Unsweetened Cocoa Powder:
- Sensory Note: Use standard cocoa, not Dutch-process. The natural acidity in regular cocoa reacts with the baking soda to create a better rise and redness.
- 1 Teaspoon Baking Soda & ¼ Teaspoon Salt.
- ½ Cup Unsalted Butter: Softened to cool room temperature.
- 1 Cup Light Brown Sugar (Packed): The molasses content keeps the cookies chewy, unlike white sugar which makes them crisp.
- 1 Large Egg: Room temperature.
- 1 Tablespoon Liquid Red Food Coloring: Or 1 teaspoon gel paste for intense color without extra liquid.
- 1 Teaspoon Vanilla Extract.
- 1 Tablespoon Milk: To adjust dough consistency.
The Peppermint Twist:
- ½ Cup White Chocolate Chips: High quality (with cocoa butter) for creamy pockets.
- ½ Teaspoon Peppermint Extract:
- Critical: Do not use “Mint” extract (spearmint), which tastes like toothpaste. Use pure Peppermint.
- ¼ Cup Crushed Candy Canes: For topping and texture.
Substitutions:
- Dye-Free: You can use beet root powder, though the color will be more maroon than bright red, and it may impart an earthy flavor.
- Chocolate: Dark chocolate chips offer a richer, less sweet profile that contrasts beautifully with the peppermint.
Timing
This recipe is efficient but requires a chill time to prevent spreading.
- Preparation Time: 20 minutes.
- Chilling Time: 1 hour (Non-negotiable).
- Cooking Time: 10–12 minutes.
- Total Time: Approx. 1 hour 35 minutes.
Data Insight: Chilling cookie dough with high sugar content solidifies the fat. If you skip this step, the cookies will spread into thin, greasy puddles in under 3 minutes of baking. The chill time ensures a thick, fudgy center.
Step-by-Step Instructions
Step 1: Dry Ingredient Integration
In a medium bowl, whisk together the flour, cocoa powder, baking soda, and salt.
- Technique: Sifting the cocoa powder is highly recommended to remove small, hard lumps that can ruin the texture.
Step 2: The Creaming Process
In a stand mixer or large bowl, beat the softened butter and brown sugar on medium-high speed for 2–3 minutes.
- Visual Cue: The mixture should look pale and fluffy. This aeration creates the “velvet” texture.
Step 3: Color and Emulsion
Add the egg, vanilla extract, peppermint extract, and red food coloring. Beat until fully combined and vividly red.
- Safety: Start the mixer on low to avoid splashing red dye on your backsplash!
Step 4: The Dough Formation
Turn mixer to low. Gradually add the dry ingredients. Mix until just combined—meaning no flour streaks remain.
- Add-ins: Fold in the white chocolate chips by hand. The dough will be thick and sticky.
Step 5: The Chill
Cover the bowl tightly with plastic wrap. Refrigerate for at least 1 hour (up to 3 days).
- Why? This hydrates the flour, leading to a chewier cookie and deeper flavor development.
Step 6: Scoop, Roll, and Bake
Preheat oven to 350°F (175°C). Line baking sheets with parchment paper. Scoop 1.5-tablespoon balls of dough.
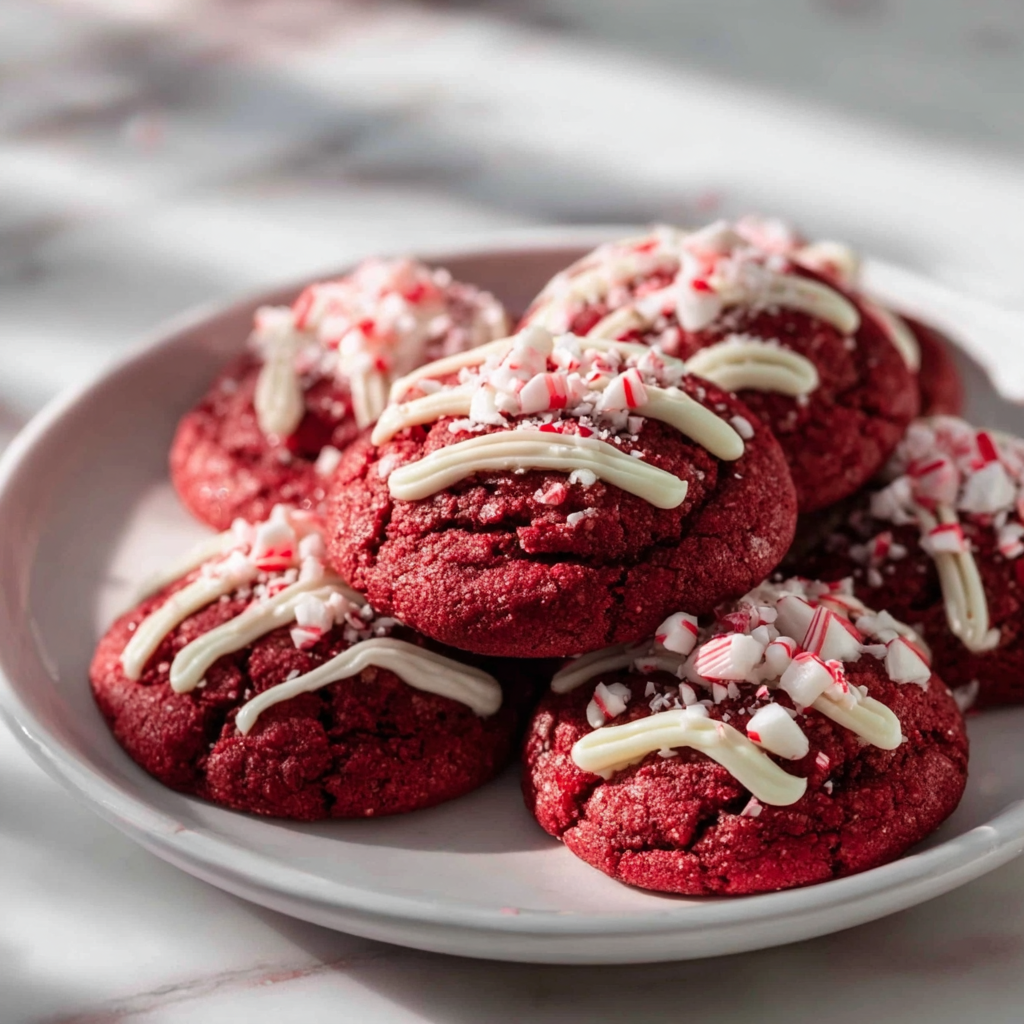
- Top Tip: Roll the tops of the dough balls in the crushed candy canes before baking for a melted, stained-glass effect, OR sprinkle them on immediately after baking for a crunchy texture.
- Bake: Bake for 10–12 minutes. They will look soft in the center—this is perfect. Let them cool on the pan for 5 minutes to set.
Nutritional Information
These are a festive indulgence. Here is the estimated breakdown per cookie:
| Nutrient | Amount | % Daily Value |
| Calories | 160 kcal | – |
| Total Fat | 7g | 11% |
| Saturated Fat | 4.5g | 22% |
| Carbohydrates | 24g | 9% |
| Sugars | 16g | – |
| Protein | 2g | 4% |
Data Insight: The use of cocoa powder provides flavonoids, but the sugar content classifies this strictly as a dessert. Portion control is easy due to the rich flavor profile—one cookie is often satisfying enough.
Healthier Alternatives for the Recipe
Customize your Christmas Peppermint Red Velvet Cookies to fit dietary needs:
- Gluten-Free:
- Swap the flour for a 1:1 Gluten-Free Baking Blend (like King Arthur Measure for Measure). The texture remains excellent due to the cocoa and sugar structure.
- Lower Sugar:
- Use a brown sugar alternative (like Swerve Brown) for the base.
- Use sugar-free white chocolate chips.
- Natural Coloring:
- If avoiding Red 40, look for “Nature’s Colors” or use a concentrated red velvet emulsion sold at specialty baking stores.
Serving Suggestions
These cookies pop visually on a holiday platter.
- The Contrast: Arrange them next to green Grinch cookies or plain sugar cookies. The deep red stands out beautifully.
- Drink Pairing: Serve with Hot Chocolate or a cold glass of milk. The peppermint notes echo the flavors of the season.
- Ice Cream Sandwich: Sandwich a scoop of peppermint bark ice cream between two cooled cookies for a decadent dessert.
Common Mistakes to Avoid
Red velvet chemistry is specific. Avoid these errors:
- Too Much Flour:
- The Error: Scooping the measuring cup into the bag.
- The Result: Dry, pale red rocks.
- The Fix: Spoon the flour into the cup and level it off.
- Skipping the Chill:
- The Error: Baking immediately.
- The Result: Flat, thin cookies that brown too much on the edges.
- The Fix: Patience. Chill the dough.
- Using Mint Extract:
- The Error: Using Spearmint instead of Peppermint.
- The Result: Cookies that taste like chewing gum.
- The Fix: Check the label twice.
Storing Tips for the Recipe
These cookies stay soft thanks to the brown sugar.
- Room Temperature: Store in an airtight container for up to 5 days.
- Hack: Place a slice of white bread in the container to keep them soft longer.
- Freezing:
- Baked: Freeze for up to 3 months.
- Dough: Freeze rolled dough balls for up to 3 months. Bake from frozen (add 2 minutes to cook time).
Conclusion
Christmas Peppermint Red Velvet Cookies are the festive hybrid we all need. By merging the beloved, tangy richness of red velvet cake with the satisfying chew of a brown sugar cookie and the festive spark of peppermint, you create a treat that is sophisticated yet universally appealing. It is the pop of color and flavor that every holiday tray deserves.
Summary: A chewy, fudgy red velvet cookie studded with white chocolate chips and crushed candy canes. Requires chilling; perfect for holiday gifting.
Ready to paint the town red?
Grab your food coloring! Rate this recipe 5 stars if you loved the festive color, and leave a comment below: do you add the candy canes before or after baking? Subscribe for more holiday baking science!
FAQs
Can I use liquid food coloring?
Yes, this recipe is written for liquid coloring (1 tablespoon). If you use gel, use much less (start with 1 teaspoon) as it is more concentrated. Using too much liquid can alter the dough texture.
Why aren’t my cookies crinkling?
To get a “crinkle” top, roll the dough balls in granulated sugar, then heavily in powdered sugar before baking. This recipe produces a smooth/chewy top, but the crinkle method works with this base too!
Can I make these without a mixer?
Yes. You can mix this by hand with a wooden spoon and some elbow grease. Ensure the butter is very soft so you can cream it with the sugar effectively.
Is red velvet just chocolate?
Technically, yes, it is a mild chocolate flavor. However, the addition of acid (usually vinegar or buttermilk in cake, here brown sugar and baking soda reaction) and the specific type of cocoa creates a unique “tang” that distinguishes it from a standard chocolate cookie.
Leave a Reply