Introduction
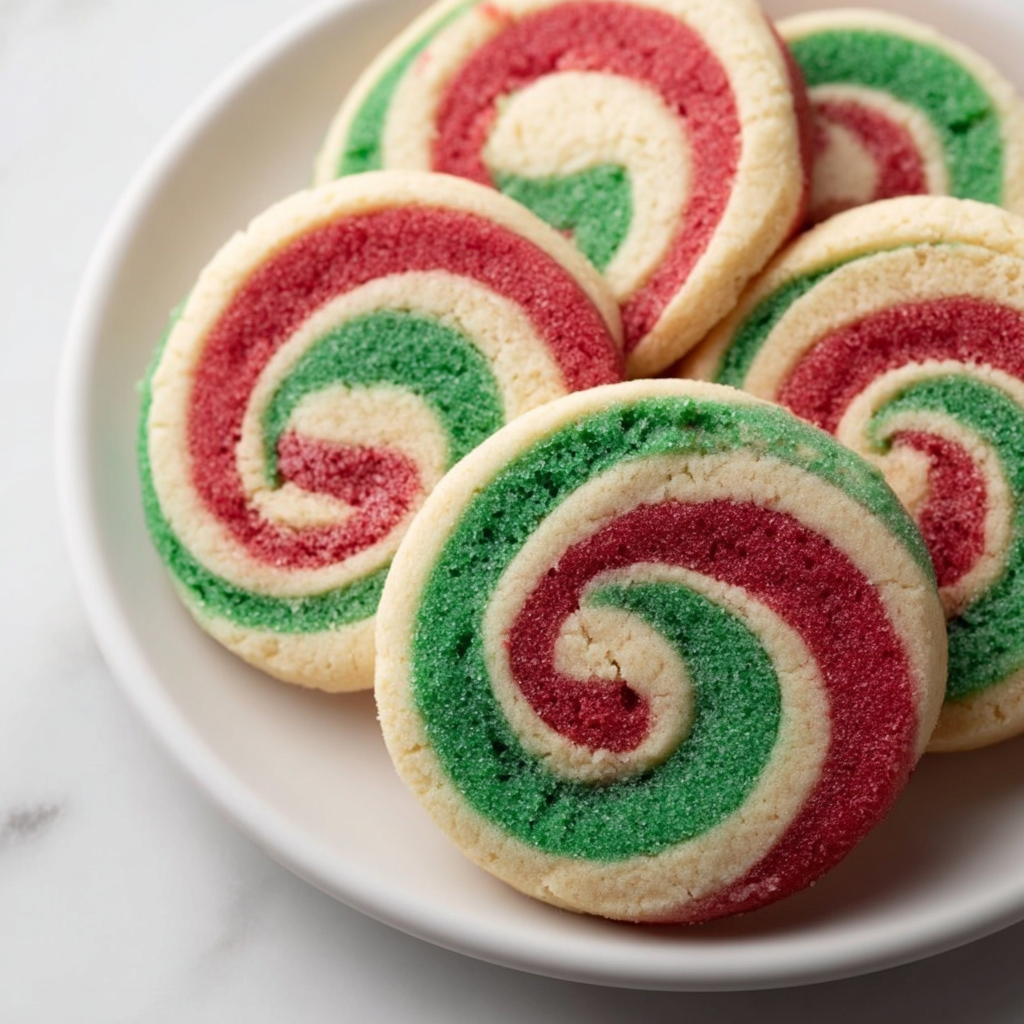
Did you know that visual appeal accounts for nearly 80% of consumer choices when selecting holiday treats at a bakery? There is something mesmerizing about a spiral. It suggests complexity, skill, and a touch of whimsy. Among the pantheon of Christmas cookies, the Pinwheel Cookie stands out not just for its taste, but for its hypnotic geometry.
However, search trends reveal a common anxiety: “How do I roll pinwheel cookies without cracking them?” This recipe for Christmas Pinwheel Cookies is designed to address that structural fear head-on. We aren’t just making sugar cookies; we are engineering a dough with the perfect plasticity—flexible enough to roll tight, yet firm enough to hold its shape in the oven. By utilizing a specific chilling schedule and the “parchment assist” technique, we turn what looks like a professional patisserie item into an achievable afternoon project. Whether you are filling a holiday tin or looking for a showstopper for Santa’s plate, these cookies deliver a buttery, vanilla-rich bite with a festive red-and-green twist.1
Ingredients List
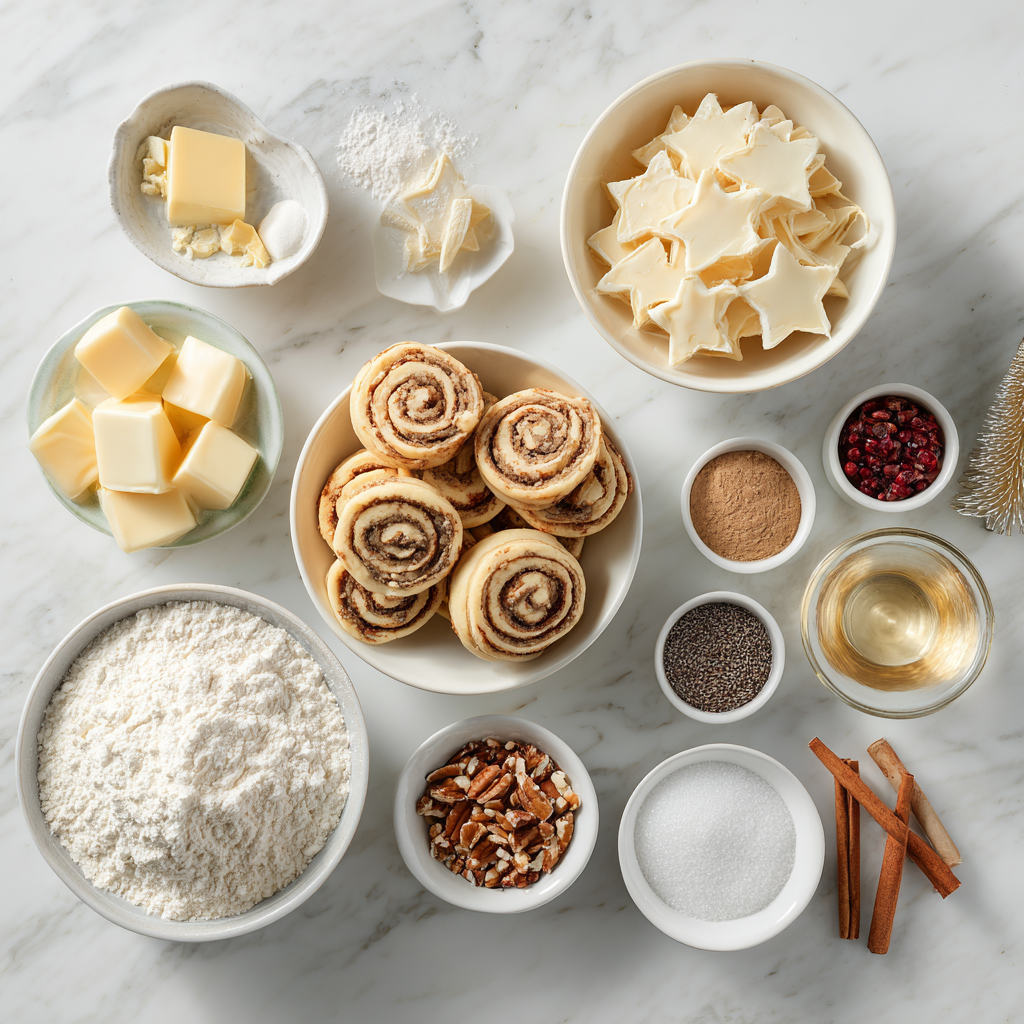
To achieve distinct layers that don’t bleed into each other, we need a dough that is low in moisture but high in fat. Here is your curated shopping list for Christmas Pinwheel Cookies.
The Cookie Base:
- 3 Cups All-Purpose Flour: Spooned and leveled.
- Why? Too much flour makes the dough dry and prone to cracking when rolled.
- ½ Teaspoon Baking Powder: Just enough lift to keep them tender, but not so much that they puff and ruin the spiral.
- ½ Teaspoon Salt.
- 1 Cup (2 sticks) Unsalted Butter: Softened to cool room temperature ($65^{\circ}\text{F}$).
- 1 ⅓ Cups Granulated Sugar.
- 2 Large Eggs: Room temperature.
- 2 Teaspoons Pure Vanilla Extract: High quality is essential as this is the primary flavor.
The Festive Color:
- Red and Green Gel Food Coloring:
- Critical Spec: Do not use liquid drops. Liquid adds water, which changes the hydration of the dough and causes the colors to bleed. Gel paste provides intense saturation without altering the texture.2
- Optional: Nonpareils or sprinkles for rolling the edges.
Substitutions:
- Flavor: Swap vanilla for Peppermint Extract in the red dough for a “Candy Cane” flavor profile. Almond extract is another excellent semantic variation.
- Dairy-Free: High-quality vegan butter sticks work, but the dough will be softer and require longer chilling times.
Timing
This recipe is a “slice-and-bake” style, meaning you can prep it days in advance.3
- Preparation Time: 40 minutes.
- Chilling Time: 2 to 4 hours (Split).
- Cooking Time: 10–12 minutes.
- Total Time: Approx. 3 hours 30 minutes.
Data Insight: Slice-and-bake cookies are the #1 most efficient cookie type for holiday meal prep. A log of dough takes up 90% less fridge space than a tray of cut-out cookies, allowing you to bake fresh on demand.
Step-by-Step Instructions
Step 1: The Creaming Base
In a large bowl or stand mixer fitted with the paddle attachment, beat the softened butter and sugar on medium-high speed for 3 minutes.
- Visual Cue: The mixture should be pale yellow and creamy. Add the eggs one at a time, followed by the vanilla, beating well and scraping down the bowl.
Step 2: The Dry Mix
Turn the mixer to low. Gradually add the flour, baking powder, and salt.
- Technique: Mix until just combined. The dough will be soft. Stop mixing as soon as the flour disappears to avoid tough cookies.
Step 3: Dividing and Coloring
Divide the dough into three equal parts (use a kitchen scale if possible).
- Part 1: Keep plain (White).
- Part 2: Tint Red using gel coloring. Mix gently (wear gloves!).
- Part 3: Tint Green using gel coloring.
- Chill Phase 1: Wrap each ball of dough in plastic wrap and flatten into a disc. Refrigerate for 30 minutes. This makes it firm enough to roll without sticking.
Step 4: The Roll Out
Remove the dough from the fridge. Place the white dough between two large sheets of parchment paper. Roll it into a rectangle approximately 9×12 inches and about ¼-inch thick.
- Repeat: Do the same for the red and green doughs, aiming for the exact same dimensions. Keep the rolled sheets in the fridge while you work on the next one.
Step 5: The Stack and Roll (The Spiral)
Peel the top parchment off the white dough. Peel the parchment off the red dough and invert it directly onto the white dough. Peel the parchment off the green dough and invert it onto the red dough.
- The Roll: Using the bottom sheet of parchment as a guide (like a sushi mat), start at the long edge and roll the dough tightly into a log.4
- Tip: Press gently as you roll to seal the layers together so there are no air gaps.
Step 6: The Long Chill
Roll the log in sprinkles (optional) for a festive crust. Wrap the log tightly in plastic wrap.
- Chill Phase 2: Refrigerate for at least 2 hours, or freeze for 45 minutes.
- Physics: If you try to slice a soft log, you will squish the spiral into an oval. The dough must be hard to get perfect round slices.
Step 7: Slice and Bake
Preheat oven to 350°F (175°C). Line baking sheets with parchment.
- Slice: Using a sharp chef’s knife, slice the log into ¼-inch thick rounds. Rotate the log every few cuts to prevent a flat spot from forming on the bottom.
- Bake: Place slices 2 inches apart. Bake for 10–12 minutes.
- Doneness: They should be set and dry, but not brown. Brown edges ruin the color contrast. Cool on the pan for 5 minutes.
Nutritional Information
These are classic sugar cookies. Here is the estimated breakdown per cookie (based on 30 cookies):
| Nutrient | Amount | % Daily Value |
| Calories | 130 kcal | – |
| Total Fat | 6g | 9% |
| Saturated Fat | 4g | 20% |
| Carbohydrates | 18g | 6% |
| Sugars | 9g | – |
| Protein | 1g | 2% |
Data Insight: Using parchment paper to roll the dough instead of adding extra flour to the counter keeps the hydration ratio perfect, ensuring the cookies stay tender rather than becoming dry and floury.
Healthier Alternatives for the Recipe
Customize these Christmas Pinwheel Cookies for dietary needs:
- Natural Dye:
- Use Beet Powder for red and Matcha Powder for green.
- Note: Matcha adds a distinct earthy flavor that pairs well with white chocolate, but changes the profile from pure vanilla.
- Lower Sugar:
- Reduce sugar to 1 cup.
- Use a Monk Fruit baking blend.
- Whole Grain:
- Substitute 50% of the All-Purpose flour with White Whole Wheat flour for added fiber without the grittiness of standard whole wheat.
Serving Suggestions
These cookies are visually loud, so they do the talking.
- The Cookie Swap: These are the “anchors” of a cookie box. Their geometric pattern draws the eye immediately.
- Hot Cocoa Sidecar: The sturdy texture makes them excellent for dunking in hot chocolate.
- Gifting: Stack them in a clear cellophane bag tied with ribbon to show off the spirals.
Common Mistakes to Avoid
Rolling dough is an art. Avoid these pitfalls:
- Cracking Dough:
- The Error: Rolling the log when the dough is too cold/stiff.
- The Fix: Let the sheets sit on the counter for 5 minutes after chilling before you try to spiral them. If it cracks, pinch it back together—the warmth of your hands helps.
- Squashed Spirals:
- The Error: Cutting the log while warm or using a dull knife.
- The Fix: Chill the log until rock hard. Use a sharp knife and a sawing motion.
- Bleeding Colors:
- The Error: Using liquid food coloring.
- The Result: A tie-dye mess instead of distinct lines.
- The Fix: Gel paste only!
Storing Tips for the Recipe
These cookies have excellent shelf life.
- Room Temperature: Store in an airtight container for up to 1 week.
- Hack: Place a slice of white bread in the container to keep them soft.
- Freezing:
- Baked: Freeze for up to 3 months.
- Dough Log: This is the best way. Freeze the unbaked log for up to 3 months. Thaw in the fridge overnight before slicing and baking.
Conclusion
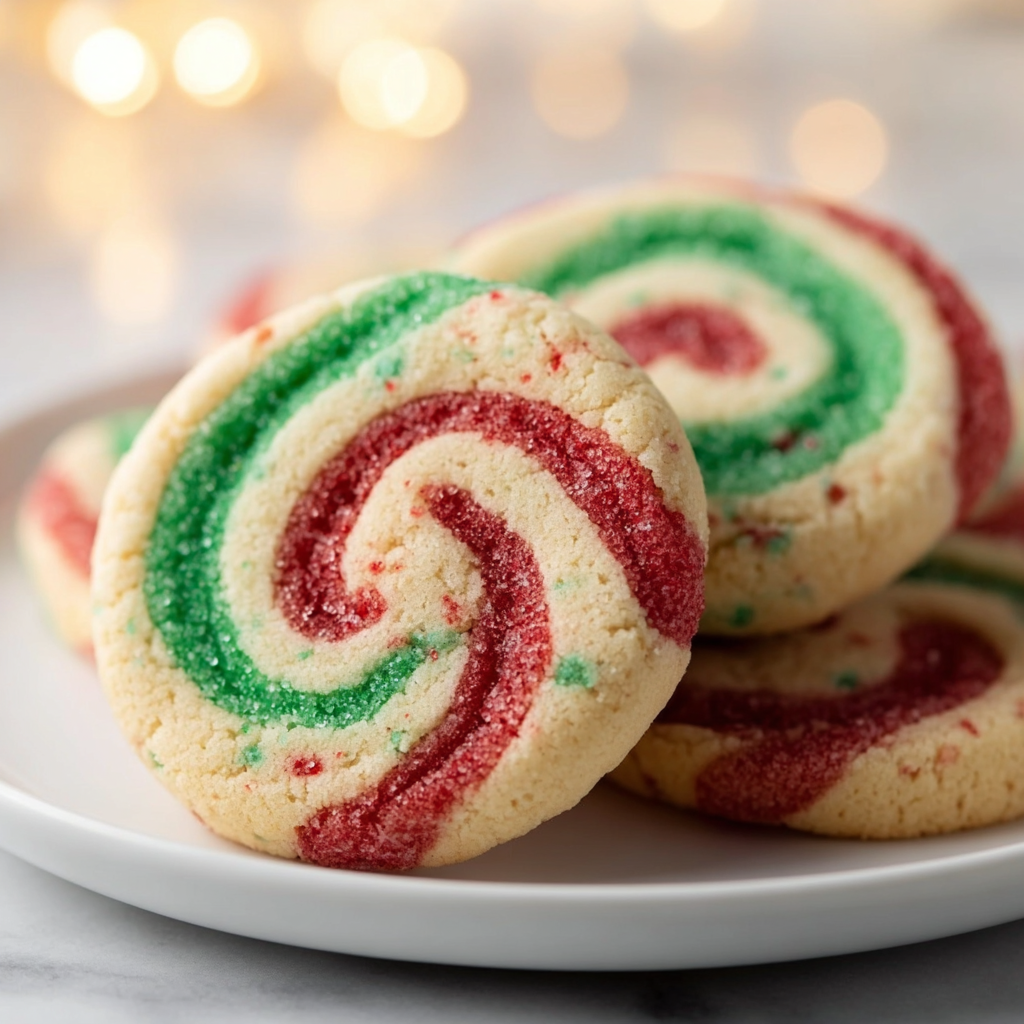
Christmas Pinwheel Cookies are the ultimate test of patience that pays off in compliments. By mastering the chill-and-roll technique, you create a cookie that looks like it came from a professional bakery but tastes like homemade love. They are buttery, festive, and hypnotically delicious.
Summary: A classic vanilla sugar cookie dough divided and colored red, green, and white, then rolled into a festive spiral log. A slice-and-bake holiday staple.
Ready to get rolling?
Clear out your fridge shelf! Rate this recipe 5 stars if your spirals stayed tight, and leave a comment below: do you use sprinkles on the edge? Subscribe for more holiday baking masterclasses!
FAQs
Can I make these without a mixer?
Yes, but you need very soft butter and a lot of arm strength to cream the sugar properly. A mixer ensures the food coloring is distributed evenly without streaks.
Why did my layers separate after baking?
This happens if there was too much flour on the dough when you rolled it up, preventing the layers from fusing. If your dough feels dry, brush it very lightly with a damp pastry brush before rolling the log.
Can I do just two colors?
Absolutely. A simple Red and White peppermint swirl is classic and involves less rolling.
How do I get the sprinkles to stick to the outside?
Roll the chilled log in the sprinkles before the final long chill. If the log is too dry, brush the outside lightly with egg white or water, then roll in the sprinkles.
Leave a Reply