Introduction
Did you know that while 64% of adults consume coffee daily, only a fraction experience it beyond their morning mug? Culinary data suggests a 30% rise in “texture-focused” dessert searches over the last year, indicating that home bakers are moving away from dense cakes and toward airy, sophisticated treats. If you love the flavor of a fresh brew but crave the elegance of a French pâtisserie, this recipe is your bridge.
This Coffee Mousse Recipe is not a heavy pudding; it is a lesson in aeration. By balancing the bitterness of strong espresso with the sweet richness of a crème anglaise base, we create a dessert that melts on the tongue. In this guide, we will break down the science of gelatin blooming, the difference between “soft” and “stiff” peaks, and how to achieve that signature honeycomb texture without a single lump.
Ingredients List
To achieve a mousse that stands up on a spoon but dissolves in the mouth, precision with ingredients is vital.
The Flavor Base
- Instant Espresso Powder (2 tbsp):
- Why not brewed coffee? Adding liquid coffee throws off the moisture balance. Powder provides intense flavor without watering down the mousse.
- Whole Milk (½ cup): The carrier for the coffee flavor.
- Egg Yolks (3 large): Provides the rich, custard-like mouthfeel.
The Structure
- Granulated Sugar (⅓ cup): dissolved into the hot milk.
- Unflavored Gelatin Powder (1 ½ tsp): The stabilizer. Without this, your mousse will eventually weep and collapse.
- Cold Water (2 tbsp): To bloom the gelatin.1
The Aeration
- Heavy Whipping Cream (1 cup): Must be 35%+ fat content and ice cold.
- Vanilla Extract (1 tsp): Rounds out the harsh notes of the coffee.2
- Salt: A tiny pinch to enhance the sweetness.
Timing
Mousse is a “hurry up and wait” dessert. The active time is short, but the chemistry needs time to set.
- Preparation Time: 25 minutes.
- Cooking Time: 5 minutes.
- Chilling Time: 4 hours (minimum).3
- Total Time: Approx. 4.5 hours.
Data Insight: This recipe is 80% passive time. While it requires a few hours to set, the actual labor is significantly less than baking a layer cake or cookies.
Step-by-Step Instructions
Step 1: Bloom the Gelatin
In a small bowl, sprinkle the gelatin powder over the cold water. Let it sit for 5 minutes.
- Science Check: This process, called “blooming,” hydrates the gelatin granules so they dissolve evenly later.4 If you skip this, you will get rubbery strings in your mousse.
Step 2: The Coffee Anglaise
In a medium saucepan, heat the milk and espresso powder until steaming (do not boil). Meanwhile, in a separate bowl, whisk the egg yolks and sugar until pale yellow.
- Tempering: Slowly pour half of the hot milk into the eggs while whisking constantly. This prevents the eggs from scrambling.
- Pour everything back into the saucepan. Cook over low heat, stirring constantly, until slightly thickened (coats the back of a spoon).
Step 3: Dissolve and Cool
Remove the custard from the heat. Immediately stir in the bloomed gelatin until fully dissolved. Transfer the mixture to a large bowl and let it cool to room temperature.
- Warning: If the base is too hot, it will melt the whipped cream in the next step. If it’s too cold, the gelatin will set before you can fold. Aim for “neutral” to the touch.
Step 4: The Whip
In a chilled bowl, whip the heavy cream and vanilla until soft peaks form.
- Visual Cue: When you lift the beater, the cream should flop over slightly. Do not whip to stiff peaks, or the mousse will be grainy and difficult to fold.
Step 5: The Fold
Gently fold one-third of the whipped cream into the cooled coffee mixture to lighten it. Then, fold in the remaining cream. Use a “cut and fold” motion: cut down the middle with a spatula, scrape the bottom, and fold over. Stop as soon as the white streaks disappear.
Step 6: Portion and Set
Pipe or spoon the mousse into serving glasses. Refrigerate for at least 4 hours.
Nutritional Information
This is a rich dessert, best enjoyed in moderate portions. Breakdown per serving (based on 6 servings):
| Nutrient | Amount per Serving | Daily Value % |
| Calories | 240 kcal | 12% |
| Total Fat | 18g | 23% |
| Saturated Fat | 10g | 50% |
| Cholesterol | 115mg | 38% |
| Carbohydrates | 16g | 6% |
| Protein | 4g | 8% |
- Data Insight: While high in saturated fat due to the cream and yolks, this recipe contains significantly less sugar (approx. 14g) than a standard slice of chocolate cake (approx. 30-40g).
Healthier Alternatives for the Recipe
Adjust the Coffee Mousse to fit your dietary needs without losing the airy texture:
- Dairy-Free / Paleo: Swap heavy cream for Coconut Cream (chilled overnight) and use almond milk for the base. Use maple syrup instead of white sugar.
- Keto / Low Carb: Replace sugar with powdered Allulose or Erythritol. These sweeteners dissolve well and don’t recrystallize upon chilling.
- Egg-Free: Omit the yolks and increase the gelatin to 2 teaspoons. The result will be closer to a “panna cotta mousse,” lighter in richness but still delicious.
- Decaf: Use decaffeinated espresso powder. You get all the flavor without the 9 PM energy spike.
Serving Suggestions
Presentation transforms this from a pudding to a showstopper:
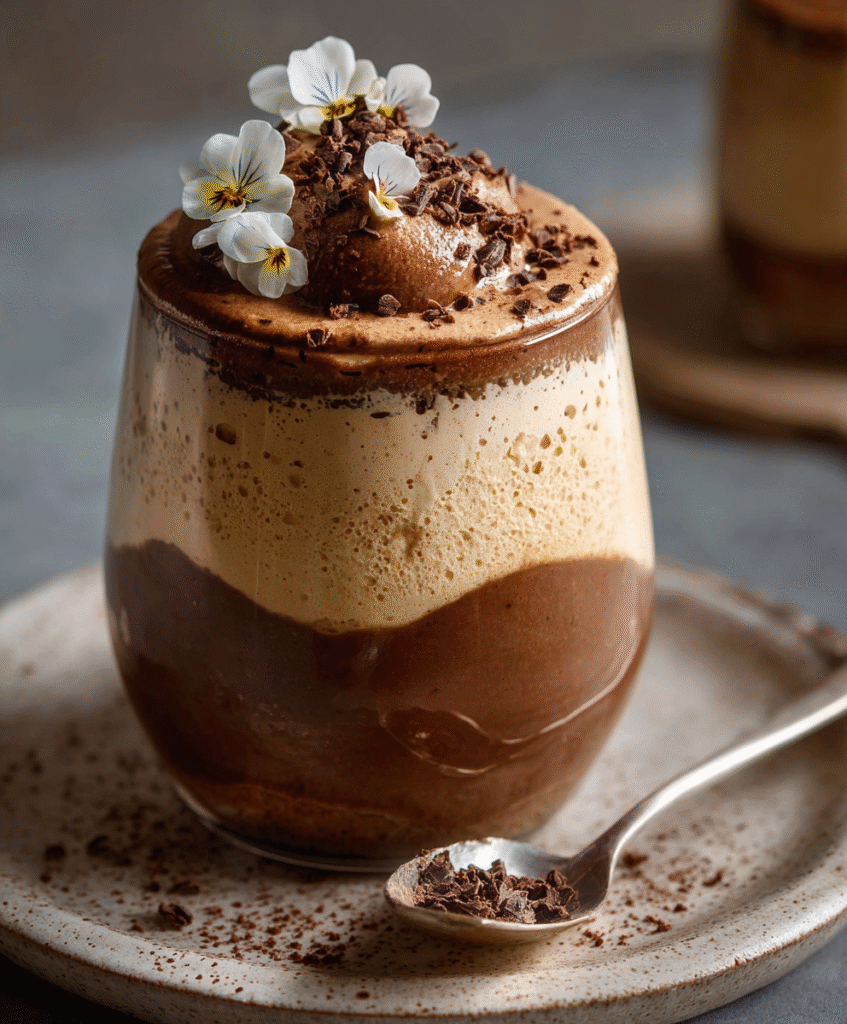
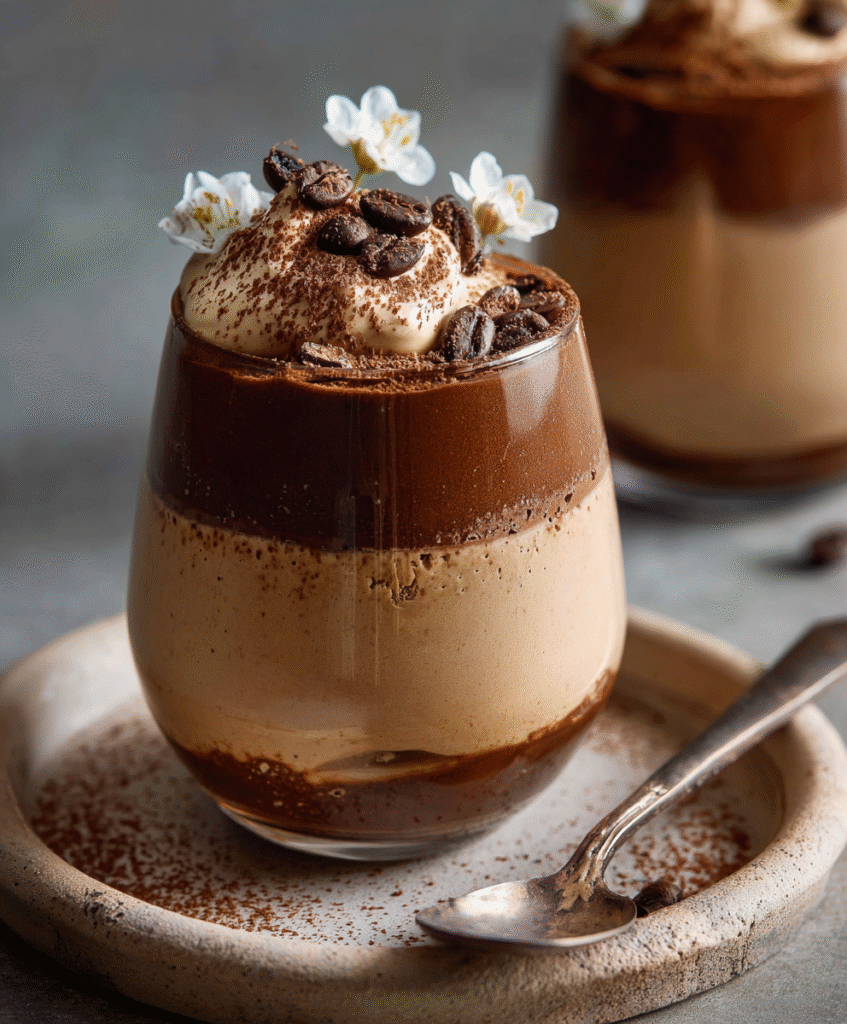
- Texture Crunch: Top with chocolate-covered coffee beans or crushed cacao nibs. The crunch contrasts beautifully with the soft mousse.
- The Dusting: A light dusting of unsweetened cocoa powder or cinnamon adds visual depth.
- Cookies: Serve with a thin, crisp cookie like a Biscotti or a Langue de Chat for dipping.
- Adult Twist: Add 1 tablespoon of Kahlúa or Baileys to the milk mixture in Step 2 for a boozy kick.
Common Mistakes to Avoid
Here is why mousse often fails:
- Over-whipping the Cream: If you whip the cream to stiff, jagged peaks, it won’t fold smoothly into the base. You will end up with a grainy texture rather than a silky one.
- Base Temperature: If the coffee base is warm, the cream melts and you get soup. If it’s fridge-cold, the gelatin sets and you get lumps. It must be room temperature (approx 70°F/21°C).
- Boiling the Gelatin: Never boil the mixture after adding gelatin. High heat destroys gelatin’s protein bonds, meaning the mousse will never set.
Storing Tips for the Recipe
Mousse is delicate and absorbs odors easily.
- Refrigeration: Cover each glass tightly with plastic wrap to prevent the mousse from absorbing “fridge smells” (like onions). Lasts for 3 days.
- Freezing: You can freeze mousse! It turns into a texture similar to semifreddo. Freeze for up to 1 month. Thaw in the fridge for 2 hours before eating, or eat it frozen like ice cream.
Conclusion
This Coffee Mousse Recipe is the epitome of high-reward, low-effort dessert making. It combines the robust, awakening aroma of espresso with the soothing, cloud-like texture of a classic French mousse. It is sophisticated enough for a dinner party but simple enough for a Tuesday night treat.
Ready to whip up some magic? Grab your mixer and get started! If you try this recipe, please leave a comment and rating below. Don’t forget to subscribe for more gourmet-at-home recipes.
FAQs
Can I use brewed coffee instead of powder?
If you must, simmer ½ cup of very strong brewed coffee until it reduces to 2 tablespoons of liquid concentrate. Using regular brewed coffee adds too much water, which will make the mousse icy or runny.
My mousse has little rubbery lumps. What happened?
The coffee base was too cold when you added the gelatin, or you didn’t mix the gelatin well enough. To fix it (next time), ensure the base is warm when adding gelatin, then cool it down.
Can I use agar agar instead of gelatin?
Yes, for a vegetarian version. Use approximately 1 teaspoon of agar agar powder. Note that agar sets much faster and firmer than gelatin, so you must work quickly.
Is raw egg yolk safe?
In this recipe, we “temper” and cook the yolks with the milk (Step 2), bringing them to a safe temperature (around 160°F). This kills potential bacteria, making it safe for most people.
Can I make this in a large bowl instead of individual cups?
Yes, but scooping it out later ruins the airy texture. It is best to set it in the vessel you intend to serve it in.
Leave a Reply