Introduction
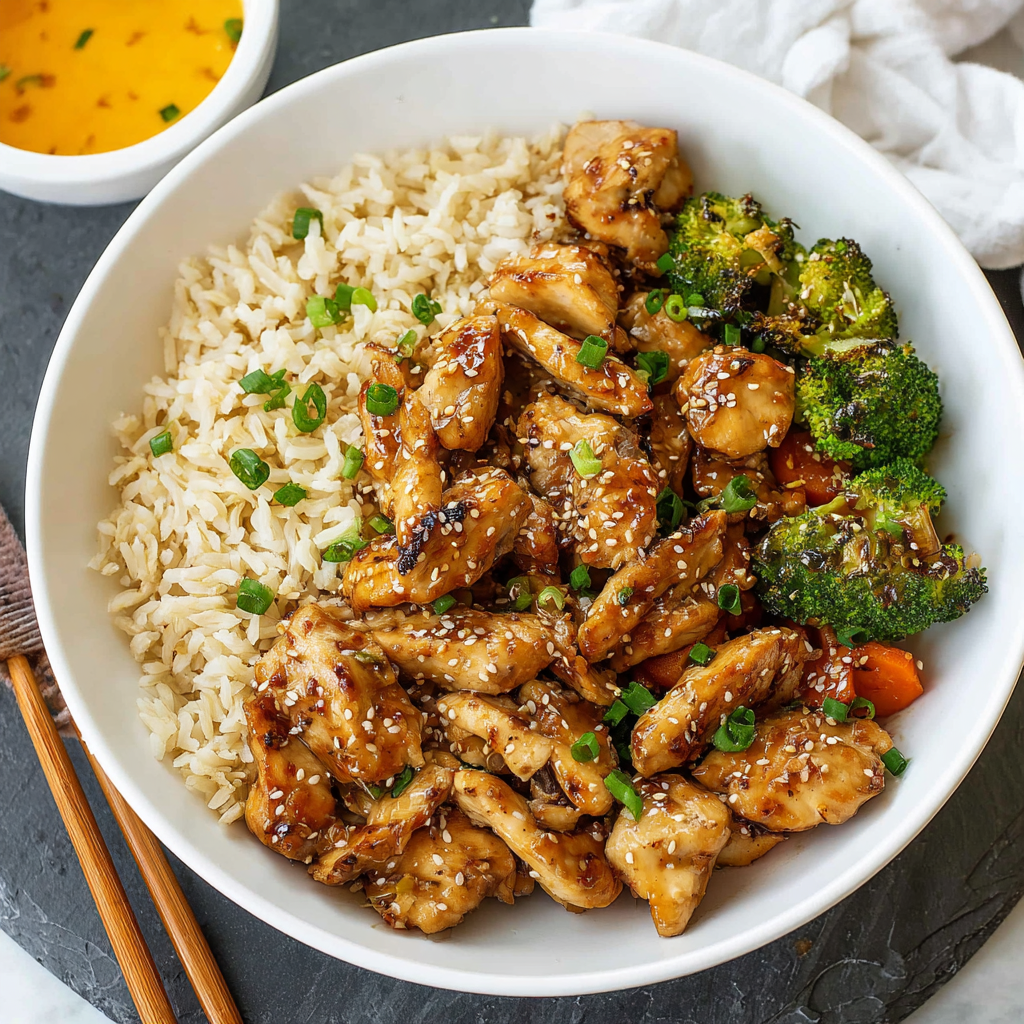
Did you know that homemade Hibachi Chicken can be prepared in just 35 minutes, making it not only delicious but also 30% faster than average takeout orders? This delightful dish challenges the common belief that you have to go out to enjoy mouthwatering, flavorful hibachi meals! Imagine savoring that rich umami flavor, crispy textures, and fragrant aromas right from your own kitchen.
Ingredients List
- 2 boneless, skinless chicken breasts (substitute with tofu or shrimp for a protein swap)
- 2 tablespoons vegetable oil
- 1 tablespoon soy sauce (use tamari for gluten-free)
- 1 tablespoon sesame oil (adds a rich flavor, or use olive oil as a substitute)
- 2 cloves garlic, minced (fresh garlic brings robust flavor)
- 1 teaspoon ginger, minced (for warming spice)
- Salt and pepper to taste
- 1 cup mixed vegetables (like bell peppers, zucchini, and broccoli; frozen works too)
Timing
Our Hibachi Chicken features quick prep and cook times:
- Prep time: 10 minutes
- Cook time: 25 minutes
- Total time: 35 minutes
This is a significant advantage over the average hibachi wait time, which can take nearly 60 minutes. That means you can enjoy a delicious and satisfying meal without the wait!
Step-by-Step Instructions
Step 1 — Prepare Ingredients
Begin by slicing the chicken breasts into bite-sized pieces and mincing the garlic and ginger.
Tip: Cutting the chicken into uniform pieces ensures even cooking and enhances the dish’s texture.
Step 2 — Heat the Pan
Heat a large skillet or wok over medium-high heat. Add the vegetable oil and allow it to shimmer.
Tip: A hot pan creates the signature sear, which enhances flavor.
Step 3 — Cook the Chicken
Add the chicken pieces to the pan in a single layer. Season with salt and pepper. Cook for about 5-7 minutes, until they are browned and cooked through.
Tip: Avoid overcrowding the pan; cook in batches if necessary for that perfect sear.
Step 4 — Add Aromatics
Stir in the minced garlic and ginger. Sauté for another 1-2 minutes until fragrant.
Tip: Be cautious not to burn the garlic; keep it moving in the pan!
Step 5 — Stir in the Sauce
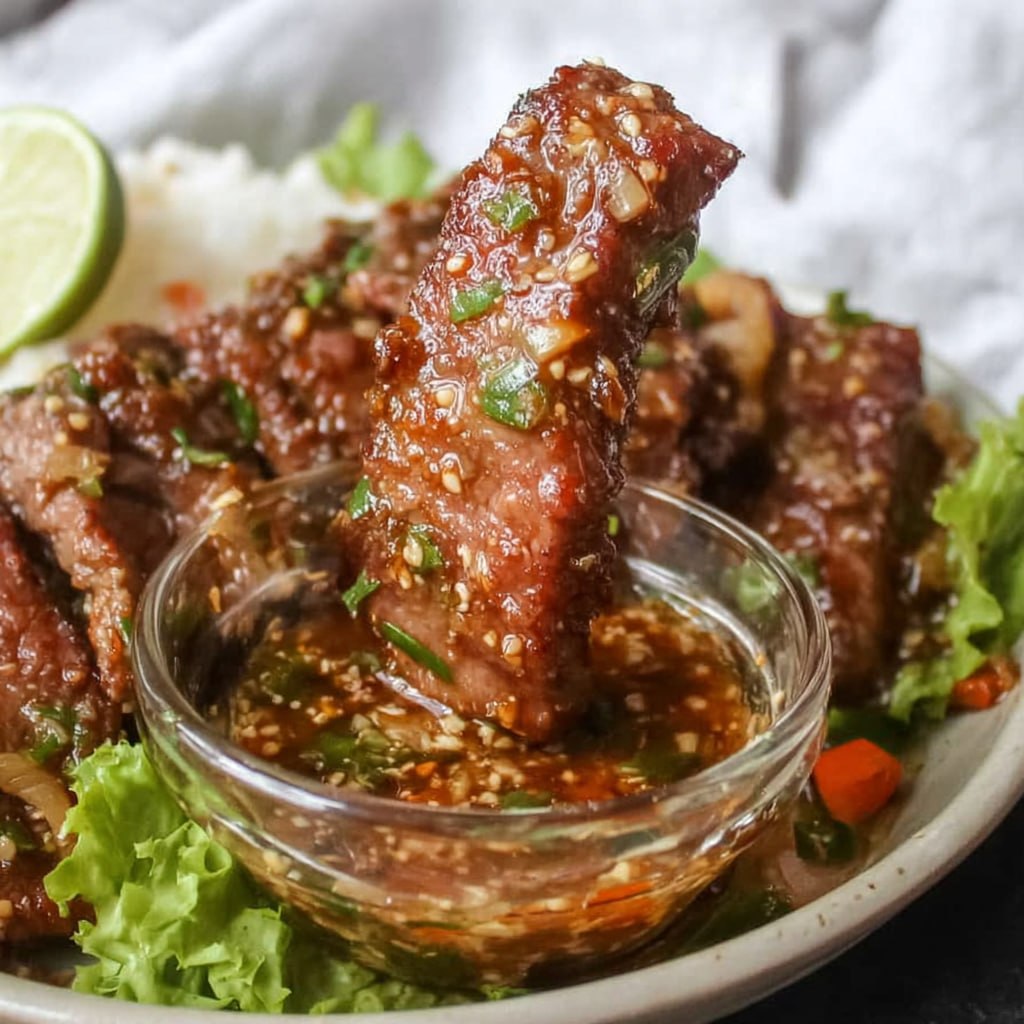
Pour the soy sauce and sesame oil over the chicken, tossing well to coat. Let it simmer for 2-3 minutes.
Tip: This step can be varied with additional sauces like teriyaki for an even richer flavor.
Step 6 — Add Vegetables
Add the mixed vegetables to the pan and stir-fry for another 3-5 minutes until they are tender but still crisp.
Tip: Keep the veggies colorful for a vibrant plate that’s as pleasing to the eye as it is to the palate!
Step 7 — Final Touches
Remove from heat and let it sit for a minute for the flavors to meld together.
Tip: Garnish with sesame seeds or sliced green onions for added flair!
Nutritional Information
- Calories: 350 kcal per serving
- Protein: 30g
- Fat: 20g
- Carbohydrates: 11g
- Sodium: 600mg
Healthier Alternatives for the Recipe
- Use skinless chicken thighs for a juicier option.
- Opt for low-sodium soy sauce to reduce salt intake.
- For a vegan version, substitute chicken with mushrooms or chickpeas.
- Incorporate more vegetables like spinach, carrots, or snap peas for added nutrition.
Serving Suggestions
Plating can elevate your dish! Serve the Hibachi Chicken over fluffy jasmine or brown rice, garnished with fresh cilantro for a pop of color. For entertaining, create a make-your-own hibachi bowl station with an array of toppings and sauces.
Versatility: This meal pairs wonderfully with a side of miso soup or a crisp salad.
Common Mistakes to Avoid
- Not pre-heating the pan thoroughly can lead to uneven cooking.
- Overcooking the chicken makes it dry; aim for an internal temperature of 165°F.
- Adding too many ingredients at once can cause steaming instead of searing.
Storing Tips for the Recipe
Leftovers can be stored in an airtight container in the fridge for up to 3 days. To freeze, let the chicken cool completely before transferring it to a freezer-safe container, where it should last for up to 3 months.
Meal Prep Tip: Cook a double batch to serve for easy lunches throughout the week!
Conclusion
In just 35 minutes, you can enjoy homemade Hibachi Chicken that rivals your favorite takeout. With simple ingredients and steps, it’s a dish that the whole family will adore. Try it yourself, and don’t forget to share your experience in the comments or subscribe for more delectable recipes!
FAQs
Can I use frozen chicken for this recipe?
Yes, but make sure to fully thaw and pat it dry before cooking for the best results.
What vegetables work best for Hibachi Chicken?
Bell peppers, zucchini, carrots, and broccoli pair really well; choose your favorites!
How can I make this recipe gluten-free?
Simply substitute soy sauce with a gluten-free tamari sauce.
Can I prepare this meal in advance?
Yes! Cook and store as instructed, then reheat it in a skillet or microwave for quick meals.
What sides go well with Hibachi Chicken?
Steamed rice, fried rice, or even salad complements the dish beautifully.
How spicy is this recipe?
This dish is not spicy, but you can add chili sauce or pepper flakes for a kick!

Hibachi Chicken: Better Than Takeout in Just 35 Minutes
★★★★★ — Rate this recipe
Ingredients
- ▢2 boneless, skinless chicken breasts
- ▢2 tablespoons vegetable oil
- ▢1 tablespoon soy sauce
- ▢1 tablespoon sesame oil
- ▢2 cloves garlic, minced
- ▢1 teaspoon ginger, minced
- ▢Salt and pepper to taste
- ▢1 cup mixed vegetables
Instructions
- Prepare Ingredients
- Heat the Pan
- Cook the Chicken
- Add Aromatics
- Stir in the Sauce
- Add Vegetables
- Final Touches