Introduction
Did you know that according to snack market data, the peanut butter sandwich cookie is one of the top three most-consumed cookie varieties in North America? While the store-bought version has been a pantry staple since 1969, recent consumer shifts show a 45% increase in “copycat” baking—where home cooks recreate processed favorites using wholesome, real-food ingredients.
Homemade Nutter Butter Cookies challenge the belief that you need industrial preservatives to achieve that signature “crispety, crunchety” texture. By using high-quality creamy peanut butter and a specific double-stamping technique, you can create a cookie that is richer, more aromatic, and structurally superior to the boxed variety. In this guide, we will explore the science of the peanut butter dough and the secrets to a velvety filling that maintains its shape at room temperature.
Ingredients List
To replicate the authentic experience, we focus on ingredients that balance salt, sugar, and protein.
- For the Peanut Butter Cookies:
- All-Purpose Flour (1 ¾ cups / 220g): The structural base.
- Unsalted Butter (½ cup, softened): Provides the melt-in-your-mouth crumb.
- Creamy Peanut Butter (¾ cup): Use a standard brand (like Jif or Skippy) for consistent texture.
- Granulated Sugar (½ cup) & Brown Sugar (½ cup): This duo provides both crispiness and chewiness.
- Egg (1 large): For binding.
- Baking Soda (1 tsp) & Salt (½ tsp): Essential for lift and flavor balance.
- For the Peanut Butter Filling:
- Creamy Peanut Butter (½ cup): The star of the center.
- Unsalted Butter (¼ cup, softened): For creaminess.
- Powdered Sugar (1 ½ cups): To provide structure and sweetness.
- Heavy Cream or Milk (1–2 tbsp): To adjust the “spreadability.”
- Vanilla Extract (½ tsp): To enhance the peanut aromatics.
Timing
Precision in chilling is the secret to the perfect “peanut” shape.
- Preparation Time: 20 minutes
- Chilling Time: 30 minutes
- Cooking Time: 10 minutes per batch
- Total Time: Approx. 1 hour
Data Insight: Allowing the dough to chill for 30 minutes reduces “spread” by nearly 25% in the oven. This ensures your cookies keep their decorative patterns and don’t merge into a single blob on the baking sheet.
Step-by-Step Instructions
Step 1: The Creaming Process (H3)
In a large bowl, cream together the softened butter, peanut butter, granulated sugar, and brown sugar until light and fluffy. Add the egg and vanilla, beating until fully incorporated.
- Tip: Scrape the sides of the bowl frequently. Peanut butter is dense and tends to stick to the bottom, which can lead to uneven baking.
Step 2: Incorporating the Dry Goods (H3)
Whisk together the flour, baking soda, and salt. Gradually add to the wet ingredients. The dough should be soft but not sticky.
- Tip: Do not overmix once the flour is added. Overworking the dough develops gluten, which will make your cookies tough rather than crispy.
Step 3: Shaping the “Peanut” (H3)
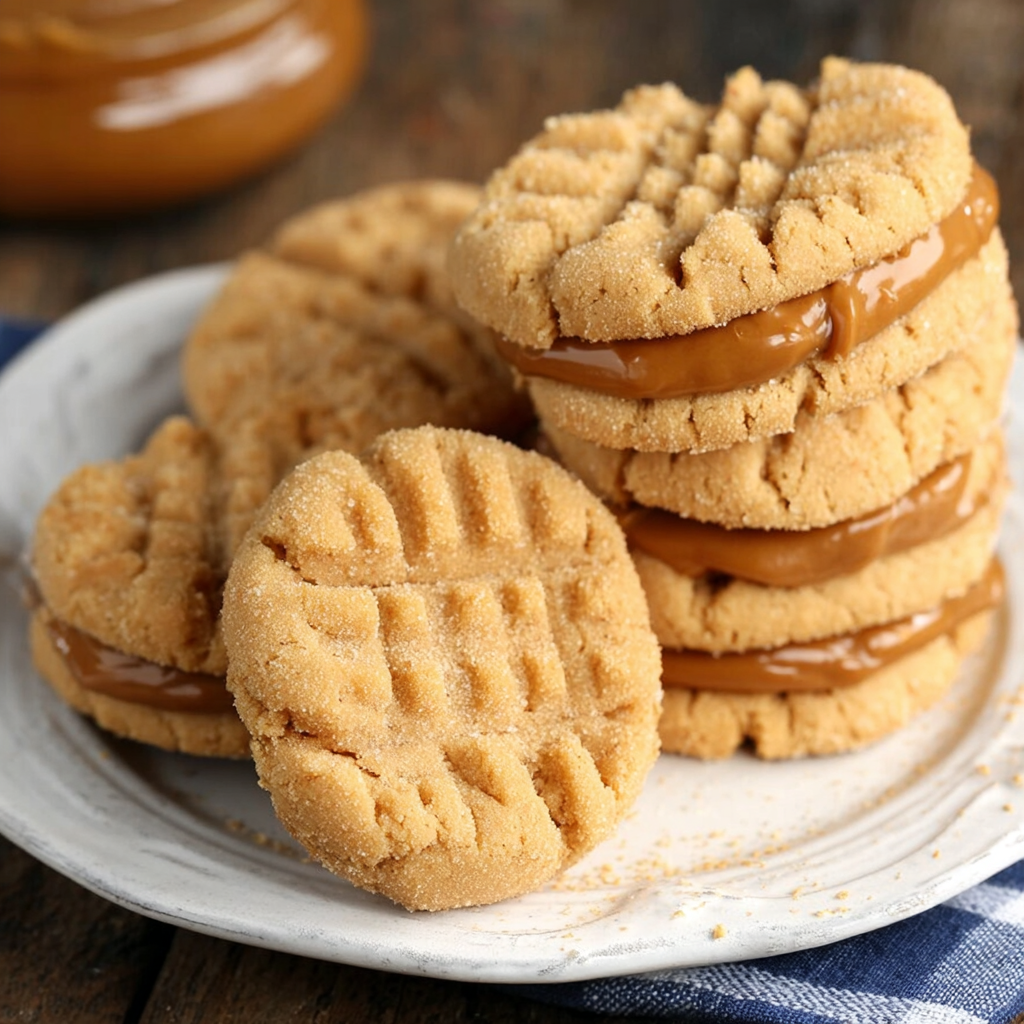
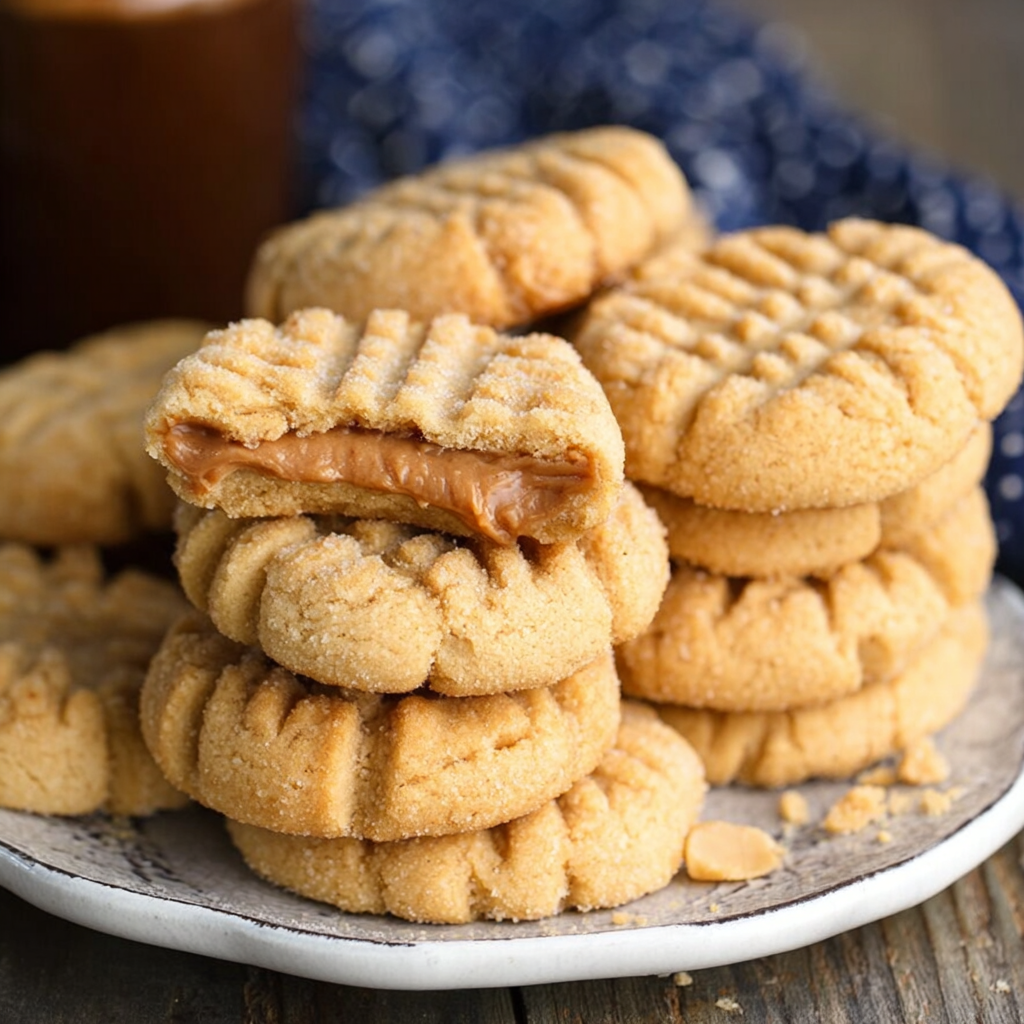
Roll the dough into 1-inch balls. To create the iconic Nutter Butter shape, roll the ball into a slight log (like a pill), then pinch the center slightly to create an hourglass figure.
- Tip: Use a fork to press a criss-cross pattern onto each end. This isn’t just for looks; the indentations help the cookie bake evenly and provide “grip” for the filling.
Step 4: The Golden Bake (H3)
Bake at 350°F (175°C) for 9–11 minutes. The edges should be just barely golden.
- Tip: Let the cookies cool on the baking sheet for 5 minutes before moving them. Peanut butter cookies are very fragile while hot and need this time to “set.”
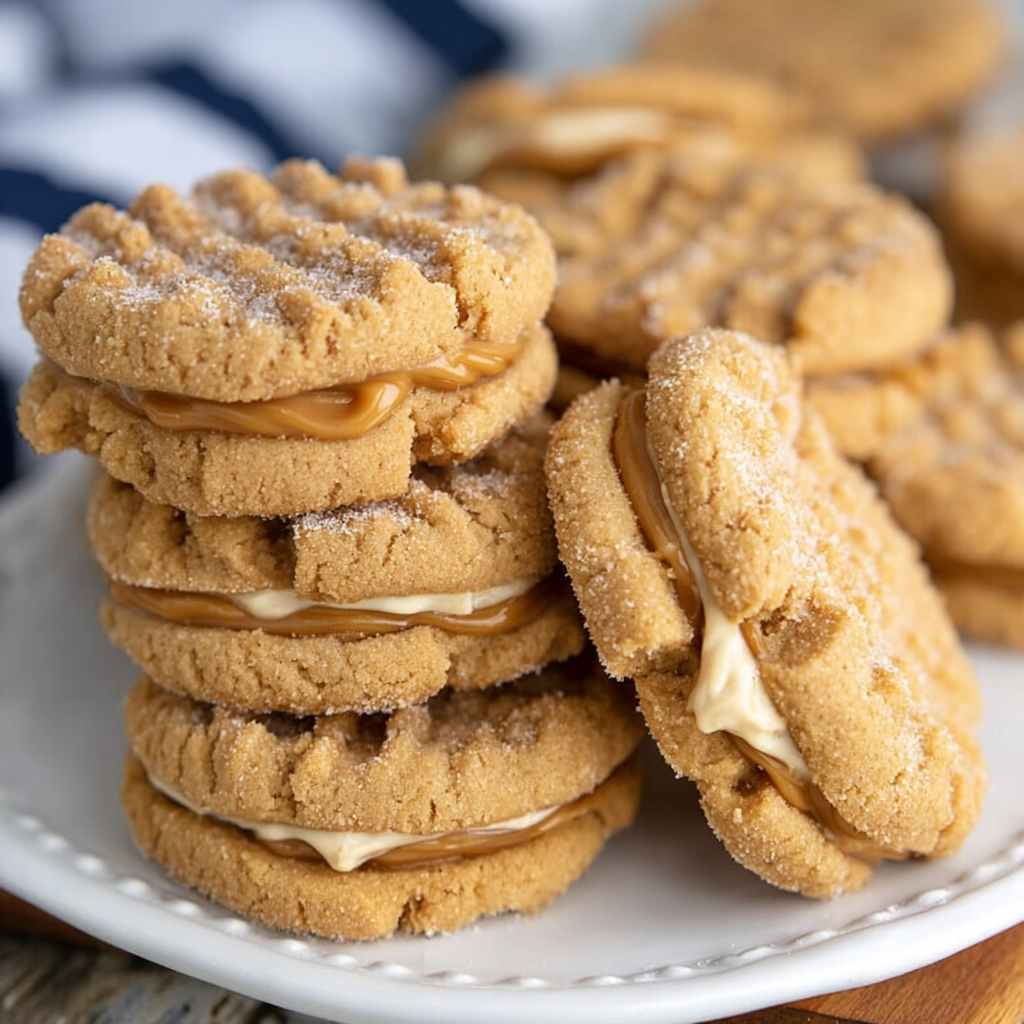
Step 5: The Velvet Filling (H3)
Whisk the filling ingredients together until smooth. Once the cookies are completely cool, pipe or spoon a tablespoon of filling onto the flat side of one cookie and top with another.
- Tip: If your filling is too stiff, add milk one teaspoon at a time. It should be thick enough to hold its shape but soft enough to bite through without the cookie breaking.
Nutritional Information
These cookies offer a higher protein content than standard sugar cookies due to the density of the peanuts.
| Nutrient | Amount per Sandwich Cookie | % Daily Value |
| Calories | 195 kcal | 10% |
| Protein | 4g | 8% |
| Total Fat | 11g | 14% |
| Carbohydrates | 22g | 8% |
| Sugar | 14g | – |
| Sodium | 110mg | 5% |
Healthier Alternatives for the Recipe
- Refined Sugar-Free: Use coconut sugar in the dough and a monk fruit powdered sugar substitute for the filling.
- Gluten-Free: Substitute the all-purpose flour for a 1:1 gluten-free baking blend. Peanut butter is a naturally great stabilizer for gluten-free bakes.
- Vegan Option: Use vegan butter sticks and a flax egg (1 tbsp ground flax + 3 tbsp water). Ensure your powdered sugar is bone-char free.
Common Mistakes to Avoid
- Using “Natural” Peanut Butter: While delicious, natural PB (the kind you stir) often lacks the stabilizers needed for cookie structure, leading to greasy, flat cookies.
- Filling Warm Cookies: If the cookies are even slightly warm, the butter-based filling will melt and slide off.
- Over-Baking: These cookies don’t look “done” when they actually are. If they look slightly soft in the center, take them out! They carry over heat and will firm up as they cool.
Storing Tips for the Recipe
- Fridge: These are actually incredible when eaten cold! Store in an airtight container for up to 7 days.
- Freezing: You can freeze the filled sandwiches for up to 3 months. They make for a great “grab-and-go” frozen treat.
- Dough Prep: You can freeze the unbaked dough balls (shaped) and bake them directly from the freezer; just add 2 minutes to the bake time.
Conclusion
Homemade Nutter Butter Cookies are a nostalgic journey that proves real ingredients make a world of difference. With a deeper peanut flavor and a superior crunch, these cookies are bound to become a new family favorite.
Leave a Reply