Introduction
Did you know that peppermint oil contains menthol, which triggers the cold-sensitive receptors in your mouth?1 This is why combining peppermint with rich, dense chocolate creates such a satisfying sensory experience—the “cooling” mint cuts through the heavy fat of the cocoa butter.
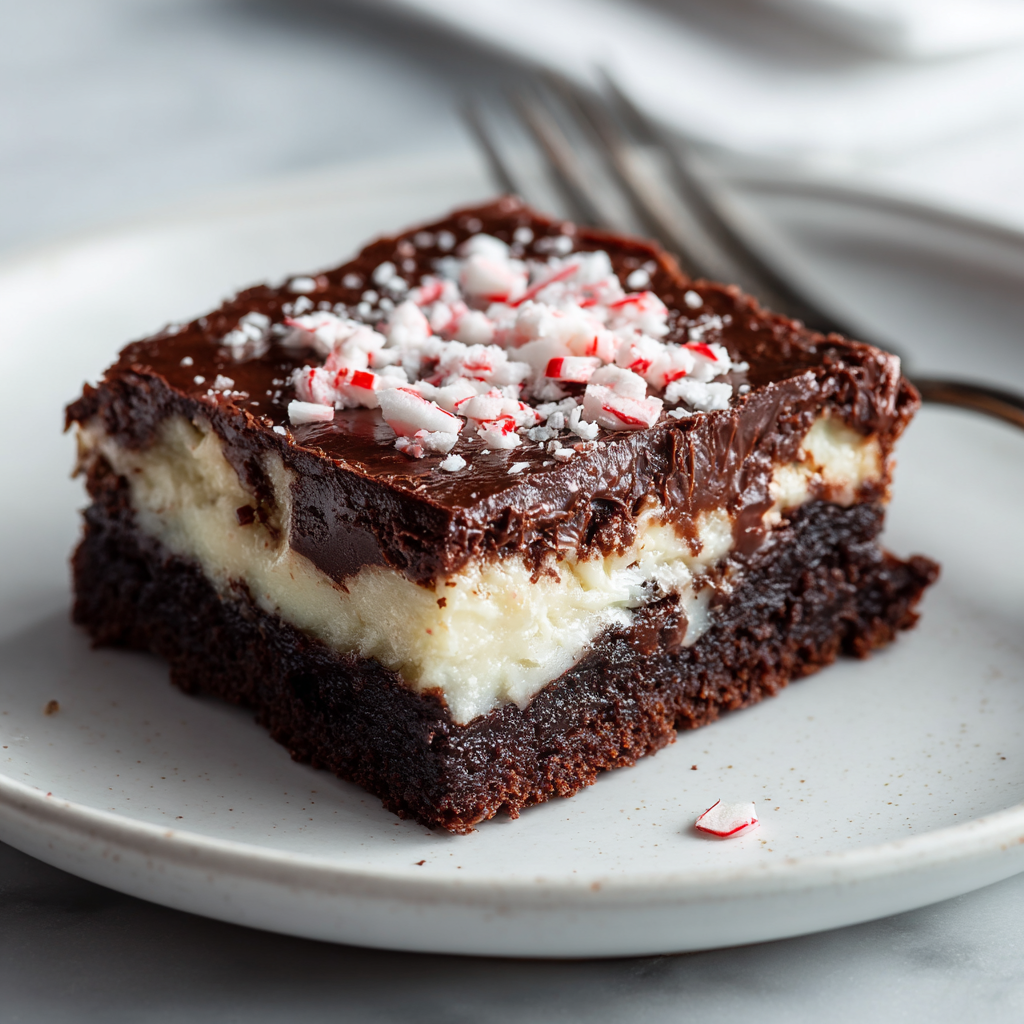
This recipe for Layered Peppermint Brownies (often called “Grasshopper Brownies” or holiday copycats) is a three-part masterpiece. It starts with a chewy, fudgy chocolate base, topped with a fluffy pink peppermint buttercream, and finished with a glossy layer of chocolate ganache. It is visually stunning, reminiscent of a gourmet candy bar, and makes for the perfect addition to any holiday cookie box.
Ingredients List
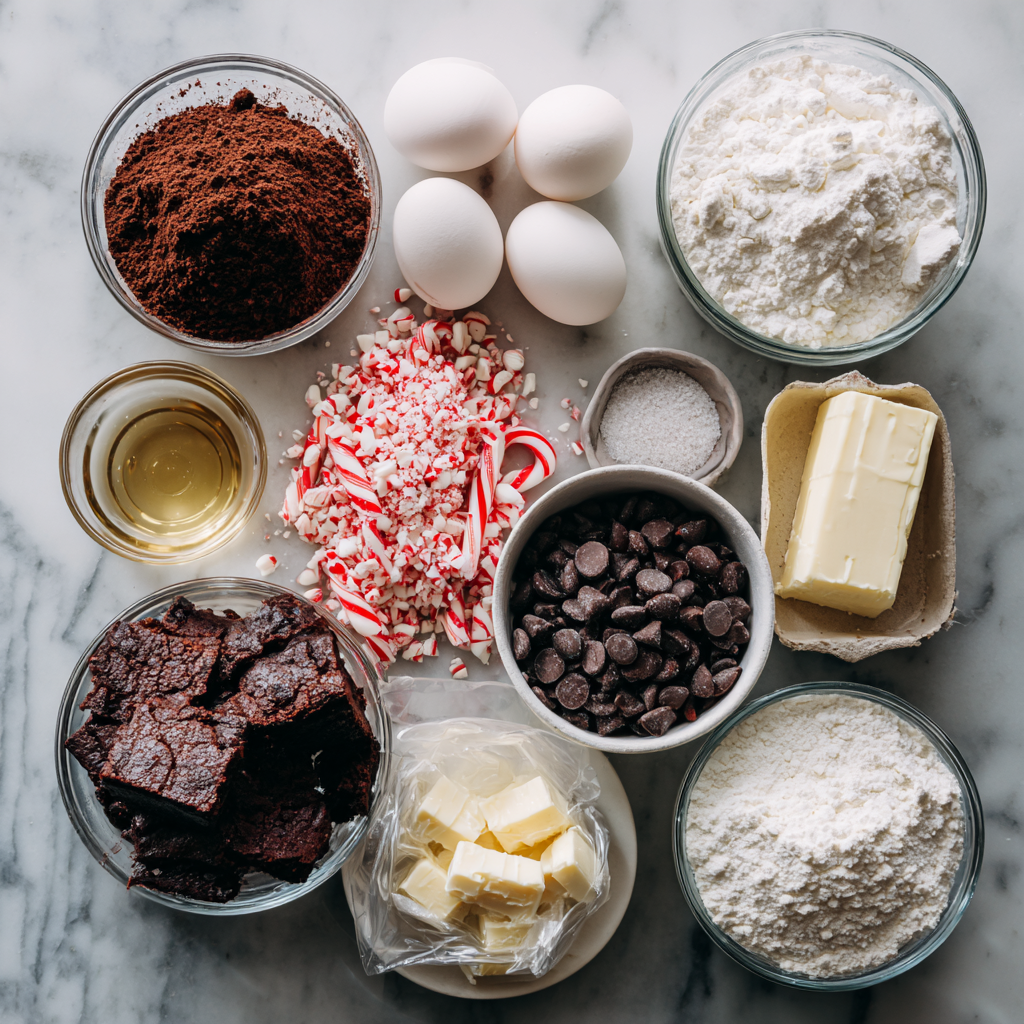
To ensure the layers stay distinct and don’t melt into each other, the consistency of the buttercream and the temperature of the brownie are critical. Here is your curated shopping list.
Layer 1: The Fudgy Brownie Base
- ½ Cup (1 stick) Unsalted Butter: Melted.
- 1 Cup Granulated Sugar.
- ½ Cup Unsweetened Cocoa Powder: Dutch-processed is best for a darker color and smoother flavor.2
- 2 Large Eggs: Room temperature.
- ¾ Cup All-Purpose Flour: Spooned and leveled.
- ¼ Teaspoon Salt.
Layer 2: The Peppermint Buttercream
- ½ Cup (1 stick) Unsalted Butter: Softened to room temperature.
- Critical Spec: Do not melt! It must be soft enough to whip but firm enough to hold its shape.
- 1 ½ Cups Powdered Sugar (Confectioners’ Sugar).
- 1 Tablespoon Heavy Cream: Or milk.
- 1 Teaspoon Peppermint Extract:
- Warning: Ensure it says Peppermint, not just “Mint.” “Mint” extract is often spearmint, which will make your dessert taste like toothpaste.
- Red Food Coloring: Gel paste works best for a vibrant pink without watering down the frosting.
Layer 3: The Chocolate Ganache
- 1 Cup Semi-Sweet Chocolate Chips.
- 3 Tablespoons Unsalted Butter: Or ¼ cup heavy cream. This keeps the chocolate soft enough to bite through when chilled.
Garnish:
- Crushed Candy Canes: For the crunch factor.
Timing
This recipe requires patience for chilling between layers.
- Baking Time: 20–25 minutes.
- Cooling Time (Brownie): 1 hour.
- Chilling Time (Buttercream): 30 minutes.
- Setting Time (Ganache): 30 minutes.
- Total Time: Approx. 2.5 to 3 hours.
Data Insight: The most common reason for messy layers is applying buttercream to a warm brownie. The brownie must be below 80°F (26°C)—essentially room temperature or colder—before frosting, or the butter in the frosting will separate and slide off.
Step-by-Step Instructions
Step 1: Bake the Base
Preheat oven to 350°F (175°C).
- Prep: Line an 8×8 inch baking pan with parchment paper or aluminum foil, leaving an overhang on the sides for easy removal later. Grease the foil.
- Mix: In a medium bowl, whisk melted butter, sugar, and cocoa powder. Add eggs one at a time. Stir in flour and salt just until combined.
- Bake: Spread batter into the pan. Bake for 20–25 minutes.
- Doneness: A toothpick should come out with moist crumbs. Do not overbake!
- Cool: Let cool completely in the pan. (Pop it in the fridge to speed this up).
Step 2: The Frosting Layer
In a stand mixer (or with a hand mixer), beat the softened butter until creamy.
- Whip: Gradually add powdered sugar and heavy cream. Beat on high for 3 minutes until fluffy and pale.
- Flavor & Color: Add the peppermint extract and a drop of red food coloring. Mix until uniform pink.
- Spread: Spread evenly over the completely cooled brownie layer.
- Chill: Place the pan in the refrigerator for 20–30 minutes. The buttercream needs to be firm before you pour warm chocolate on it.
Step 3: The Ganache Finish
In a microwave-safe bowl, combine the chocolate chips and butter.
- Melt: Microwave in 30-second intervals, stirring in between, until smooth.
- Pour: Pour the warm (not piping hot) chocolate over the cold buttercream layer.
- Smooth: Tilt the pan to coat evenly or spread gently with a spatula.
- Top: Sprinkle immediately with crushed candy canes before the chocolate sets.
Step 4: The Set & Slice
Refrigerate the pan for another 30 minutes until the chocolate topping is hard.
- Slice: Lift the brownies out of the pan using the foil overhang.
- Pro Tip: Run a sharp knife under hot water, wipe it dry, and then slice. This melts through the top chocolate layer without cracking it, resulting in clean, bakery-style cuts.
Nutritional Information

A rich holiday treat. Estimated breakdown per square (16 squares):
| Nutrient | Amount | % Daily Value |
| Calories | 280 kcal | – |
| Total Fat | 16g | 24% |
| Saturated Fat | 10g | 50% |
| Carbohydrates | 34g | 12% |
| Sugars | 26g | – |
Healthier Alternatives for the Recipe
Customize your Peppermint Brownies for dietary needs:
- Gluten-Free:
- Use a 1:1 Gluten-Free Flour Blend for the brownie base. The layers hide any textural difference perfectly.
- Natural Dye:
- Use a teaspoon of beet juice to dye the buttercream pink instead of artificial red dye.
- Lower Fat:
- The layers rely on fat for structure, so this is hard to lighten. However, you can make a “skinny” version by skipping the buttercream and adding peppermint extract directly to the brownie batter or the ganache.
Serving Suggestions
- The Cut: Cut them small! These are very rich. Bite-sized squares are often better than full bars.
- The Drink: Serve with a glass of cold milk or a hot espresso to balance the sweetness.
- The Gift: These stack beautifully in tins if you place parchment paper between layers.
Common Mistakes to Avoid
Layers require temperature control.
- Toothpaste Flavor:
- The Error: Using “Mint” extract or adding too much.
- The Fix: Use “Peppermint” extract and measure carefully. Start with ½ tsp if you are sensitive to mint.
- Melting Middle:
- The Error: Pouring hot ganache on soft buttercream.
- The Result: A marbleized mess.
- The Fix: Chill the buttercream layer until it is hard to the touch before adding the chocolate.
- Cracked Chocolate:
- The Error: Cutting the brownies when they are rock-hard from the fridge.
- The Fix: Let them sit on the counter for 10 minutes, or use the hot knife trick.
Storing Tips for the Recipe
- Refrigeration: Because of the butter/cream filling, these are best stored in the fridge. They keep for 1 week.
- Freezing: Flash freeze them cut, then wrap individually. They last up to 3 months. Thaw in the fridge (not on the counter) to prevent the chocolate from sweating (blooming).
Conclusion
Layered Peppermint Brownies are the dessert that makes people ask, “Which bakery did you buy these from?” The contrast between the chewy dark chocolate, the cool, creamy mint, and the snap of the ganache is addictive. It’s a little extra effort for a massive payoff.
Summary: A triple-layer bar featuring a fudgy brownie base, pink peppermint buttercream filling, and a smooth chocolate ganache topping.
Ready to layer?
Clear some fridge space! Rate this recipe 5 stars if you achieved the perfect layers, and leave a comment below: do you prefer corner pieces or center pieces? Subscribe for more holiday copycat recipes!
Leave a Reply