Introduction
There is something undeniably magical about a meringue. It starts as a humble, slimy egg white and transforms into a glossy, stiff, snowy mountain.
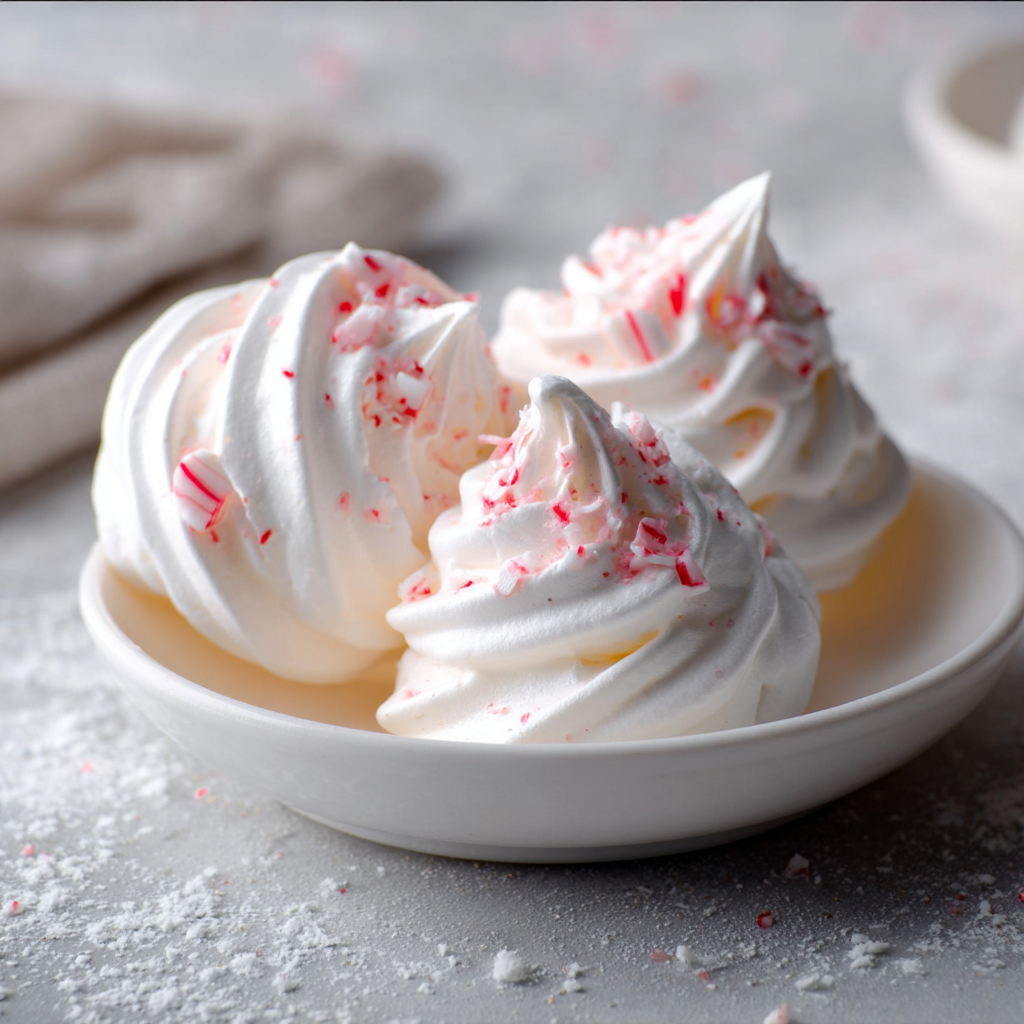
White Christmas Peppermint Meringues are the edible embodiment of winter. They are impossibly light, crisp on the outside, and dissolve instantly on the tongue, leaving behind the cool, refreshing flavor of peppermint.
Unlike heavy butter cookies or dense cakes, meringues are naturally fat-free and airy. They are the perfect “palette cleanser” dessert after a rich holiday feast. Plus, with their snowy white peaks and streaks of festive red, they look stunning packaged in cellophane bags as edible gifts. The secret to their magic isn’t an ingredient; it’s patience. Low and slow baking is the only way to achieve that signature shatter-crisp texture without browning the sugar.
Ingredients List
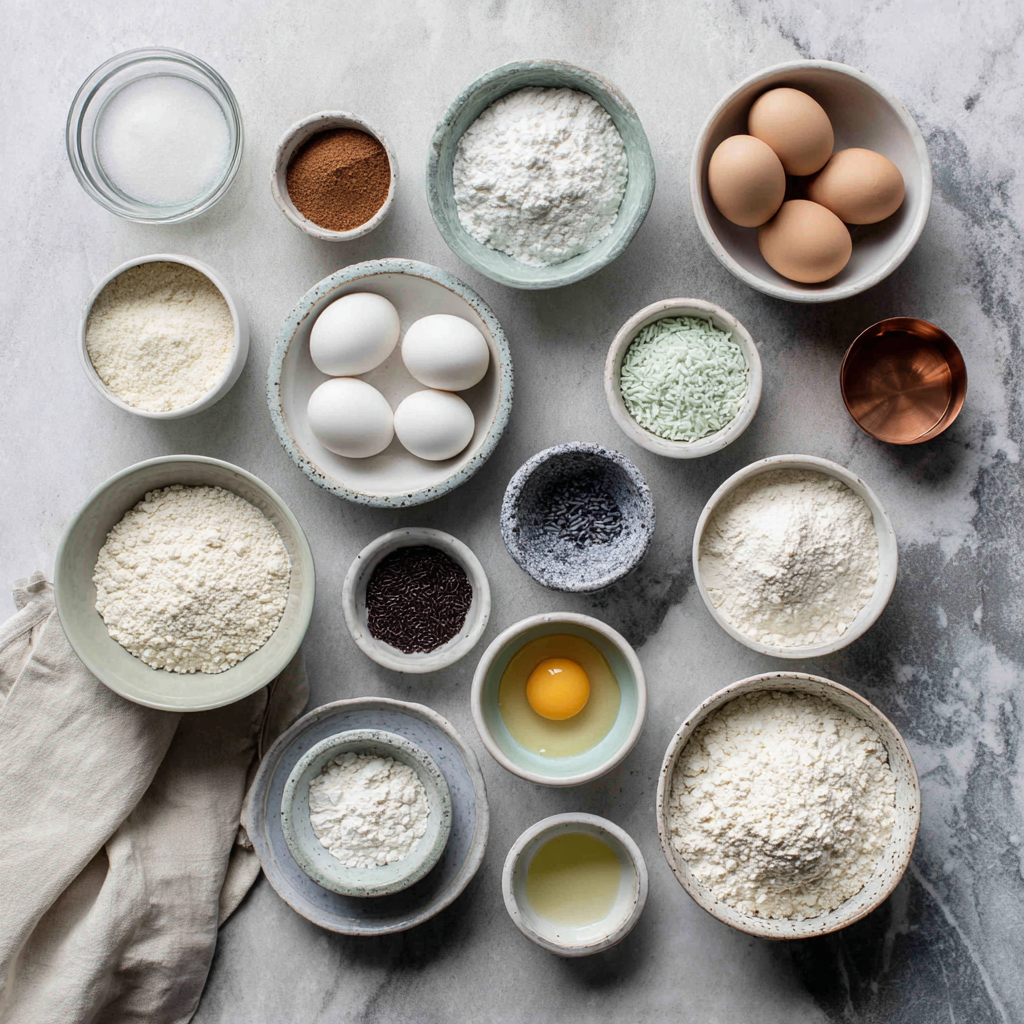
We are relying on the protein structure of egg whites and the stabilizing power of acid.
The Structure
- 4 Large Egg Whites: Room temperature.
- Crucial Rule: Even a microscopic drop of yolk will prevent the whites from whipping. Separate them one by one in a small bowl before adding to the main mixer.
- ¼ tsp Cream of Tartar:
- The Stabilizer: This acid strengthens the egg foam, ensuring your meringues don’t collapse in the oven. If you don’t have it, use ½ tsp lemon juice.
The Flavor & Sweetness
- 1 cup Superfine Sugar (Caster Sugar):
- Why Superfine? It dissolves faster than granulated sugar. If you only have granulated, pulse it in a food processor for 30 seconds. Grainy sugar = weeping meringues.
- 1 tsp Peppermint Extract: (Not mint extract, which tastes like toothpaste. You want peppermint).
- ½ tsp Vanilla Extract: To round out the flavor.
The “Candy Cane” Look
- Red Gel Food Coloring: Liquid dye can water down the meringue; gel is safer.
- Crushed Candy Canes: For sprinkling on top (optional).
Sensory Note: These cookies are an auditory experience. They should sound hollow when tapped and make a satisfying “snap” when broken.
Timing
The active time is short, but the oven time is long. Do not rush the drying process.
- Prep Time: 20 minutes
- Bake Time: 60–90 minutes
- Cooling Time: 1 hour (inside the oven)
- Total Time: ~3 hours
- Yields: 24–30 Meringue Kisses
Data Insight: Humidity is the enemy of meringue. Sugar is hygroscopic (it attracts water). If you bake these on a rainy day, they may turn chewy and sticky rather than crisp. If it’s raining, bake them for an extra 20 minutes.
Step-by-Step Instructions
Step 1: Prep and Clean
- Preheat oven to 200°F (95°C). Yes, that low. We are drying them out, not really “baking” them.
- Line two large baking sheets with parchment paper.
- The Wipe: Wipe your mixing bowl and whisk attachment with a paper towel dipped in vinegar. This removes any hidden grease that could kill your foam.
Step 2: Soft Peaks
- Place the egg whites in the clean bowl.
- Beat on Low speed until foamy.
- Add the cream of tartar.
- Increase speed to Medium-High and beat until soft peaks form (the peaks flop over when you lift the whisk).
Step 3: The Sugar Rain
- With the mixer running, slowly add the sugar one tablespoon at a time.
- Patience: Take about 2 minutes to add all the sugar. Adding it too fast crushes the air bubbles.
- Once all sugar is added, turn speed to High. Beat for 5–7 minutes.
- The Test: Rub a little meringue between your thumb and finger. If it feels gritty, keep beating. If it’s smooth like shaving cream, it’s done.
- Fold in the peppermint and vanilla extracts.
Step 4: The Stripe Technique
- Fit a piping bag with a large star tip (like Wilton 1M).
- Paint: Dip a paintbrush (or skewer) into the red gel food coloring. Paint 3 or 4 vertical stripes up the inside of the piping bag.
- Carefully fill the bag with the white meringue.
- Result: When you pipe, the red dye will streak through the white meringue, creating a perfect candy cane swirl effect.
Step 5: Pipe and Bake
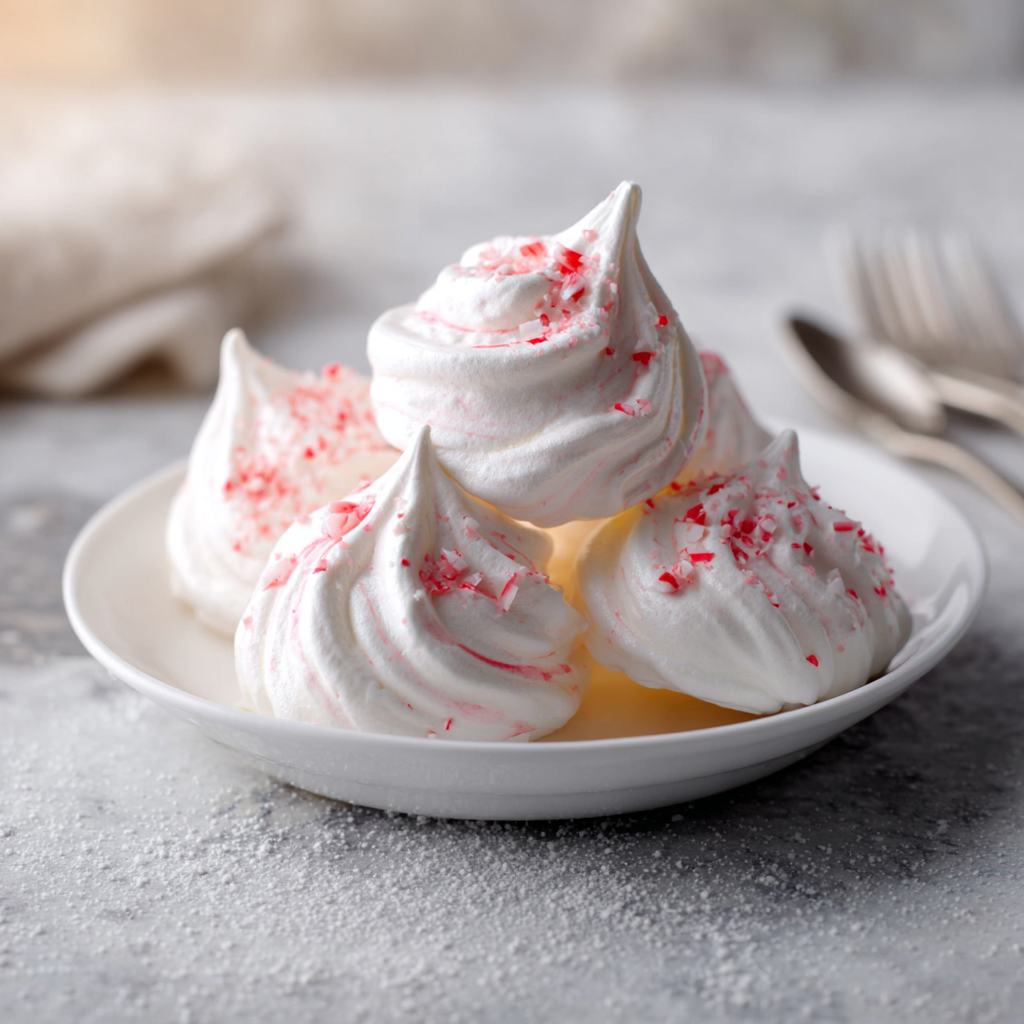
- Pipe small “kisses” (about 1.5 inches wide) onto the parchment paper. They don’t spread, so you can place them close together.
- Sprinkle with crushed candy canes if desired (note: candy canes might melt slightly and get sticky).
- Bake for 60 to 90 minutes.
- Doneness Test: The meringues should peel off the parchment paper easily without sticking. If they stick, they need more time.
Step 6: The Long Cool
- Turn the oven OFF.
- Leave the door slightly ajar (stick a wooden spoon in the door).
- Let the meringues cool completely inside the oven (at least 1 hour).
- Why? A sudden temperature drop can cause them to crack.
Nutritional Information
Naturally fat-free and low calorie. Below is the estimated breakdown per cookie.
| Nutrient | Amount per Serving | % Daily Value* |
| Calories | 35 kcal | 2% |
| Total Fat | 0g | 0% |
| Cholesterol | 0mg | 0% |
| Carbohydrates | 9g | 3% |
| Sugars | 9g | – |
| Protein | 1g | 2% |
Variations for the Recipe
- Chocolate Dipped: Once cooled, dip the bottoms in melted dark chocolate for a “Peppermint Bark” vibe.
- Flavor Swap: Not a mint fan? Use almond extract or lemon extract instead.
- Meringue Wreath: Draw a circle on the parchment and pipe the kisses in a ring to create an edible wreath centerpiece.
- Pastel Swirls: Use blue dye for a “Frozen” themed winter look.
Serving Suggestions
- The Cocoa Topper: Float a meringue on top of a mug of Hot Chocolate. It will slowly melt into a creamy, peppermint foam.
- The Gift: Pack in clear jars or cellophane bags tied with red ribbon. They are fragile, so pack gently!
Common Mistakes to Avoid
- High Heat:
- The Issue: Baking at 350°F.
- The Result: Browned, burnt sugar and a chewy center.
- The Fix: Keep it under 225°F. Low and slow.
- Greasy Bowl:
- The Issue: Using a plastic bowl or not cleaning the whisk.
- The Result: The whites never whip up.
- The Fix: Use glass or metal bowls and wipe with vinegar.
- Opening the Oven:
- The Issue: Checking on them constantly.
- The Result: Loss of heat and potential cracking.
- The Fix: Trust the timer.
Storing Tips for the Recipe
- Airtight is Mandatory: Moisture will ruin these instantly. Store in an absolutely airtight container at room temperature.
- Desiccant Packets: If you live in a humid area, throw a silica gel packet (safe for food) into the container to keep them crisp.
- Shelf Life: Kept dry, they last for 2 weeks.
- Freezing: Do not freeze. The moisture upon thawing will turn them to mush.
Conclusion
White Christmas Peppermint Meringues are pure baking alchemy. They require almost no ingredients, yet they look like sophisticated confections from a French patisserie. They are crisp, airy, and beautifully festive—the perfect light bite to end a heavy holiday season.
Ready to whip? Separate those eggs! If you try this recipe, please leave a star rating below and let us know: did you dip them in chocolate? Don’t forget to subscribe to our newsletter for more holiday magic.
FAQs
Q: Can I use carton egg whites?
A: No. Pasteurized carton egg whites often won’t whip to the stiff peaks needed for meringue. Fresh eggs are essential.
Q: Why are my meringues weeping (sticky beads on top)?
A: This means the sugar didn’t dissolve completely, or they were overbaked. Make sure to use superfine sugar and add it slowly.
Q: Can I make these without a piping bag?
A: Yes! You can use two spoons to drop dollops onto the baking sheet. They will look rustic and cloud-like (“Abstract Snowballs”).
Leave a Reply