Introduction
Did you know that you don’t need a fancy smoker or a sunny day to achieve pitmaster-quality ribs? While outdoor grilling is the traditional route, the secret to the most tender, fall-off-the-bone meat actually lies in the controlled environment of your kitchen oven. Search interest for “oven baked ribs” spikes during the winter months, but this method is a year-round champion for its consistency and ease.
This recipe for Melt-in-Your-Mouth Oven Baked Barbecue Ribs challenges the misconception that great BBQ requires open flame. By utilizing a “low and slow” baking technique combined with a steam-locking foil wrap (often called the “Texas Crutch” in BBQ circles), we break down the tough connective tissues in the pork, transforming them into succulent gelatin. Whether you are hosting a game day party or craving a comfort food dinner, this recipe delivers sticky, savory, and impossibly tender ribs without you ever having to step outside.
Ingredients List
To achieve the perfect balance of savory, sweet, and smoky, we build flavor in layers: first with a dry rub, then with a caramelized sauce. Here is your curated shopping list.
The Meat:
- 2 Racks Pork Baby Back Ribs (approx. 4-5 lbs):
- Selection Tip: Baby back ribs are tender and leaner than spare ribs. If you prefer St. Louis-style spare ribs, they work too but will require an extra 30-45 minutes of cooking time.
- Prep: Ensure the silverskin (membrane) on the back is removed. Most butchers will do this if asked.
The Dry Rub (The Flavor Foundation):
- ¾ Cup Brown Sugar: Packed. This aids in caramelization and bark formation.
- 1 Tablespoon Smoked Paprika: Essential for that “outdoor grill” flavor without the smoke.
- 1 Tablespoon Garlic Powder.
- 1 Tablespoon Onion Powder.
- 1 Teaspoon Salt: Kosher salt is preferred for texture.
- 1 Teaspoon Black Pepper: Freshly cracked.
- 1 Teaspoon Cumin: For an earthy background note.
- ½ Teaspoon Cayenne Pepper: Optional, for a subtle kick of heat.
The Glaze:
- 1 ½ Cups Barbecue Sauce: Your favorite bottle or homemade.
- Recommendation: A thick, molasses-based sauce works best for oven glazing as it clings to the meat rather than running off.
- 2 Tablespoons Apple Cider Vinegar: To brush on during the final glaze for a tang that cuts the fat.
Substitutions:
- Sugar-Free: Use a brown sugar erythritol blend for the rub and a sugar-free BBQ sauce for a Keto-friendly version.
- Spiciness: Increase cayenne to 1 tablespoon or add red pepper flakes to the rub for “Hot & Spicy” ribs.
Timing
This recipe requires patience, as the “low and slow” method cannot be rushed without toughening the meat.
- Preparation Time: 20 minutes.
- Baking Time: 2.5 to 3 hours.
- Resting/Broiling Time: 15 minutes.
- Total Time: Approx. 3 hours 35 minutes.
Data Insight: Cooking ribs at 275°F (135°C) is the sweet spot. It is high enough to kill bacteria and render fat, but low enough to allow collagen to dissolve into gelatin slowly. Cooking above 300°F often results in a “tough chew” rather than a “melt” texture.
Step-by-Step Instructions
Step 1: The Membrane Removal
Preheat your oven to 275°F (135°C).
- Technique: Flip the ribs bone-side up. Locate the thin, shiny white membrane covering the bones. Slide a butter knife under the membrane at one end to loosen it. Grab it with a paper towel (for grip) and pull firmly. It should zip off in one piece.
- Why? This membrane is tough, chewy, and prevents your seasoning from penetrating the meat.
Step 2: The Seasoning
In a small bowl, mix all the dry rub ingredients.
- Application: Pat the ribs dry with paper towels. Massage the rub generously onto both sides of the ribs. Don’t be shy—this is your flavor crust.
Step 3: The Foil Wrap (The “Texas Crutch”)
Cut four large sheets of heavy-duty aluminum foil.
- Wrapping: Place each rack of ribs meat-side down on two layers of foil.
- Seal: Fold the foil up and over the ribs, crimping the edges tightly to create a sealed packet. This traps the moisture and steams the ribs in their own juices, guaranteeing tenderness.
- Bake: Place the foil packets on a baking sheet. Bake for 2.5 to 3 hours.
Step 4: The Tenderness Test
After 2.5 hours, carefully open one packet (watch out for hot steam!).
- Check: The meat should have shrunk back from the ends of the bones by about 1/2 inch. If you poke it with a fork, it should be extremely tender. If not, reseal and bake for another 20 minutes.
Step 5: The Caramelized Finish
Remove ribs from the oven and discard the foil juices. Set your oven to BROIL.
- Glaze: Place the ribs meat-side up on a foil-lined baking sheet. Brush generously with the mixture of BBQ sauce and apple cider vinegar.
- Broil: Place under the broiler for 3–5 minutes. Watch closely! You want the sauce to bubble and caramelize, not burn.
- Layering: For extra sticky ribs, apply a second coat of sauce and broil for another 2 minutes.
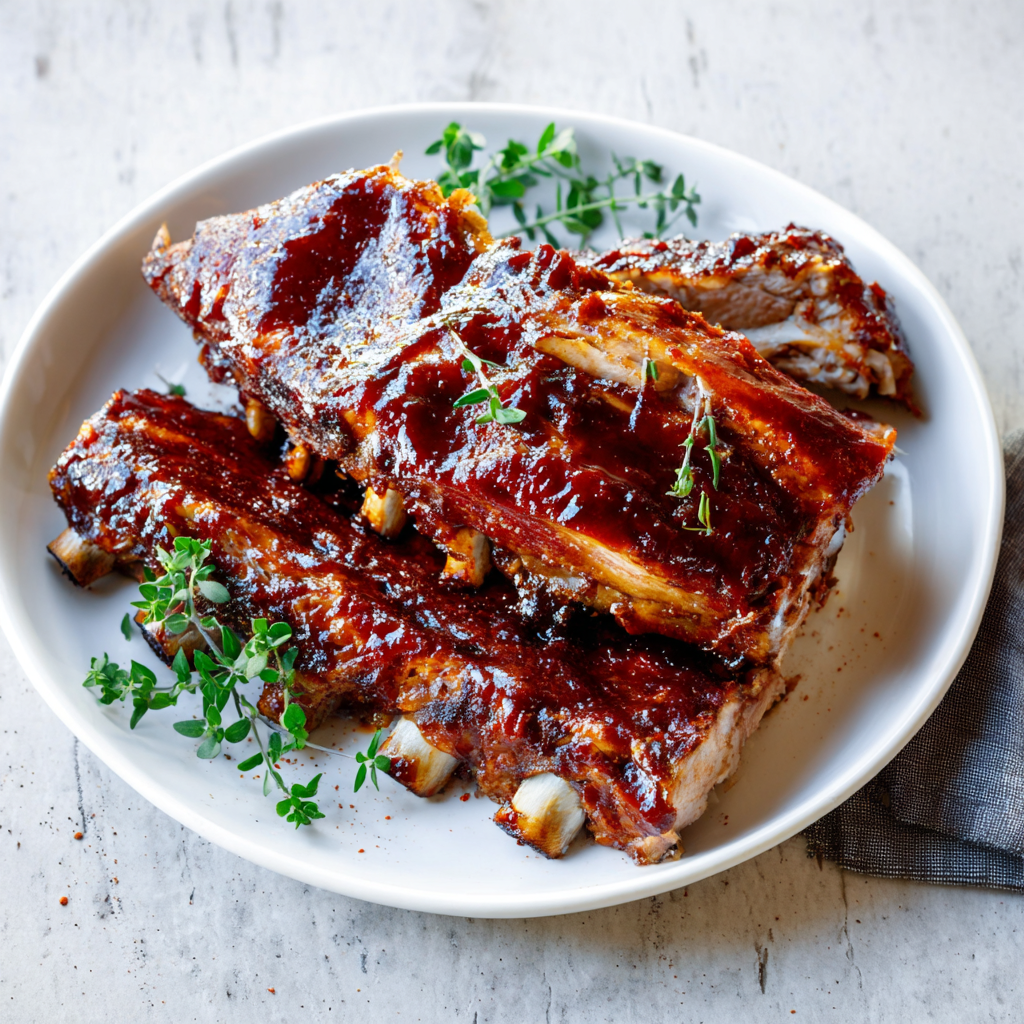
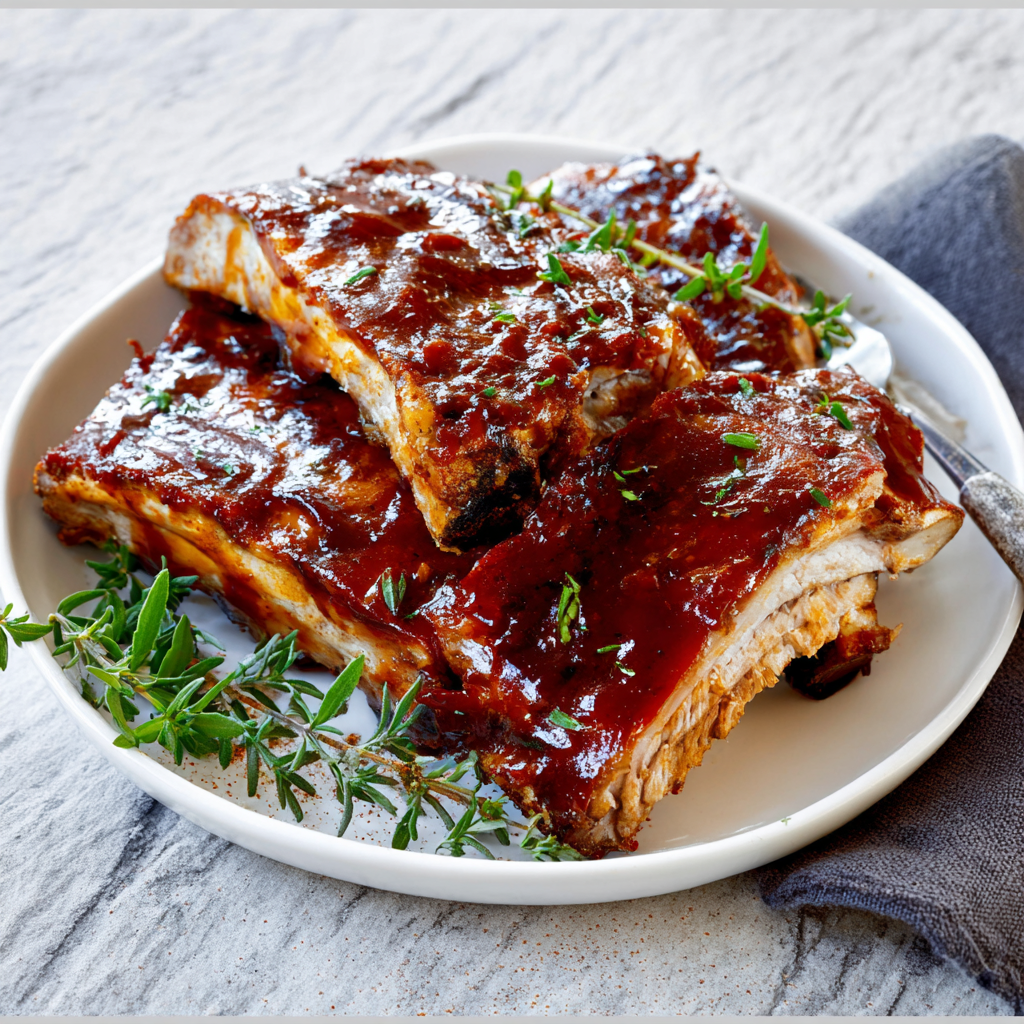
Step 6: Rest and Serve
Let the ribs rest for 10 minutes before cutting. This allows the juices to redistribute so they don’t run out when you slice them. Slice between the bones and serve hot.
Nutritional Information
Ribs are a decadent treat. Here is the estimated breakdown per serving (approx. 3 ribs with sauce):
| Nutrient | Amount | % Daily Value |
| Calories | 550 kcal | – |
| Total Fat | 35g | 53% |
| Protein | 35g | 70% |
| Carbohydrates | 20g | 7% |
| Sugars | 18g | – |
| Sodium | 980mg | 42% |
Data Insight: Pork ribs are an excellent source of Selenium and B-Vitamins, particularly Thiamine. While high in fat, much of it renders out during the long cooking process, especially when cooked on a rack (optional modification).
Healthier Alternatives for the Recipe
Customize your Oven Baked Ribs to fit specific dietary goals:
- Low Sugar:
- Use a Dry Rub Only method. Skip the BBQ sauce glaze and simply broil the dry-rubbed ribs for a crispy “Memphis Style” finish.
- Leaner Option:
- While you can’t make ribs lean, serving them with a vinegar-based slaw instead of mac and cheese helps cut the fat digestion and lowers the meal’s glycemic load.
- Paleo:
- Use a homemade BBQ sauce sweetened with dates or applesauce instead of brown sugar and corn syrup.
Serving Suggestions
Balance the richness of the ribs with acid and crunch.
- The Classic: Creamy Coleslaw and Cornbread are the undisputed champions.
- The Fresh: A Cucumber and Red Onion Salad with vinaigrette acts as a palate cleanser.
- The Starch: Baked Potatoes or Macaroni and Cheese for the ultimate comfort meal.
Common Mistakes to Avoid
Ribs are forgiving, but these errors can ruin the texture:
- Boiling the Ribs:
- The Error: Boiling ribs in water before baking to “tenderize” them.
- The Result: Flavorless, mushy meat. All the flavor leaches out into the water.
- The Fix: Never boil. The low oven temp does the tenderizing work better.
- Skipping the Membrane:
- The Error: Leaving the silverskin on.
- The Result: Chewy, plastic-like texture on the back of the rib.
- The Fix: Take the 2 minutes to peel it off.
- Opening the Oven Too Often:
- The Error: Checking every 30 minutes.
- The Result: Temperature fluctuations that extend cooking time and dry out the meat.
- The Fix: Trust the timer. Don’t open until the 2.5-hour mark.
Storing Tips for the Recipe
Leftover ribs are a gift to your future self.
- Refrigeration: Store in an airtight container or wrapped tightly in foil for up to 4 days.
- Reheating:
- Oven: Do not microwave. Place ribs in a baking dish, add a splash of water or apple juice, cover tightly with foil, and heat at 250°F for 20 minutes. This steams them back to juicy life.
- Freezing: Wrap tightly in plastic wrap, then foil. Freeze for up to 3 months. Thaw overnight in the fridge before reheating.
Conclusion
Melt-in-Your-Mouth Oven Baked Barbecue Ribs prove that you don’t need to be a pitmaster to make world-class BBQ. By understanding the simple science of low heat and moisture retention, you can transform a humble cut of pork into a sticky, savory masterpiece that falls off the bone. It is the ultimate low-effort, high-reward meal.
Summary: A foolproof, 3-step recipe for tender pork ribs baked low-and-slow in foil and finished with a sticky BBQ glaze under the broiler.
Ready to get sticky?
Preheat your oven to 275°F! Rate this recipe 5 stars if the meat fell off the bone, and leave a comment below: do you prefer dry rub or saucy ribs? Subscribe for more restaurant-quality dinner hacks!
FAQs
Can I use Spare Ribs instead of Baby Back?
Yes. Spare ribs are meatier and fattier. Follow the exact same instructions but increase the baking time in the foil to 3.5 to 4 hours. They are done when the meat pulls back significantly from the bone tips.
Why are my ribs tough?
Tough ribs are usually under-cooked, not over-cooked. If the meat doesn’t pull away from the bone, they need more time in the oven. Put them back in the foil and check every 20 minutes.
Do I have to wrap them in foil?
Wrapping guarantees moisture (steaming). If you prefer a “barkier,” drier rib, you can bake them unwrapped on a rack for the same amount of time, but you may need to baste them hourly to prevent them from drying out completely. The texture will be chewier, more like traditional smoked ribs.
Leave a Reply