Introduction
Did you know that the “Pizza Roll” was invented in the 1960s as a way to replace messy pizza slices at parties? While the frozen variety is a childhood staple, making them from scratch upgrades the experience entirely.
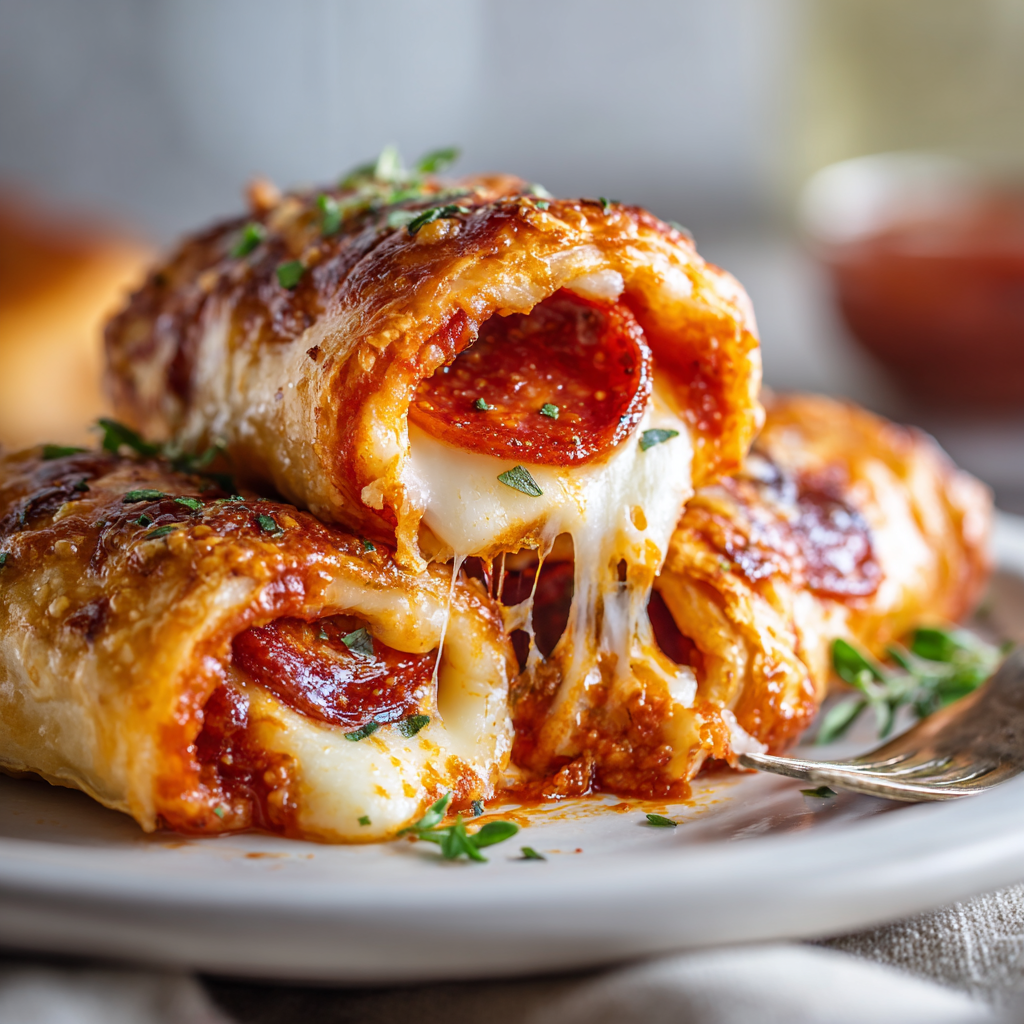
These Pizza Roll-Ups (often called Pizza Pinwheels) are the perfect hybrid of a stromboli and a cinnamon roll. They feature soft, chewy dough spiraled around zesty marinara, melted mozzarella, and savory pepperoni. Unlike a slice of pizza, which gets floppy when cold, these self-contained spirals are designed to be eaten with one hand, making them the undisputed champion of school lunchboxes, game day platters, and after-school snacks. Plus, they freeze perfectly, meaning you can prep a month’s worth of lunches in 20 minutes.
Ingredients List
To keep these rolls from getting soggy, moisture control is key.
The Base
- 1 tube (13.8 oz) Refrigerated Pizza Dough: (e.g., Pillsbury Classic Crust).
- Alternative: You can use Crescent Dough Sheets for a flakier, buttery croissant-style texture, but Pizza Dough gives that authentic chewy bite.
- 1 tbsp Olive Oil: Mixed with ½ tsp Garlic Powder for brushing the crust.
The Filling
- ½ cup Pizza Sauce: Thick is better.
- Tip: Avoid watery marinara. If your sauce is thin, simmer it down or use tomato paste to thicken it. Excess liquid makes the dough gummy.
- 1 ½ cups Mozzarella Cheese: Shredded. Low-moisture part-skim is best to prevent grease pools.
- ¼ cup Parmesan Cheese: Grated. Adds a salty kick.
- 20-25 slices Pepperoni:
- The Trick: Microwave the pepperoni on a paper towel for 15 seconds before using. This removes excess grease that would otherwise soak into the bread.
The Optional Garnish
- Dried Oregano & Parsley.
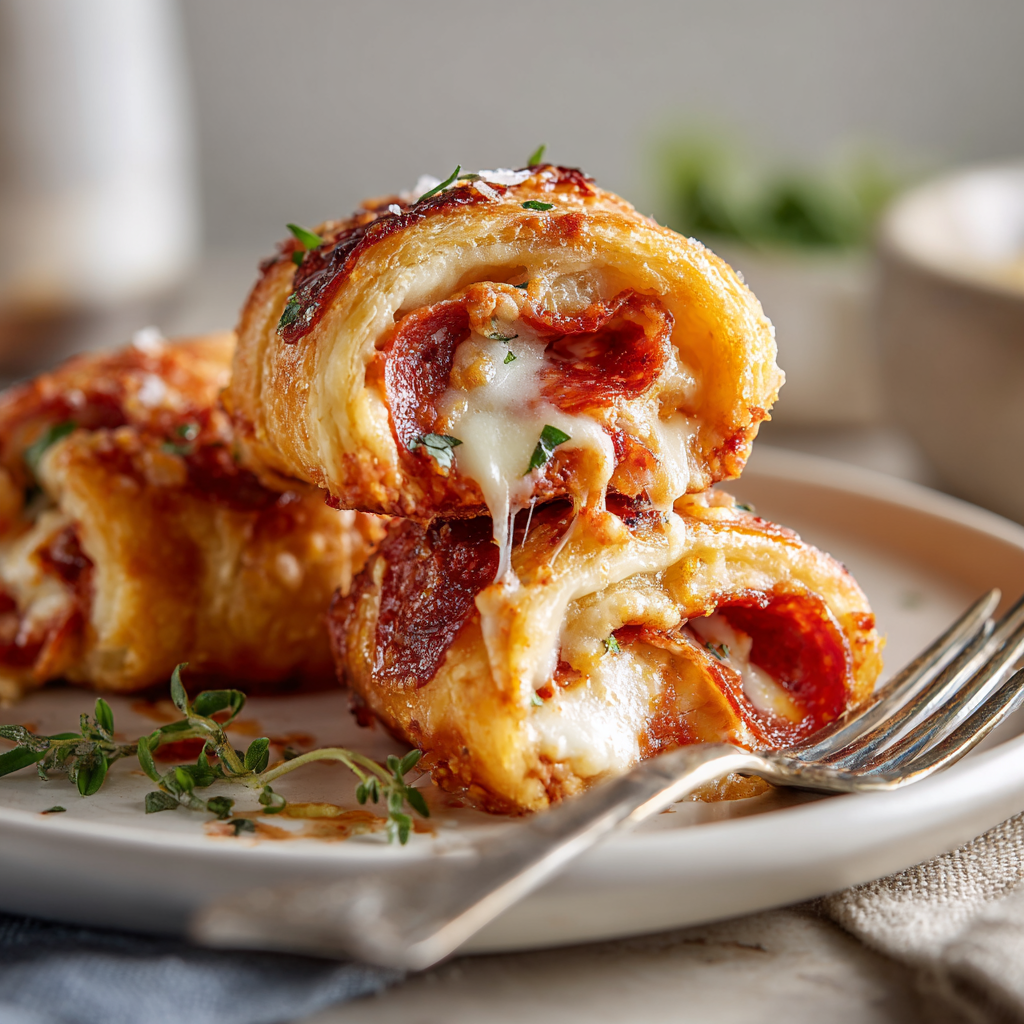
Sensory Note: The exterior should be golden and slightly crisp (brushed with garlic oil), protecting a soft, cheesy interior that pulls apart like warm bread.
Timing
This is a high-yield recipe that comes together fast.
- Preparation Time: 15 minutes
- Baking Time: 12-15 minutes
- Total Time: ~30 minutes
Data Insight: Rolling the dough tightly is crucial. A loose roll results in “gaposis”—where the cheese melts out onto the pan instead of staying inside the spiral. A tight roll increases cheese retention by 50%.
Step-by-Step Instructions
Step 1: Prep and Roll Out
Preheat oven to 400°F (200°C). Line a baking sheet with parchment paper.
- Unroll the pizza dough onto a lightly floured surface (or directly onto a piece of parchment for easy rolling).
- Stretch it gently into a large rectangle (approx. 10×14 inches).
- Note: If the dough snaps back, let it rest for 5 minutes to relax the gluten.
Step 2: The Layering
- Sauce: Spread the pizza sauce evenly over the dough, leaving a 1-inch border at the top edge (this strip is needed to seal the roll).
- Cheese: Sprinkle the Mozzarella and Parmesan over the sauce.
- Toppings: Lay the pepperoni slices flat in a single layer.
Step 3: The Roll
Starting from the long edge closest to you, roll the dough up tightly into a log.
- Seal: When you reach the end, pinch the clean dough border into the log to seal the seam.
- Rotate the log so it sits seam-side down.
Step 4: The Cut
Using a serrated knife (or unflavored dental floss for a cleaner cut), slice the log into 12 equal pieces (about 1 inch thick).
- Place the rolls cut-side up on the baking sheet. Space them 2 inches apart; they will expand.
Step 5: Bake
- The Glaze: Brush the tops and sides of the exposed dough with the garlic olive oil mixture. Sprinkle with dried oregano.
- Bake for 12 to 15 minutes until the dough is golden brown and the cheese is bubbly.
Step 6: Cool
Let them cool on the pan for 5 minutes before serving. The cheese is like molten lava right out of the oven!
Nutritional Information
A kid-friendly portion size. Below is the estimated breakdown per roll.
| Nutrient | Amount per Serving | % Daily Value* |
| Calories | 160 kcal | 8% |
| Total Fat | 8g | 12% |
| Saturated Fat | 3g | 15% |
| Carbohydrates | 16g | 5% |
| Protein | 7g | 14% |
| Sodium | 380mg | 16% |
Variations for the Recipe
- The “Supreme”: Add finely diced green peppers, onions, and crumbled sausage. Critical: Sauté the veggies first to remove water, or the rolls will be soggy.
- BBQ Chicken: Swap tomato sauce for BBQ sauce. Fill with cooked shredded chicken, red onion, and cheddar cheese.
- Garlic Knot Style: Skip the sauce inside (just cheese and pepperoni). Dip the baked rolls in warm marinara sauce on the side.
- Hawaiian: Ham and pineapple tidbits (pat the pineapple very dry first).
Serving Suggestions
- The Dip: These are begging for a side of warm Marinara or Ranch Dressing.
- Lunchbox: Pack cold with a side of carrot sticks and fruit. They are delicious at room temperature.
- Party Platter: Stack them in a pyramid for a Super Bowl snack.
Common Mistakes to Avoid
- Soggy Bottoms:
- The Issue: Using too much sauce inside.
- The Result: The dough under the sauce stays raw.
- The Fix: Use a thin layer of sauce. Serve extra sauce on the side for dipping.
- Squashed Rolls:
- The Issue: Pressing down hard with a dull knife.
- The Result: Oval, flat rolls.
- The Fix: Use a sawing motion with a serrated knife, or use the dental floss trick to cut without pressure.
- Burned Cheese:
- The Issue: Cheese falling onto the pan.
- The Result: Black, smoky cheese crisps.
- The Fix: Use parchment paper or a silicone mat. Tuck any loose shreds back into the spiral before baking.
Storing Tips for the Recipe
- Refrigeration: Store in an airtight container for 3-4 days.
- Freezing (The Meal Prep Hack):
- Baked: Freeze baked rolls in a bag. Reheat in the microwave (30 secs) or toaster oven.
- Unbaked: Freeze the raw sliced rolls on a tray, then transfer to a bag. Bake from frozen (add 3-5 minutes to cook time).
Conclusion
Pizza Roll-Ups prove that you don’t need a delivery driver to enjoy pizza night. They are fun to make (great for getting kids in the kitchen), mess-free to eat, and customizable to whatever leftovers you have in the fridge. It’s the comfort of a slice, rolled into a perfect, portable package.
Ready to roll? Preheat that oven! If you try this recipe, please leave a star rating below and let us know: are you Team Pepperoni or Team Cheese? Don’t forget to subscribe to our newsletter for more lunchbox wins.
FAQs
Q: Can I use homemade dough?
A: Absolutely. Homemade dough is often stretchier, so let it rest at room temperature so it doesn’t shrink back while you roll.
Q: Can I make these ahead of time?
A: Yes. You can assemble the log, wrap it in plastic, and keep it in the fridge for up to 24 hours before slicing and baking.
Q: Why is my dough pulling apart?
A: You didn’t pinch the seam tightly enough. Wet your fingers with a little water to help “glue” the dough seam shut before cutting.
Leave a Reply