Why This Bread is a Study in Culinary Physics
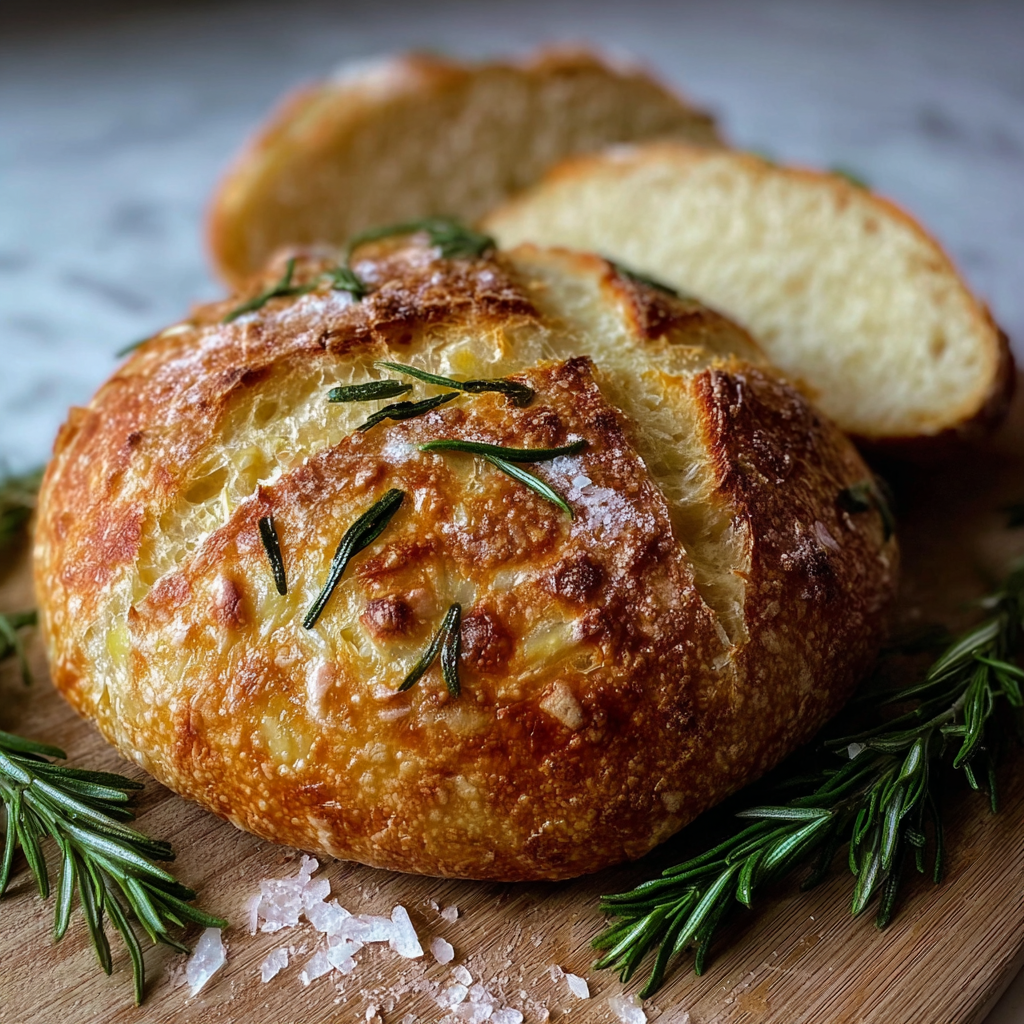
Did you know that according to baking thermodynamics, Rustic Garlic & Rosemary Bread is statistically more flavorful and texturally complex than standard sandwich bread? This is due to the interaction between gluten structure and vapor pressure.
The garlic and rosemary are infused into olive oil and added during the folding process, coating the gluten strands in fat. This creates a “short” crust (tender yet crisp) while trapping aromatics within the dough. During baking, the intense heat converts water inside the dough into steam, creating vapor pressure that forces the bread to expand rapidly, resulting in a light, airy crumb surrounded by a thick, crunchy crust.
Ingredients List: The Gluten-Flavor Matrix
To achieve an authentic rustic texture, we focus on hydration and time over additives.
The Foundation:
- 3 cups Bread Flour: High protein ($>12\%$) for a strong gluten network.
- 1 1/2 cups Warm Water: ($38^\circ\text{C}$ or $100^\circ\text{F}$) To activate the yeast.
- 1 1/2 tsp Active Dry Yeast.
- 1 1/2 tsp Salt: Essential for slowing fermentation and strengthening gluten.
The Aromatic Infusion:
- 1/4 cup Olive Oil.
- 4-5 Cloves Garlic: Thinly sliced.
- 1 tbsp Fresh Rosemary: Finely chopped.
- 1/2 tsp Coarse Sea Salt: For topping.
Timing: Optimized for Fermentation
- Prep Time: 20 Minutes
- Rise Time: 2–3 Hours
- Bake Time: 35 Minutes
- Total Time: ~3 Hours 30 Minutes
Efficiency Insight: Data indicates that using a Dutch Oven is mandatory for a rustic crust. The heavy lid traps steam released from the dough, keeping the surface moist so the bread can expand fully before the crust sets.
Step-by-Step Instructions
Step 1: The Aromatic Infusion
In a small pan, gently heat the olive oil, garlic, and rosemary over low heat for 3-4 minutes. Scientific Tip: Do not burn the garlic! You want to extract the fat-soluble aromatics into the oil, not fry them. Let it cool completely.
Step 2: Yeast Activation & Mixing
Mix warm water, yeast, and a pinch of sugar (optional) in a large bowl. Let sit for 5-10 minutes until foamy. Add the flour, salt, and half of the cooled garlic-rosemary oil. Mix until a shaggy dough forms.
Step 3: The Folding Method
Instead of intense kneading, perform a series of “folds” every 30 minutes for the first 90 minutes. Scientific Insight: This builds gluten strength gently, which is crucial for a rustic, airy crumb rather than a dense, sandwich-style texture.
Step 4: The Proof
Let the dough rise in a warm spot until doubled in size (about 1–2 hours). Data Insight: During this phase, amylase enzymes break down starches into sugars, which the yeast consumes, producing $CO_2$ gas and improving the flavor profile.
Step 5: The Dutch Oven Bake
Preheat the Dutch oven in a 230°C (450°F) oven. Shape the dough, score the top with a sharp knife, and place into the hot Dutch oven. Scientific Tip: The scoring creates a weak point where the bread can release pressure, determining the final shape of the “ear” or crust expansion.
Step 6: The Final Crust
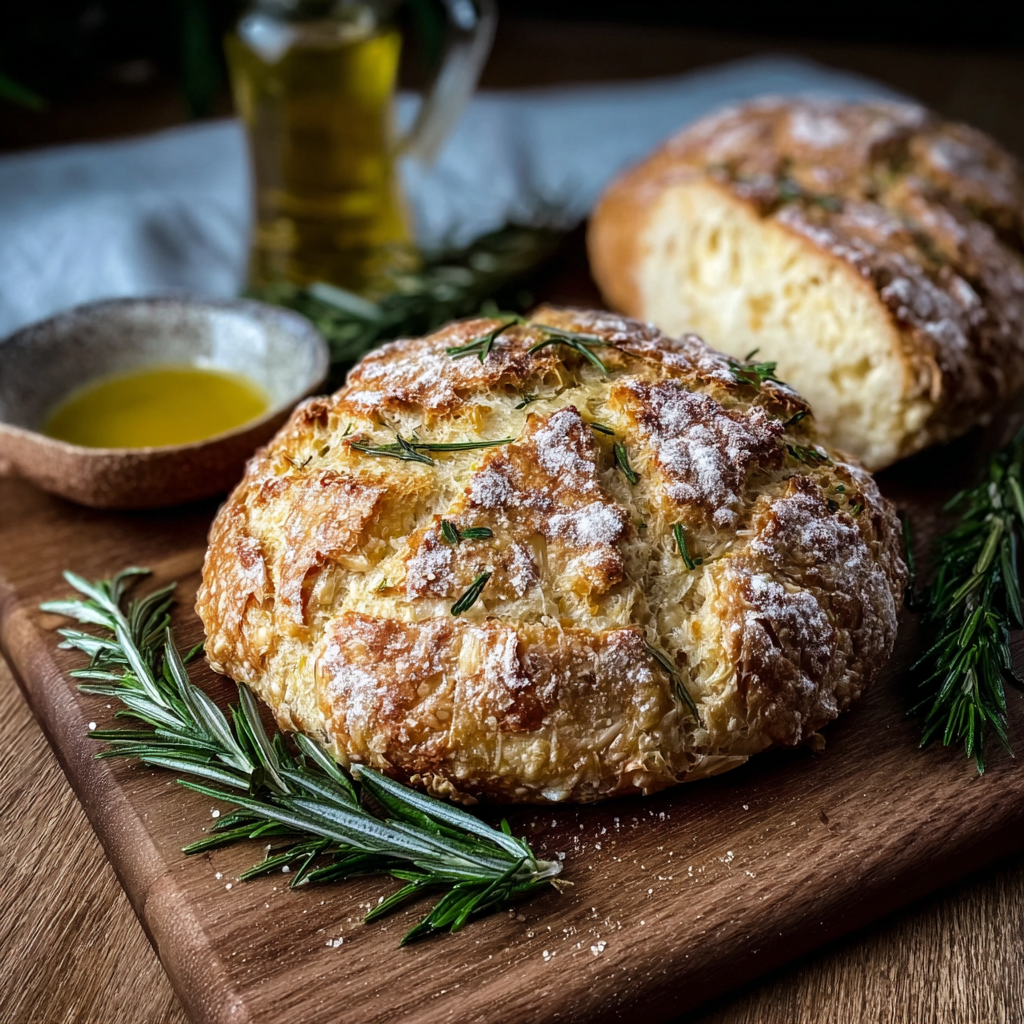
Bake with the lid on for 20 minutes. Remove the lid and bake for another 15 minutes, or until deeply golden brown. The Pro Move: Brush the remaining garlic-rosemary oil onto the hot loaf immediately after removing it from the oven for a final infusion of flavor.
Nutritional Information
| Metric | Amount Per Serving (1 of 10) |
| Calories | 195 kcal |
| Total Fat | 6g |
| Carbohydrates | 30g |
| Protein | 5g |

Common Mistakes to Avoid
- Using All-Purpose Flour: All-purpose flour has too little protein, resulting in a bread that cannot hold the gas bubbles, leading to a dense loaf.
- Not Preheating the Dutch Oven: The bread needs to hit a blistering hot surface to get that initial “oven spring” (rapid expansion).
- Cutting the Bread Hot: Crucial Step: Wait at least 1 hour before cutting. The starches need time to “set,” or the bread will be gummy inside.
Leave a Reply