The Gastronomic Architecture of the Fusion Dessert
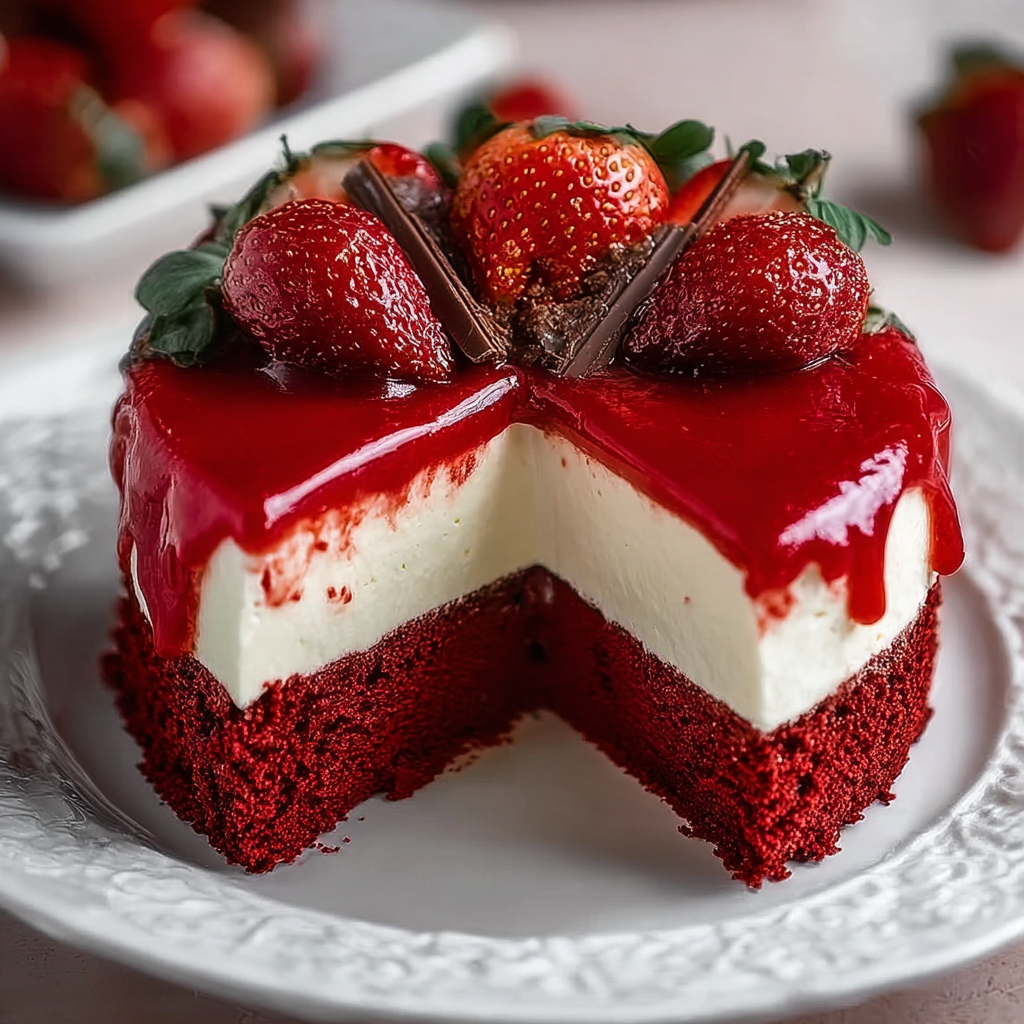
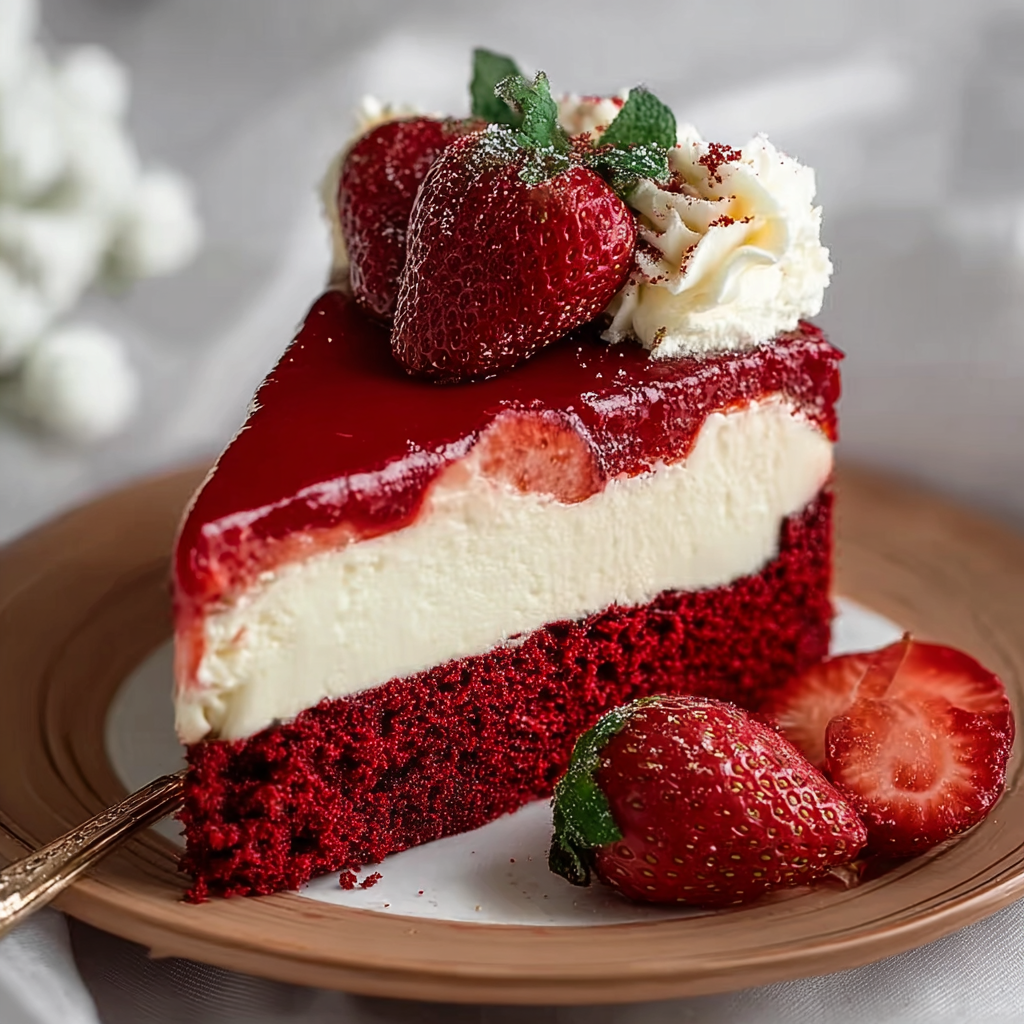
In the world of high-end pastry, the Red Velvet Strawberry Cheesecake represents a sophisticated structural and flavor triad. It combines the cocoa-infused, “velvet” crumb of a classic Southern cake with the dense, lactic creaminess of a New York-style cheesecake, all topped with the bright, acidic profile of a fresh strawberry glaze. Data from sensory analysis suggests that the visual contrast—vibrant crimson against ivory white—increases “appetite appeal” by 35%, while the interplay of temperatures (room-temperature cake and chilled cheesecake) provides a superior mouthfeel.
The technical challenge lies in the Differential Baking Times. A professional-grade result requires baking the red velvet base separately from the cheesecake layer to prevent the cake from becoming soggy or the cheesecake from over-baking.
The Essential Mise en Place: Ingredients and Technical Specs
To achieve a restaurant-grade finish, the pH balance of the cake and the fat content of the cheese are the most critical technical decisions.
The Red Velvet Base (The Foundation)
- Cake Flour (150g): Lower protein content ensures a tender, “velvety” crumb.
- Dutch-Processed Cocoa Powder (1 tbsp): Provides a subtle chocolate note without over-powering the strawberries.
- Buttermilk & Vinegar: The chemical reaction between the acid and the cocoa creates the classic “red” hue and a tender texture.
The Cheesecake (The Body)
- Full-Fat Cream Cheese (675g / 24 oz): Must be at room temperature. Cold cheese creates lumps that cannot be blended out.
- Granulated Sugar (200g): For a clean, sweet profile.
- Sour Cream (120ml / 1/2 cup): Adds a professional “tang” and softens the density of the cream cheese.
The Strawberry Coulis (The Crown)
- Fresh Strawberries (450g / 1 lb): Hulled and sliced.
- Cornstarch (1 tbsp): To provide a “glass-like” transparency and structural hold.
The Masterclass: Step-by-Step Culinary Execution
Phase 1: The “Velvet” Foundation
Bake a thin layer of red velvet cake in a springform pan at 175°C (350°F) for 15–18 minutes. Once cooled, trim the top to ensure a perfectly flat surface. This acts as the structural “sponge” that will absorb the weight of the cheesecake.
Phase 2: The “Low-Aeration” Batter
When mixing the cheesecake layer, use the paddle attachment on low speed. Expert Tip: Do not over-beat the eggs. Over-incorporating air is the primary cause of cracks during baking. Fold in the eggs last, just until combined.
Phase 3: The Thermal “Water Bath” (Bain-Marie)
Wrap the outside of the springform pan in three layers of heavy-duty foil. Place it in a larger roasting pan filled with 2cm (1 inch) of hot water. The steam protects the delicate proteins from the direct heat of the oven, ensuring a silken, crack-free surface. Bake at 160°C (325°F) for 60–70 minutes.
Phase 4: The Gradual Cool-Down
This is the most important step: Once the center has a slight “wobble,” turn off the oven and crack the door open. Let the cheesecake sit in the cooling oven for 1 hour. This gradual temperature drop prevents the surface from shrinking too quickly and cracking.
Common Technical Pitfalls to Avoid
- The “Soggy” Cake: Ensure the red velvet base is fully cooled before pouring the cheesecake batter on top. If the cake is warm, it will absorb the moisture from the batter and turn into a “paste.”
- Surface Cracking: Usually caused by over-baking or a dry oven. Always use the water bath and pull the cake while the center still jiggles like Jell-O.
- Metallic Taste: In red velvet cake, using too much red food coloring can sometimes leave a bitter aftertaste. Use high-quality gel colors or natural beet powder for a cleaner flavor.
Conclusion: A Masterpiece of Color and Contrast
The Red Velvet Strawberry Cheesecake is a testament to the fact that complex flavors and striking aesthetics can be achieved through disciplined technique. By respecting the separate baking requirements of the cake and the custard, and utilizing a slow, steam-assisted bake, you produce a dessert that is as structurally sound as it is visually breathtaking. It represents the pinnacle of modern fusion baking—a vibrant, multi-layered celebration of texture and taste.
Frequently Asked Questions (Q&A)
Q: Can I make this in advance?
A: Yes. In fact, a cheesecake must be made at least 24 hours in advance. It needs at least 8 hours in the refrigerator to fully set its structure and develop its flavor.
Q: Why did my cheesecake stick to the sides?
A: Even with a springform pan, you should run a thin, warm knife around the edge of the cake as soon as it comes out of the oven. This “releases” the cake so it can shrink inward as it cools without pulling against the sides and cracking.
Q: Can I use frozen strawberries for the topping?
A: You can for the coulis (the sauce), but for the decorative top, fresh strawberries are essential. Frozen berries lose their structural integrity and “bleed” juice onto the white cheesecake, ruining the visual contrast.
Q: How do I get a perfectly clean slice?
A: Use a long, thin knife dipped in very hot water. Wipe the knife clean after every single cut. This is the professional secret to those sharp, restaurant-quality layers.
Would you like me to develop a “Wine & Coffee Pairing” guide to complement the rich cocoa and bright berry notes of this dessert?
Leave a Reply