The Gastronomic Architecture: The “Convection-Fat” Rendering
In the hierarchy of breakfast engineering, Oven Bacon represents a sophisticated study in Radiant Heat Uniformity and Lipid Extraction. The technical challenge of stovetop bacon is the “Hot-Spot” effect—uneven contact with a pan leads to curled edges and localized burning. By utilizing the oven, you create a 360-degree convection environment. This allows the heat to penetrate the intramuscular fat (marbling) slowly, rendering it liquid before the proteins (the meat) dehydrate and toughen.
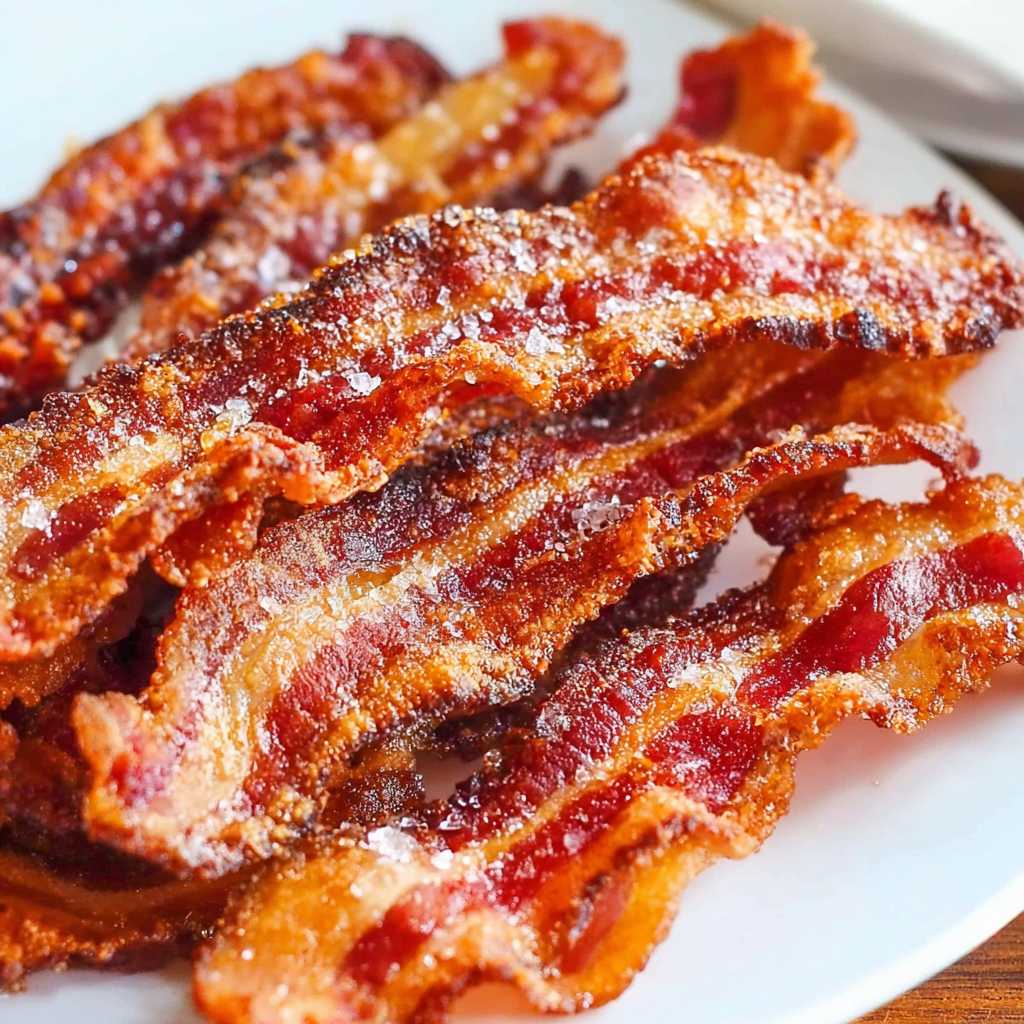
Data from food science suggests that the “irresistibility” factor is the Controlled Maillard Reaction: by maintaining a consistent temperature, you allow the natural sugars in the bacon to caramelize evenly across the entire surface, creating a “shatter-crisp” texture rather than a “chewy” one.
Essential Mise en Place: Technical Specs
To achieve a restaurant-grade “perfectly flat” strip with uniform crunch, the thermal mass of your pan and the airflow are the most critical factors.
The Foundation (The Protein)
- Thick-Cut Bacon: Technical Requirement: Thick-cut is superior for the oven. It has enough mass to withstand long-duration rendering without disintegrating into carbon.
- Aluminum Foil or Parchment Paper: To manage the high volume of rendered lard and facilitate easy cleanup.
The Equipment Matrix
- Large Rimmed Baking Sheet: To contain the liquefied fat.
- Wire Cooling Rack (Optional but Recommended): Expert Tip: Elevating the bacon on a rack allows hot air to circulate underneath the strips, eliminating the need to flip the bacon and ensuring maximum crispness.
The Masterclass: Step-by-Step Culinary Execution
Phase 1: The “Cold-Start” Alignment
Lay the bacon strips in a single layer on the rack or parchment. They can be close together but should not overlap. Technical Requirement: Start in a cold oven. As the oven preheats to 200°C (400°F), the bacon fat begins to melt before the meat sears, leading to a flatter, more evenly cooked strip.
Phase 2: The “Thermal Rendering”
Slide the tray into the center rack. Set the timer for 15–20 minutes. Because every oven’s convection pattern is unique, start checking at the 15-minute mark. You are looking for a deep mahogany color and a surface covered in “micro-bubbles.”
Phase 3: The “Lipid Drainage”
Immediately remove the bacon from the hot tray once it reaches your desired color. Technical Requirement: Even if using a rack, transfer the strips to a paper-towel-lined plate. Residual fat on the surface will continue to cook the bacon (carry-over cooking) for 1–2 minutes; the paper towel halts this process by absorbing the excess thermal mass (the hot oil).
Phase 4: The “Lard Collection”
Do not discard the liquid fat in the pan. Filter it through a fine-mesh sieve into a glass jar. This “liquid gold” is a high-smoke-point fat infused with smoke and salt—ideal for sautéing aromatics or roasting vegetables.
Common Technical Pitfalls to Avoid
- The “Smoke Out”: If your bacon is very fatty or your oven runs hot, the rendered fat may hit its smoke point. If this happens, reduce the heat to 190°C (375°F) and increase the cooking time slightly.
- Overcrowding: If strips overlap, they will steam-cook at the points of contact, resulting in “rubbery” patches amidst the crispy sections.
- Sugar Burn: If using “Maple-Cured” or “Brown Sugar” bacon, the sugar will caramelize much faster than the fat renders. Lower the temp to 180°C (350°F) to prevent the sugar from turning bitter.
Frequently Asked Questions (Q&A)
| Question | Expert Answer |
|---|---|
| Do I need to flip it? | Only if you are not using a wire rack. If the bacon is sitting directly on the foil, flip it halfway through to ensure both sides hit the heat. |
| Why is my bacon curling? | This usually happens if the oven is too hot too fast. A “cold start” or a slightly lower temperature (190°C) helps the proteins relax as they cook. |
| Can I cook a whole pound? | Yes. The oven is the only way to cook large quantities of bacon simultaneously with 100% consistency. |
Leave a Reply