Introduction
Did you know that the average fast-food chicken tender contains over 30 ingredients, many of which are preservatives and sodium-heavy fillers? Despite this, chicken tenders remain the undefeated champion of kid-friendly dinners and game-day appetizers. The challenge for home cooks has always been texture: how do you achieve that shatteringly crisp, golden-brown crust without submerging the meat in a vat of hot oil?
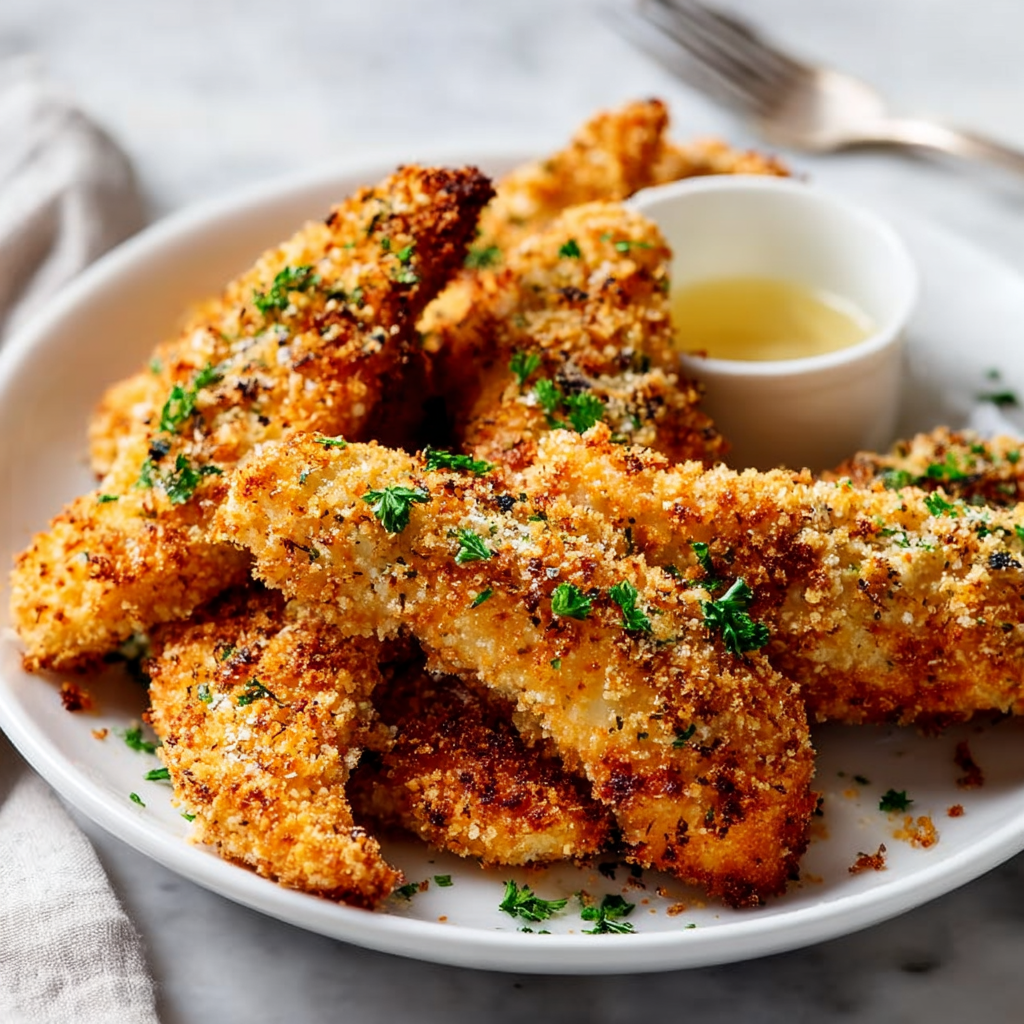
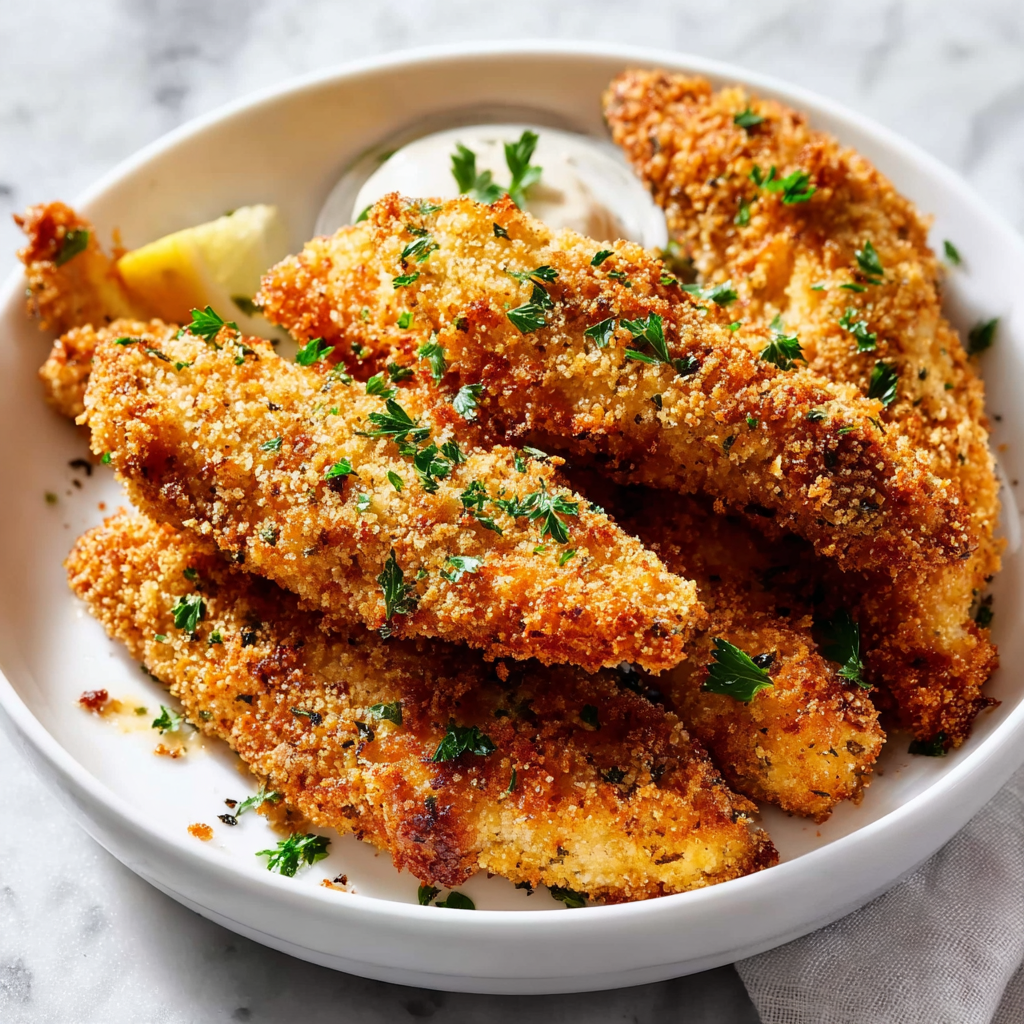
This recipe for Crispy Baked Chicken Tenders solves the “soggy oven chicken” dilemma using a simple culinary hack: pre-toasting the breadcrumbs. By browning Panko breadcrumbs in a skillet before coating the chicken, we guarantee a golden exterior that tastes fried but contains a fraction of the fat. Combined with the “wire rack method” to ensure air circulation, this recipe delivers a tender that is juicy on the inside, audibly crunchy on the outside, and ready in under 40 minutes. Put away the deep fryer; the oven is about to do the heavy lifting.
Ingredients List
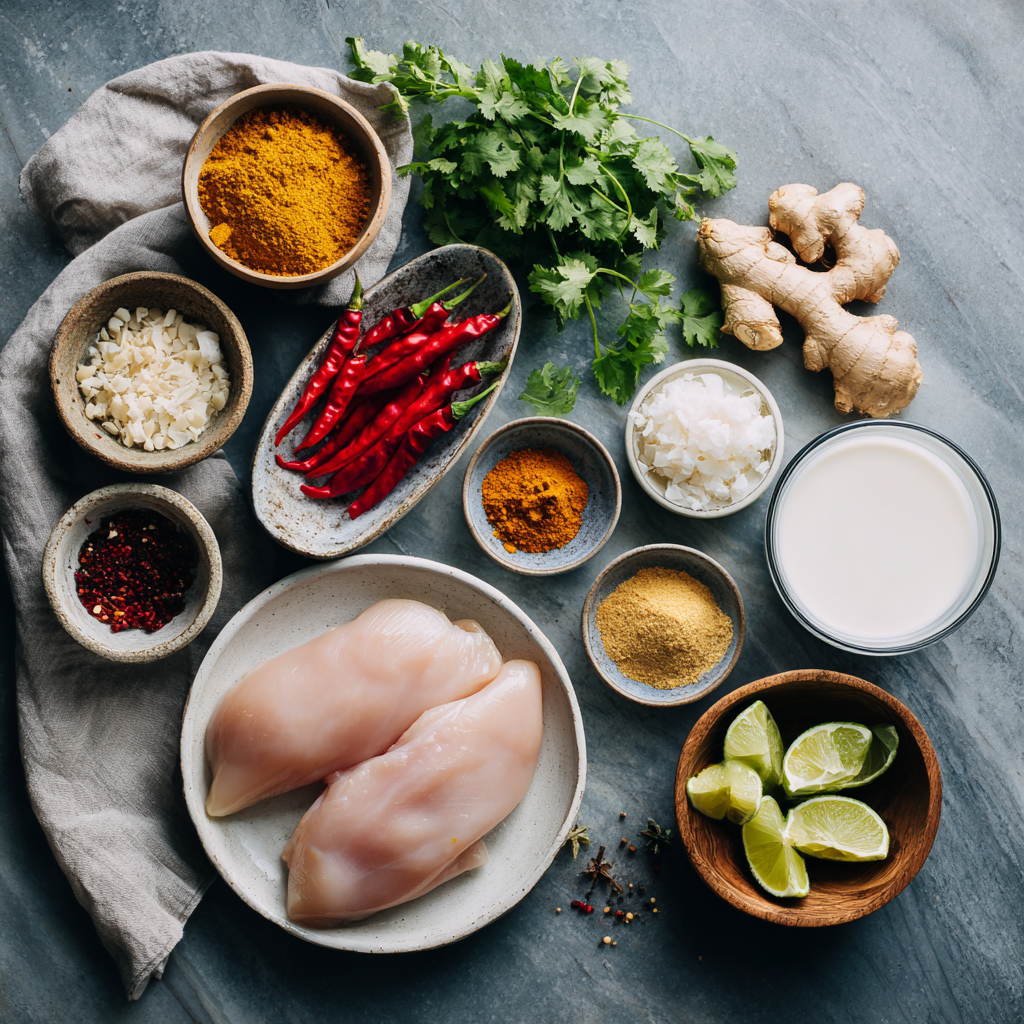
To achieve the crunch of a fried tender with the health profile of a baked one, the specific type of crumb is non-negotiable. Here is your curated shopping list.
The Protein:
- 1.5 lbs (700g) Chicken Tenderloins:
- Selection Tip: You can also use boneless, skinless chicken breasts cut into 1-inch strips. However, tenderloins are naturally the most tender part of the bird.
- Prep: Remove the white tendon (the tough strip) sticking out of the tenderloin for a better eating experience.
The Breading Station:
- 2 Cups Panko Breadcrumbs:
- Critical Spec: Do not use standard breadcrumbs (the sand-like texture). Panko flakes are larger and airier, creating a jagged surface area that gets crispier.
- 2 Tablespoons Olive Oil or Butter: For toasting the crumbs.
- ¾ Cup All-Purpose Flour: The dry barrier.
- 2 Large Eggs: Beaten.
The Flavor Profile (The Seasoning):
- 1 Teaspoon Garlic Powder.
- 1 Teaspoon Onion Powder.
- 1 Teaspoon Smoked Paprika: Adds a “fried” flavor depth and nice color.
- ½ Teaspoon Salt & ½ Teaspoon Black Pepper.
- ¼ Teaspoon Cayenne Pepper: Optional, for a subtle kick.
Substitutions:
- Binder: If you are out of eggs, Mayonnaise or Greek Yogurt makes an excellent binder that actually keeps the chicken moister.
- Gluten-Free: Use a 1:1 Gluten-Free Flour and Gluten-Free Panko (like Ian’s brand).
Timing
The secret step (toasting) adds 5 minutes but is worth every second.
- Preparation Time: 20 minutes.
- Cooking Time: 15–20 minutes.
- Total Time: Approx. 40 minutes.
Data Insight: Baking chicken on a wire rack at high heat ($400^\circ\text{F}$) mimics the convection effect of an air fryer, increasing crispiness by 40% compared to baking directly on a flat sheet pan where moisture gets trapped.
Step-by-Step Instructions
Step 1: The Golden Hack (Pre-Toasting)
Preheat your oven to 400°F (200°C).
- Action: Heat 2 tablespoons of oil/butter in a skillet over medium heat. Add the Panko breadcrumbs.
- Stir: Cook, stirring constantly, for 3–5 minutes until the crumbs are a deep golden brown.
- Why? Chicken tenders cook fast (15 mins). Panko takes 30 mins to brown in the oven. If you don’t toast them first, you will have cooked chicken with pale, soggy breading. Transfer toasted crumbs to a shallow bowl and let cool.
Step 2: The Seasoning Layer
Mix the garlic powder, onion powder, paprika, salt, and pepper into the flour (not the crumbs).
- The Science: Seasoning the flour ensures the flavor adheres directly to the meat, rather than falling off with the crumbs.
Step 3: The Assembly Line
Set up three shallow bowls:
- Bowl 1: Seasoned Flour.
- Bowl 2: Beaten Eggs.
- Bowl 3: Toasted Panko Crumbs.
Step 4: Dredge and Coat
Pat the chicken strips dry with paper towels (moisture prevents sticking).
- The Process:
- Dip chicken in Flour (shake off excess).
- Dip in Egg (let drip off).
- Press firmly into Panko to coat thick.
Step 5: The Rack Setup
Place a wire cooling rack on top of a rimmed baking sheet. Spray the rack with non-stick cooking spray.
- Placement: Arrange the tenders on the rack, leaving space between them for air to circulate.
Step 6: Bake
Bake for 15–20 minutes.
- Doneness: Internal temperature should reach 165°F. Because the crumbs are already toasted, you don’t need to flip them or wait for browning. They come out perfect.
Nutritional Information
Comparing baked vs. fried reveals a massive difference. Here is the estimated breakdown per serving (approx. 3 tenders):
| Nutrient | Baked (This Recipe) | Fast Food Fried |
| Calories | 320 kcal | 550+ kcal |
| Total Fat | 9g | 30g+ |
| Protein | 35g | 25g |
| Carbohydrates | 22g | 40g |
| Sodium | 450mg | 1200mg+ |
Data Insight: By eliminating deep frying, you reduce the saturated fat content by nearly 70%. Furthermore, using olive oil to toast the crumbs introduces healthy monounsaturated fats instead of the inflammatory vegetable oils often used in commercial fryers.
Healthier Alternatives for the Recipe
Customize your Chicken Tenders to fit dietary needs:
- Keto / Low Carb:
- Breadcrumbs: Swap Panko for Crushed Pork Rinds or a mix of Almond Flour and Parmesan Cheese.
- Note: Do not pre-toast almond flour; it burns too fast.
- Egg-Free:
- Use a thin layer of Dijon Mustard or Vegan Mayo to help the crumbs stick.
- Spice It Up:
- Add 1 tablespoon of Buffalo Sauce to the beaten eggs for a spicy, tangy interior flavor.
Serving Suggestions
The dip is half the fun.
- The Classic: Homemade Honey Mustard (Mayo + Dijon + Honey).
- The Copycat: “Chick-fil-A” Sauce (Mayo + BBQ Sauce + Mustard + Lemon).
- The Side: Serve with baked sweet potato fries and steamed broccoli for a balanced meal.
Common Mistakes to Avoid
Breaded chicken can be finicky. Avoid these errors:
- Soggy Bottoms:
- The Error: Placing chicken directly on the sheet pan.
- The Result: The bottom steams in its own juice.
- The Fix: Use a wire rack!
- The “Bald” Tender:
- The Error: Not drying the chicken or shaking off excess flour.
- The Result: The breading slides right off after baking.
- The Fix: Pat the meat dry. Shake off the flour.
- Pale Chicken:
- The Error: Skipping the pre-toast step.
- The Result: Pale, sad-looking tenders that don’t look appetizing.
Storing Tips for the Recipe
These freeze incredibly well, making them a meal prep hero.
- Refrigeration: Store in an airtight container for up to 3 days.
- Reheating:
- Air Fryer/Oven: Reheat at 375°F for 3–5 minutes to restore the crunch.
- Microwave: Avoid. It will turn the panko into mush.
- Freezing:
- Uncooked: You can freeze the breaded (raw) tenders. Bake from frozen for 25–30 minutes.
- Cooked: Freeze fully cooked tenders. Reheat in the oven/air fryer.
Conclusion
Crispy Baked Chicken Tenders are the ultimate proof that “healthy” and “kid-friendly” are not mutually exclusive terms. By taking five minutes to toast your crumbs and using a rack for airflow, you create a dinner that rivals any takeout box in crunch and flavor, with none of the grease. It’s a nostalgic classic, modernized.
Summary: A recipe for oven-baked chicken tenders using pre-toasted Panko breadcrumbs for maximum crunch. Ready in 40 minutes; healthier than fried.
Ready to hear that crunch?
Get your skillet out! Rate this recipe 5 stars if you loved the pre-toasting hack, and leave a comment below: are you team Ranch or Honey Mustard? Subscribe for more family dinner wins!
FAQs
Can I make these in an Air Fryer?
Yes! This recipe is perfect for it. You do not need to pre-toast the panko for the air fryer, as the convection fan browns them well. Cook at 400°F for 10–12 minutes, flipping halfway.
How do I remove the white tendon?
Place the tendon between the tines of a fork. Grip the slippery end of the tendon with a paper towel. Pull the tendon through the fork tines. It should slide right out while the meat stays behind.
Can I use regular breadcrumbs?
You can, but the texture will be denser and less crispy. Panko is specifically designed to absorb less oil and stay crunchy.
Why is my flour clumpy?
If you dip wet chicken back into the flour bowl, it creates clumps. Keep one hand for “wet” ingredients (egg) and one hand for “dry” ingredients (flour/panko) to keep your fingers and bowls clean.
Leave a Reply